Adding client documents to Cerely allows you to securely store important information such as contracts, pricing schedules, service agreements, compliance documents, and other relevant files. This ensures your client records are complete, centralised, and easily accessible for your team.
Follow the steps below to upload and manage documents for a client:
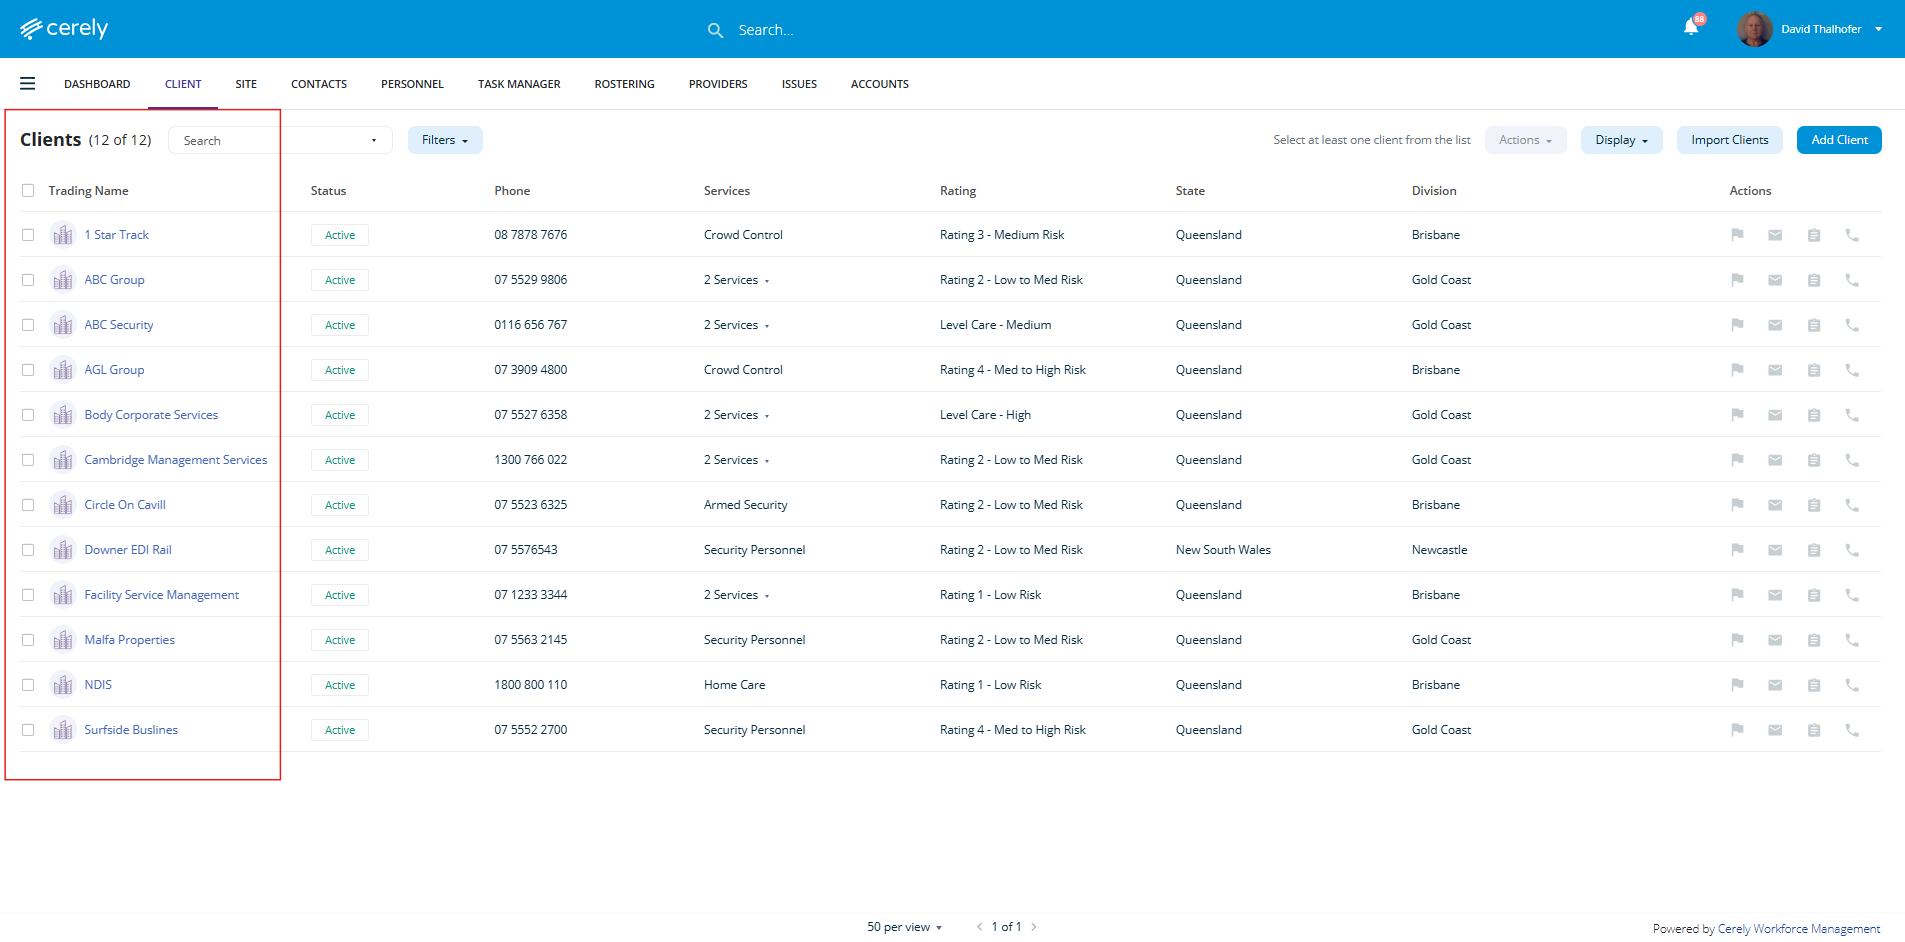
1. Navigate to the client tab located in the top menu bar
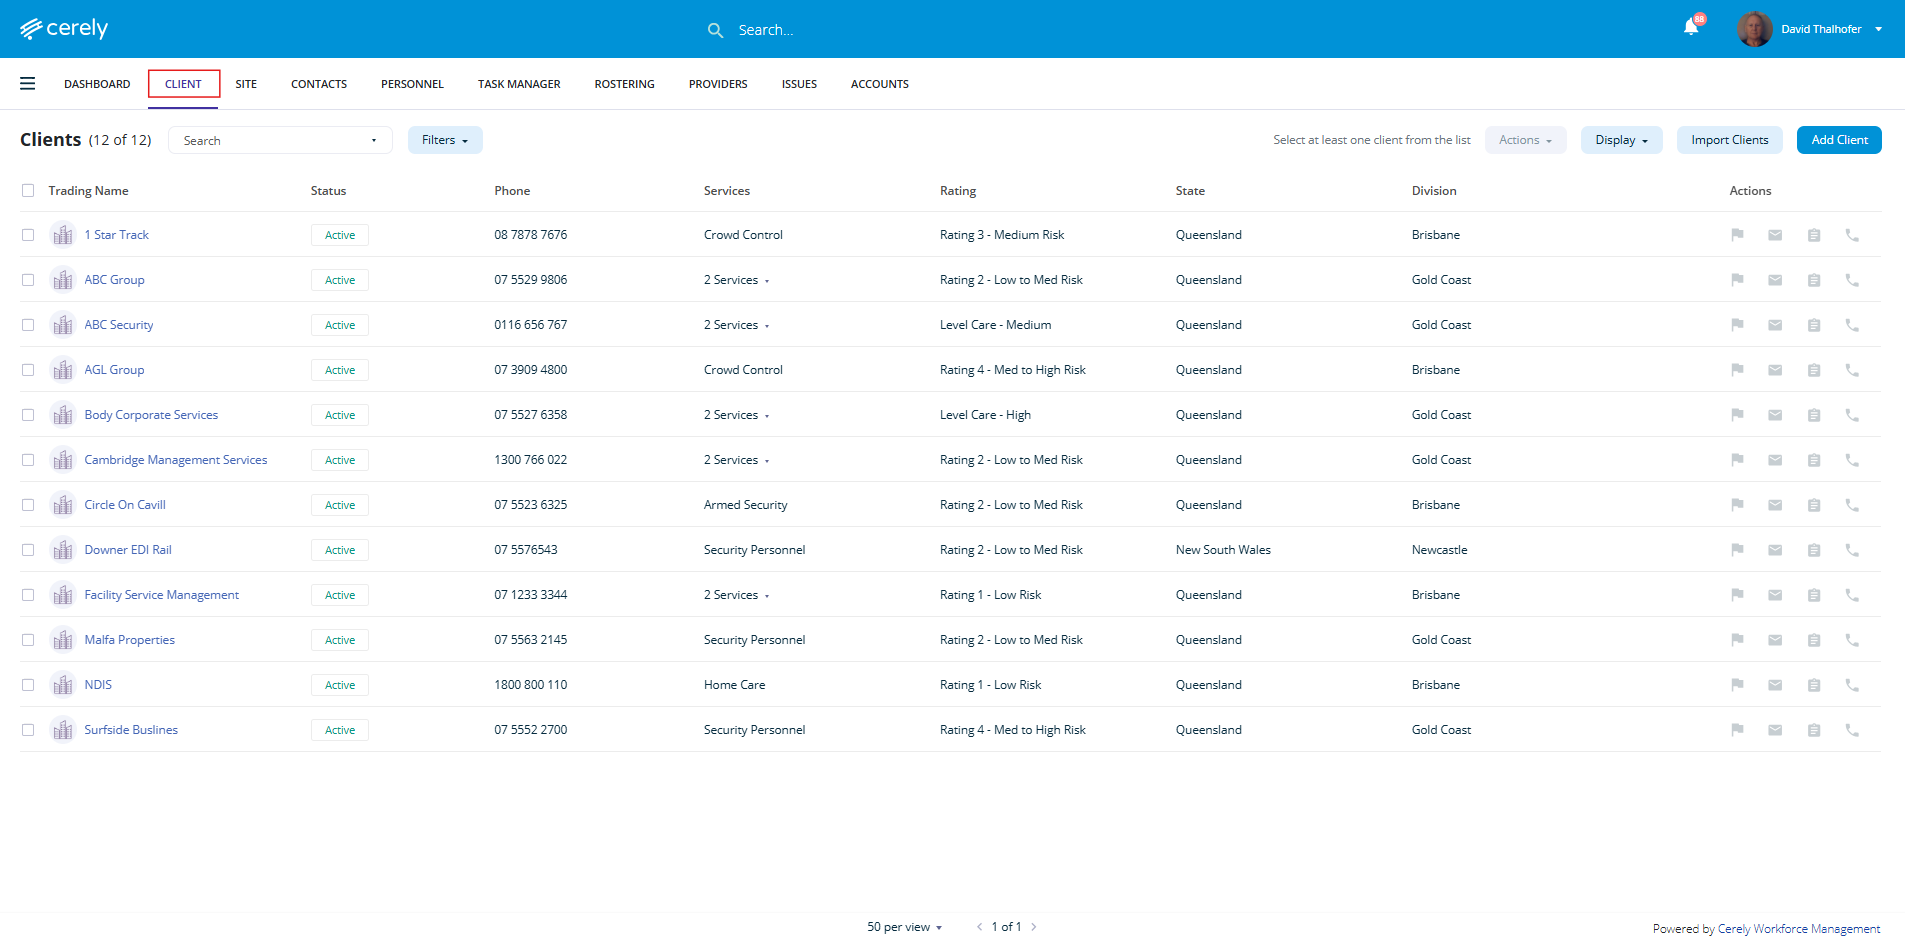
2. From the client list, click on the client name you wish to upload documents to
3. From the left-hand menu, select Documents
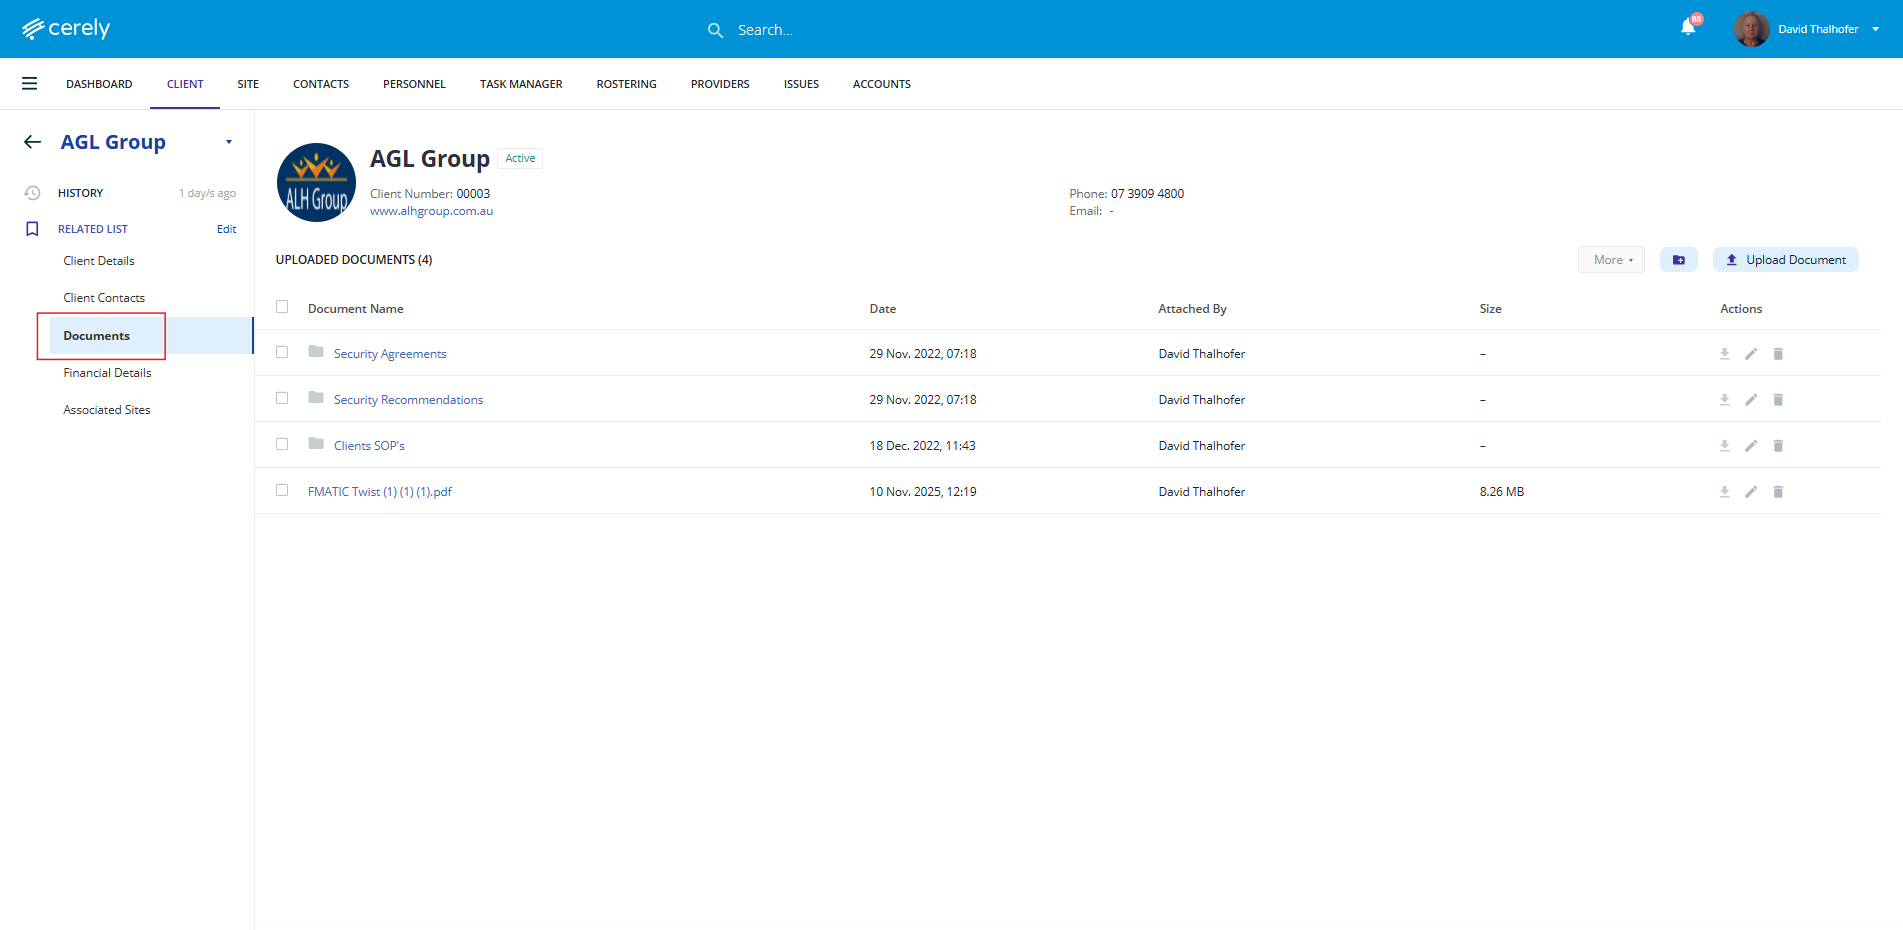
4. Click the Upload Document button on the right-hand side
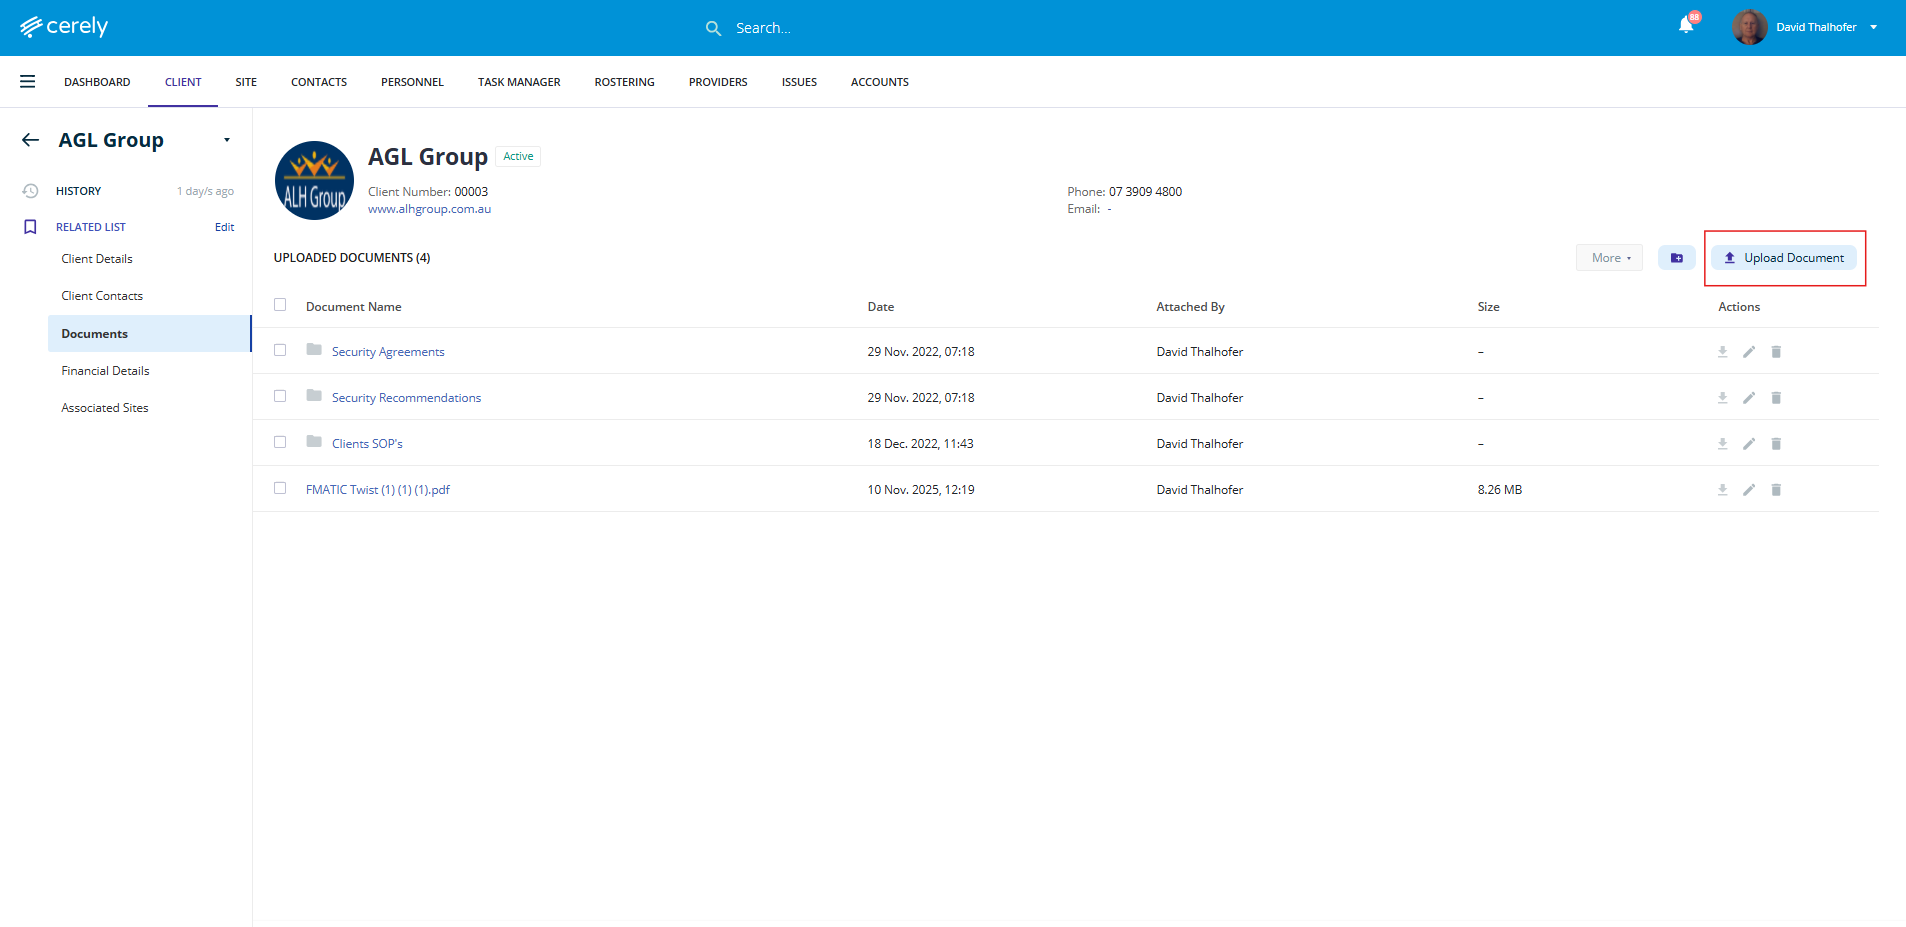
5. Enter the document name. Give the file a clear and relevant name (e.g., 2025 Service Agreement) and select upload file to locate from your computer to save to the client file
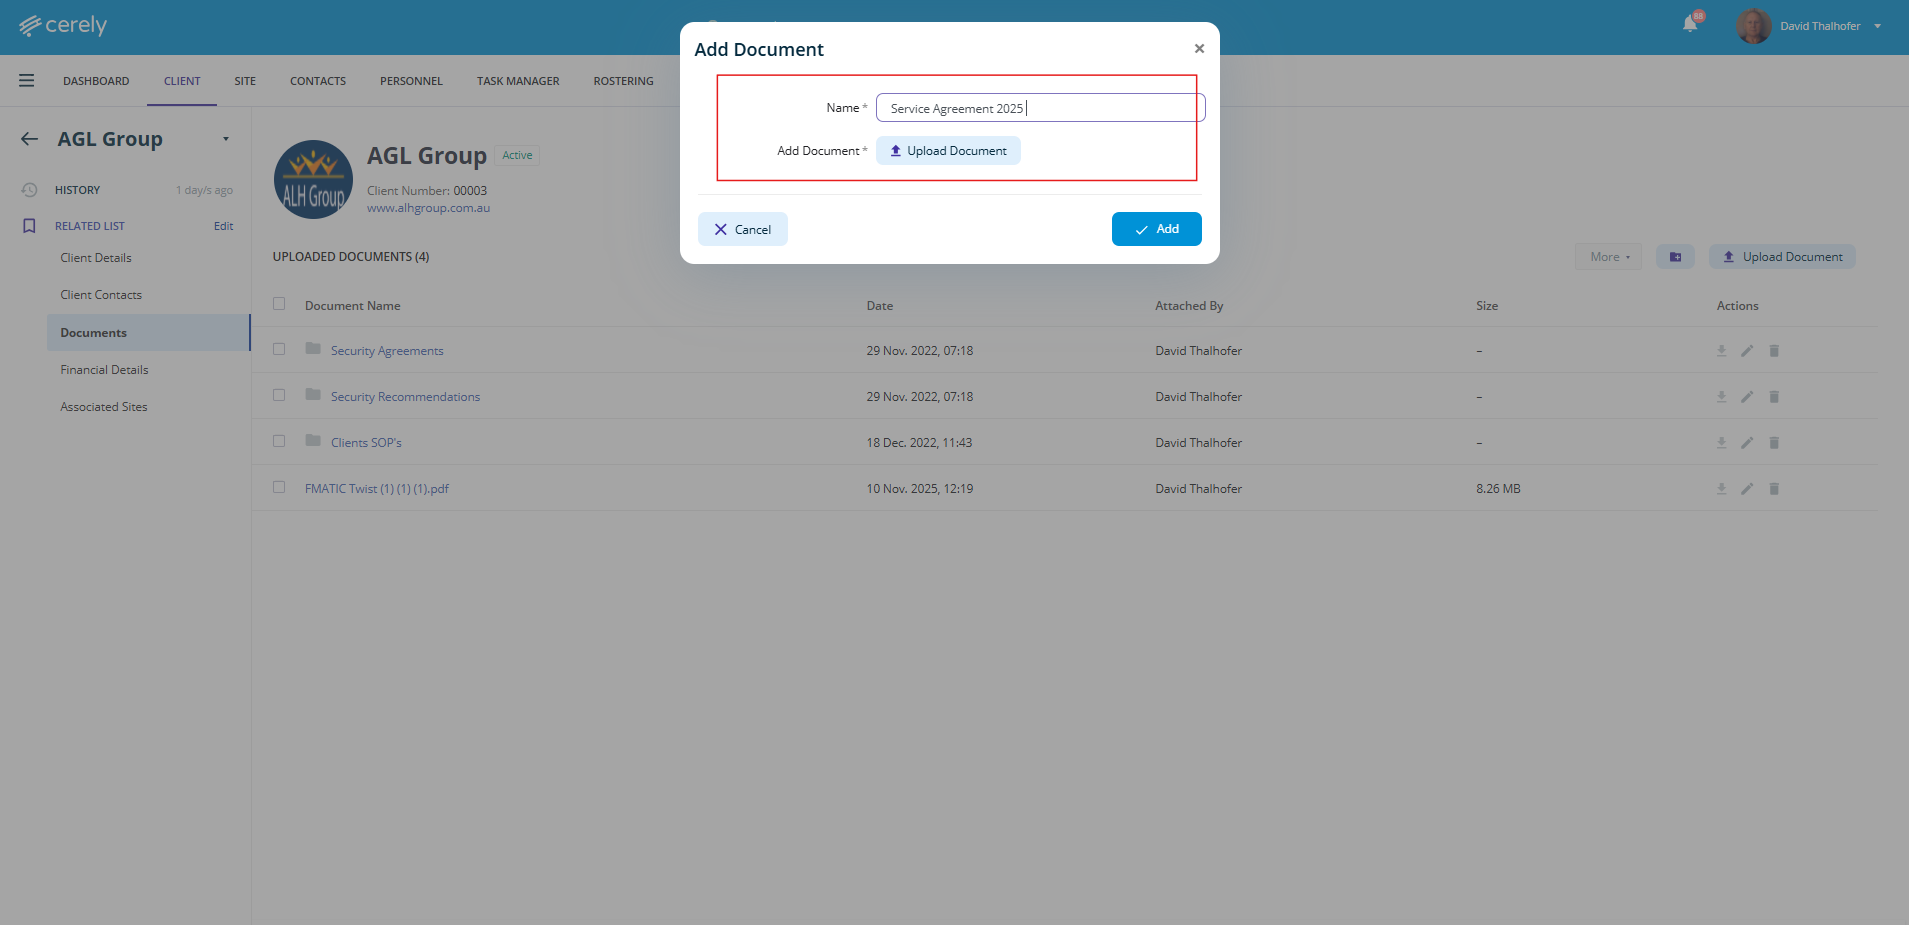
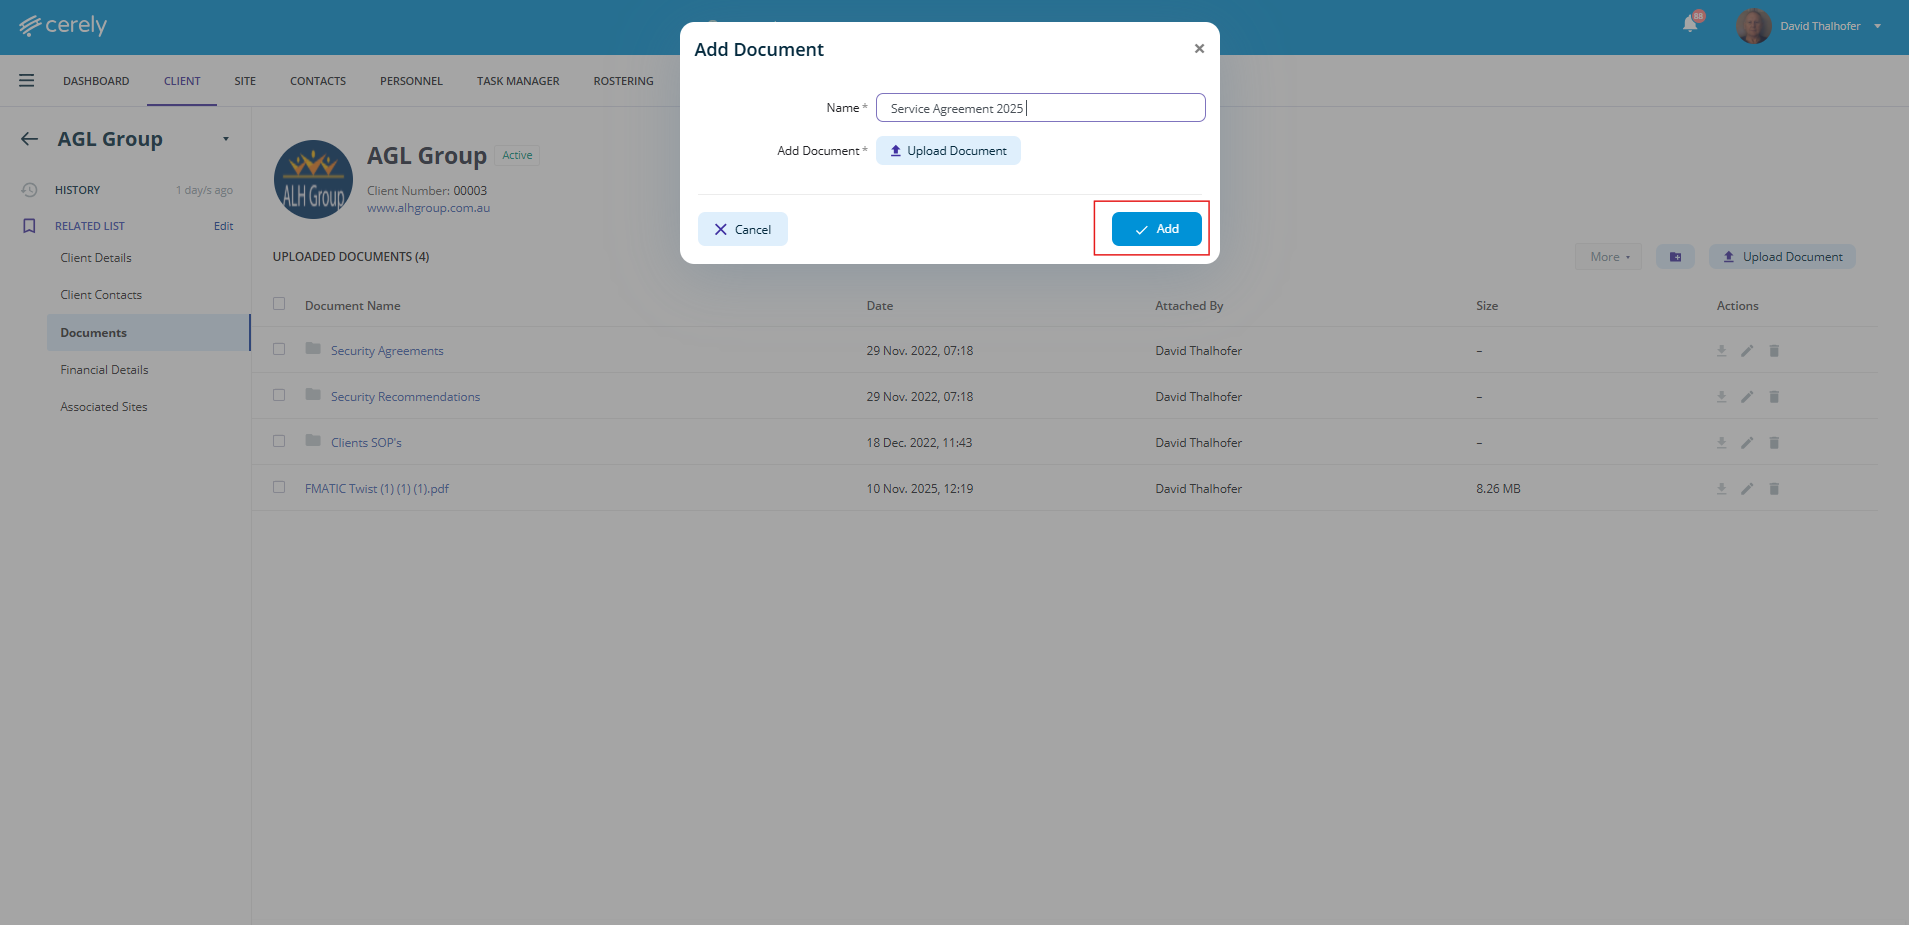
6. Click to Add button
Your document will now be stored securely in the client’s profile and can be viewed, downloaded, or deleted by users with the appropriate permissions.
Was this article helpful?
That’s Great!
Thank you for your feedback
Sorry! We couldn't be helpful
Thank you for your feedback
Feedback sent
We appreciate your effort and will try to fix the article