Before You Start Email Integration is Required
Before sending emails from Cerely, you must first integrate your email account. Cerely supports both Google Gmail and Microsoft Office 365 integrations.
Refer to the following guides to set up your email integration:
- How to Integrate Google Gmail - https://21773606.hs-sites-ap1.com/how-to-integrate-your-google-email-account
- How to Integrate Microsoft Office 365 - https://21773606.hs-sites-ap1.com/how-to-integrate-your-microsoft-office-365-email-account
Once your email is connected, you will be able to send emails directly from within the Cerely platform.
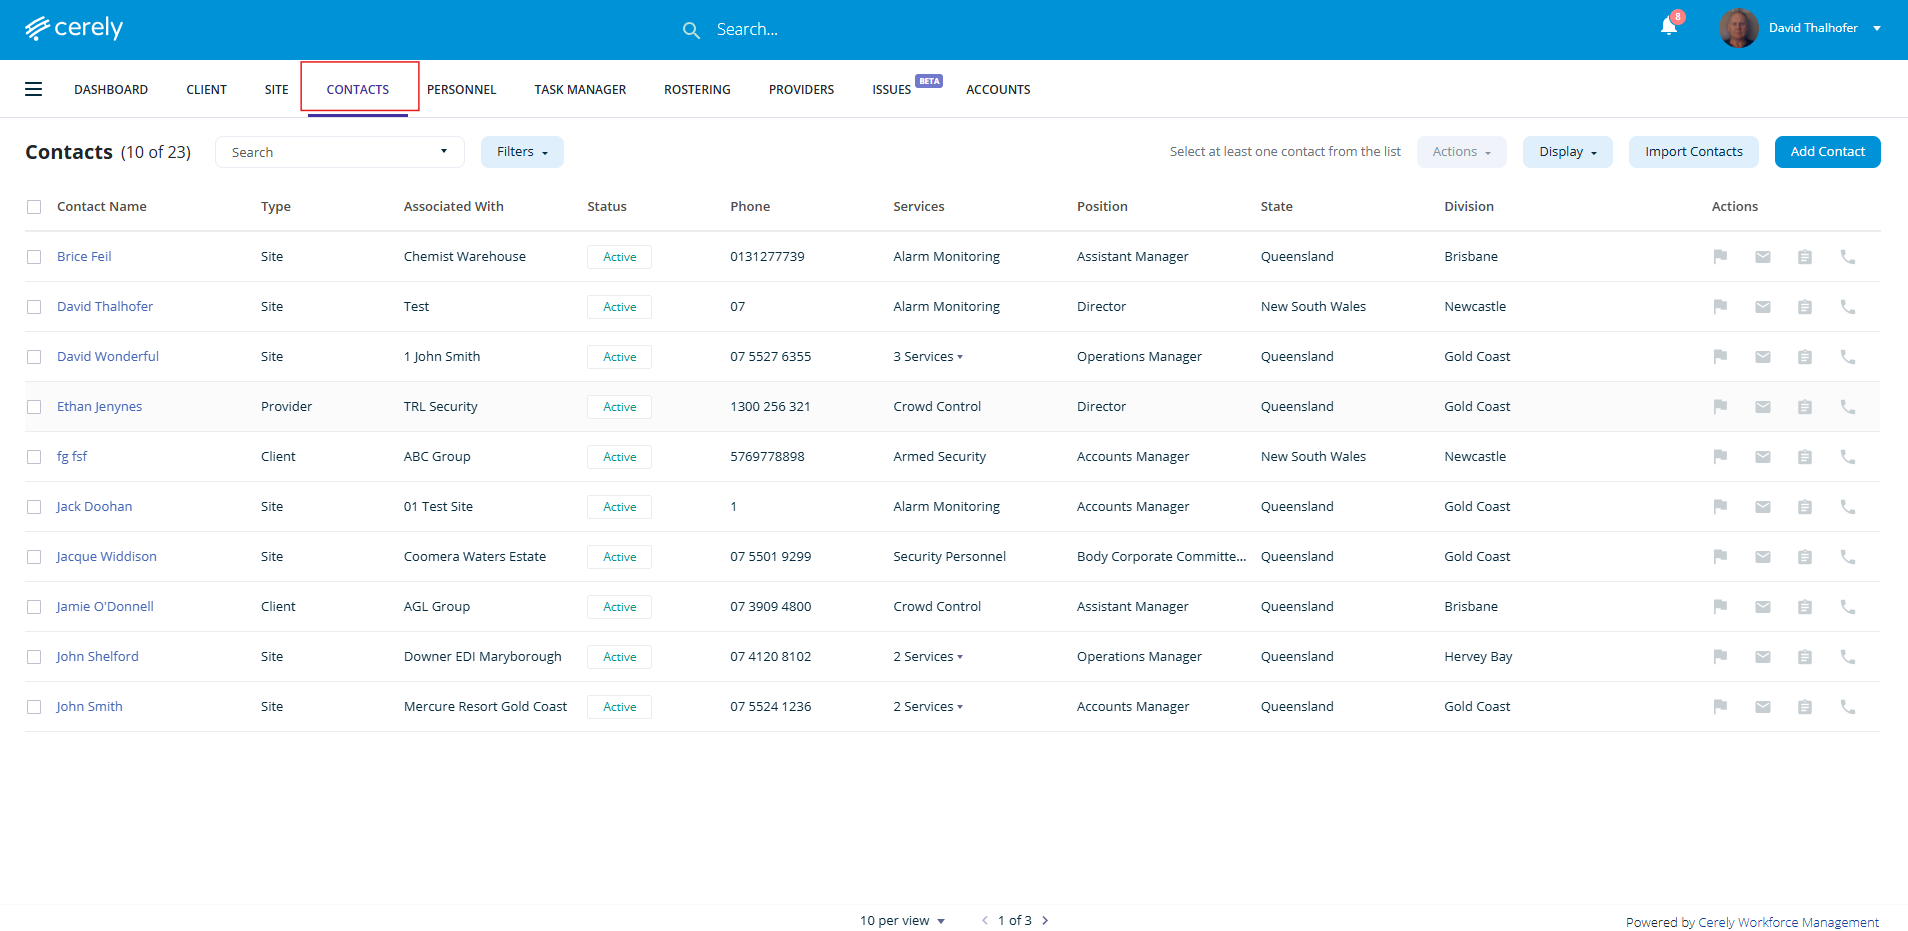
1. From the main menu on the Cerely dashboard, click on the Contacts tab
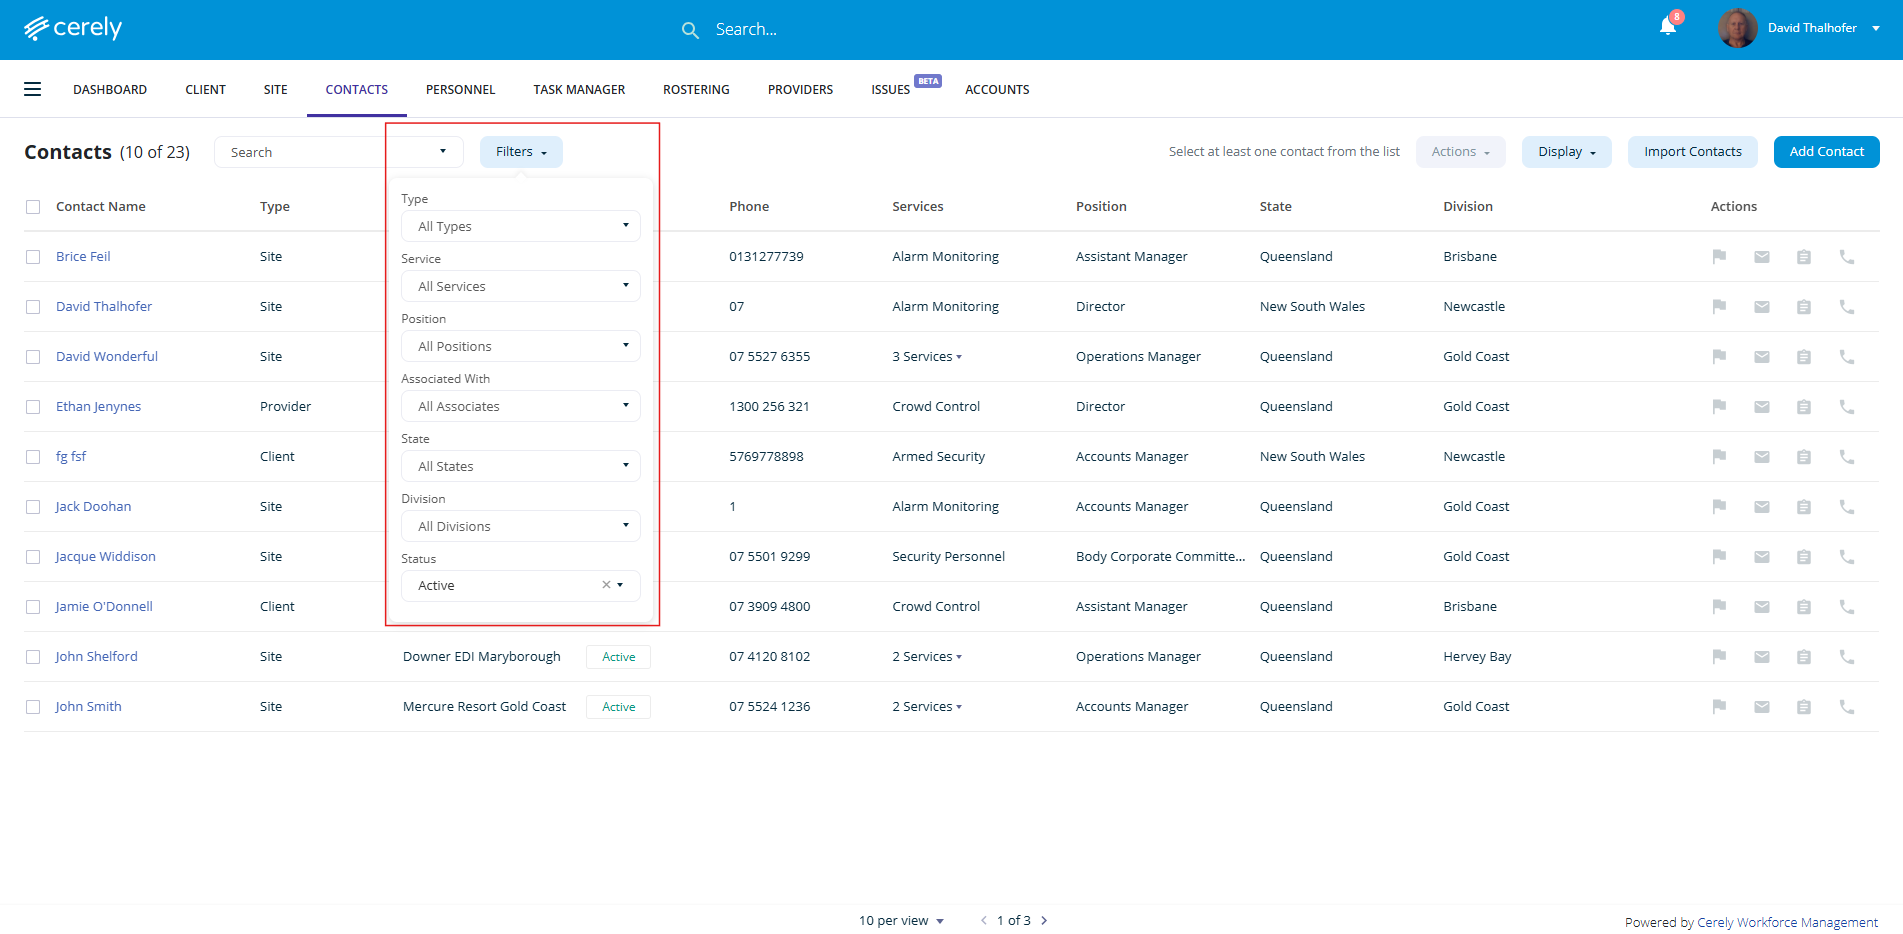
2. Use the filters at the top of the Contact screen to select your target audience for the email communication. You can filter recipients based on:
Contact Type
Filter contacts by the type of record:
- Clients – Head office or business entities that own or manage groups of sites
- Sites – Individual service locations
- Providers – Subcontracting companies
Service Type
Filter contacts associated with specific service types, such as:
- Cash in Transit
- Crowd Control
- Mobile Patrol
Position Level
Filter contacts based on their job role or position, for example:
- Account Manager
- Venue Manager
- Operations Manager
Associated Sites
Limit the contact list to individuals linked to specific sites.
State
Filter contacts or sites based on the selected state or territory.
Division
Filter contacts by internal divisions (e.g. Brisbane, Toowoomba, Gold Coast).
Status
Filter by site status:
- Active – Sites currently in operation
- Inactive – Sites that are archived or no longer active
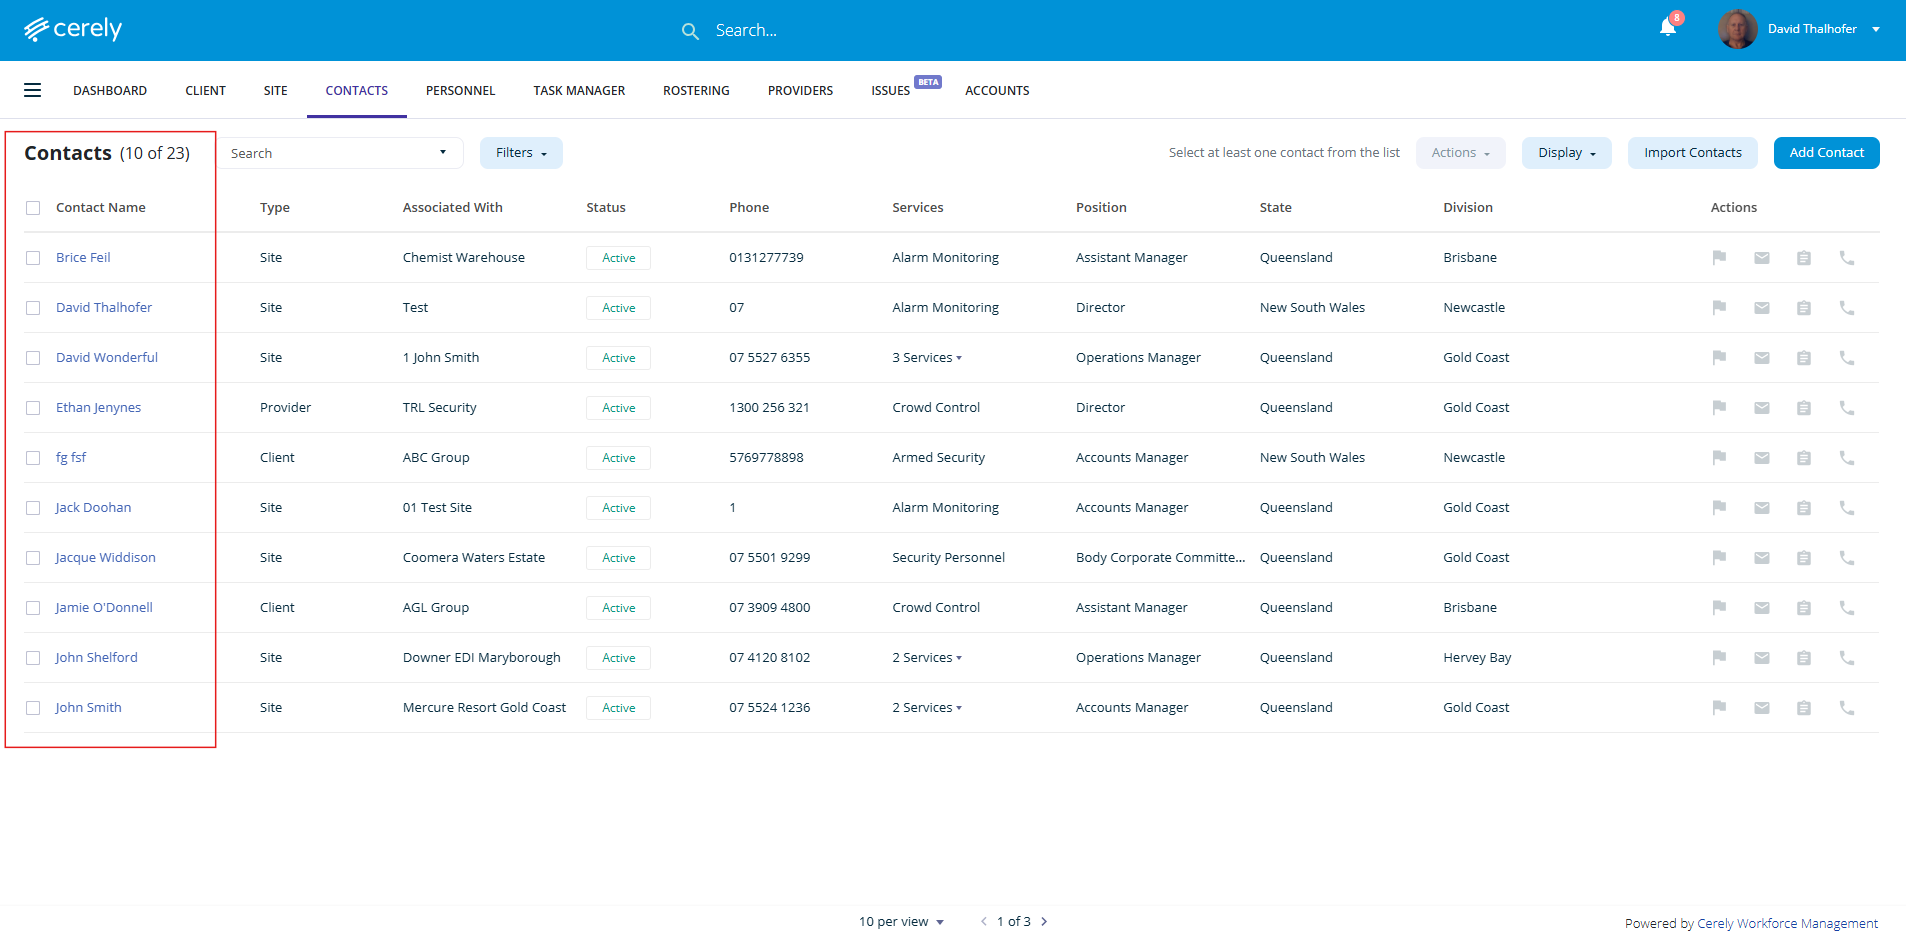
3. Select the contacts you want to email
Once you’ve filtered your contact list:
- Use the select box at the top of the list to select all filtered contacts, or
- Manually tick individual check boxes with the contacts you wish to include in the email
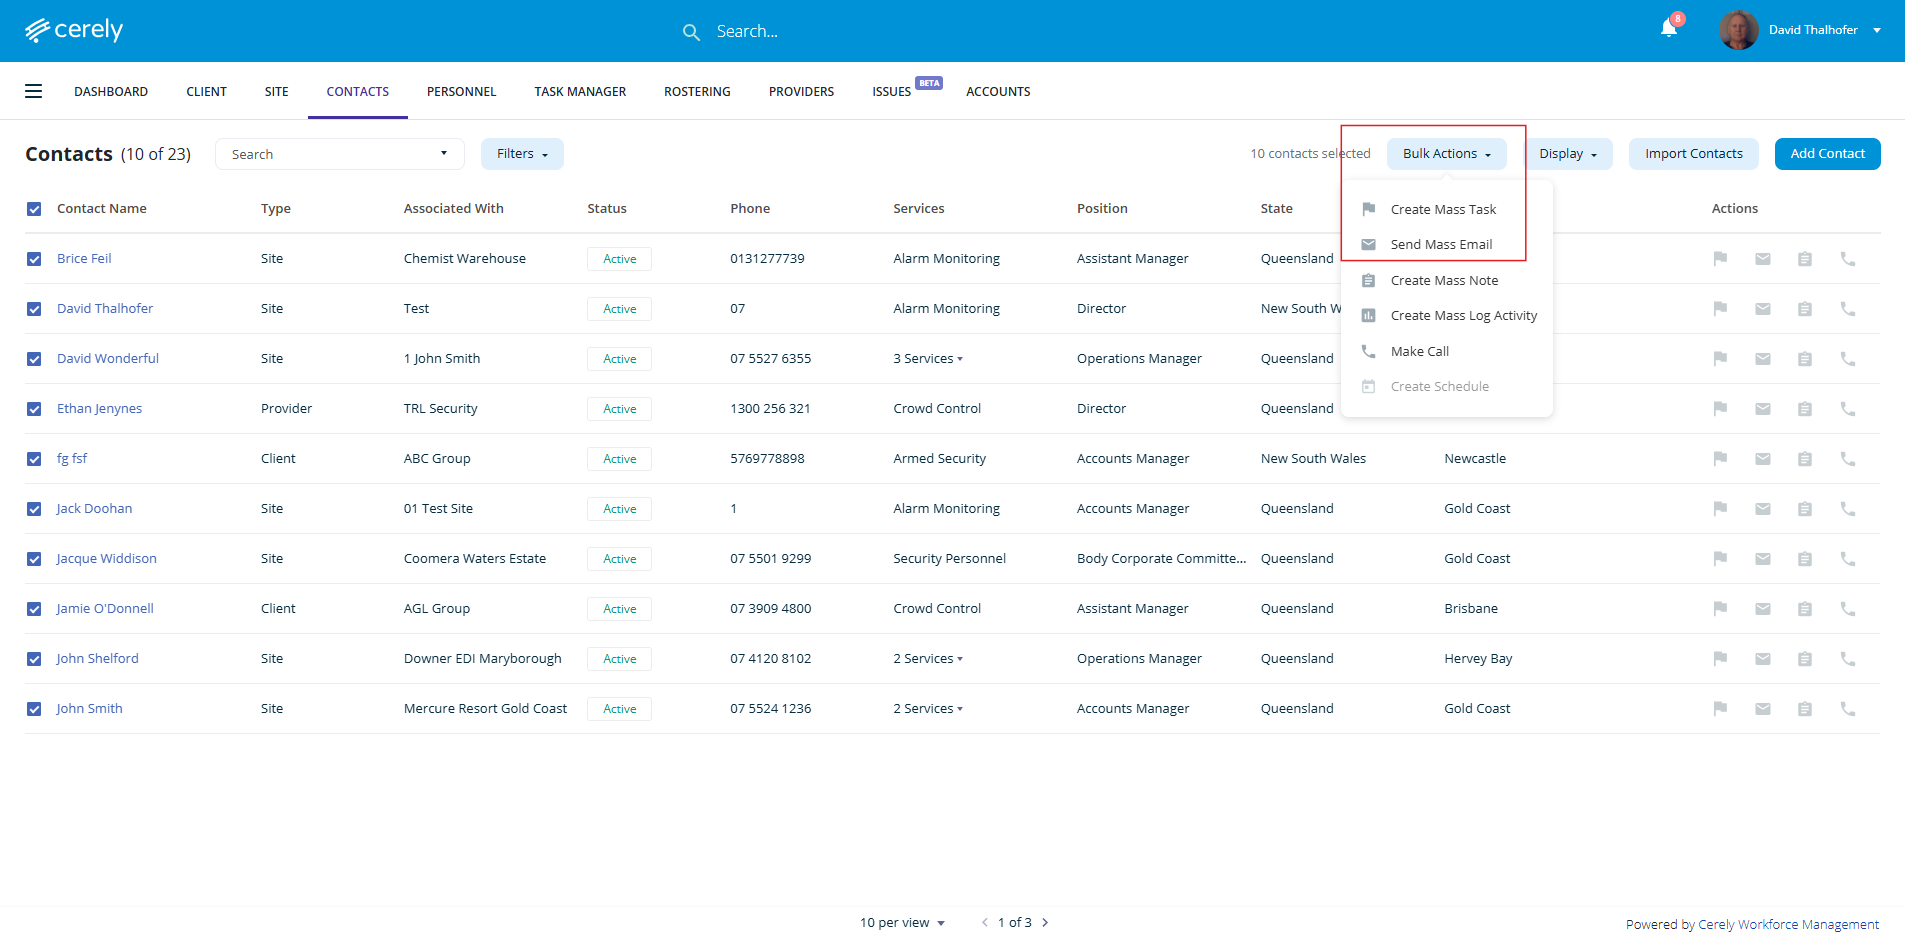
4. Click on the Bulk Actions button, from the drop down menu click send mass email
5. Compose your email. You will be directed to the email editor screen. Here, you can:
- Write a new message tailored to the selected contacts
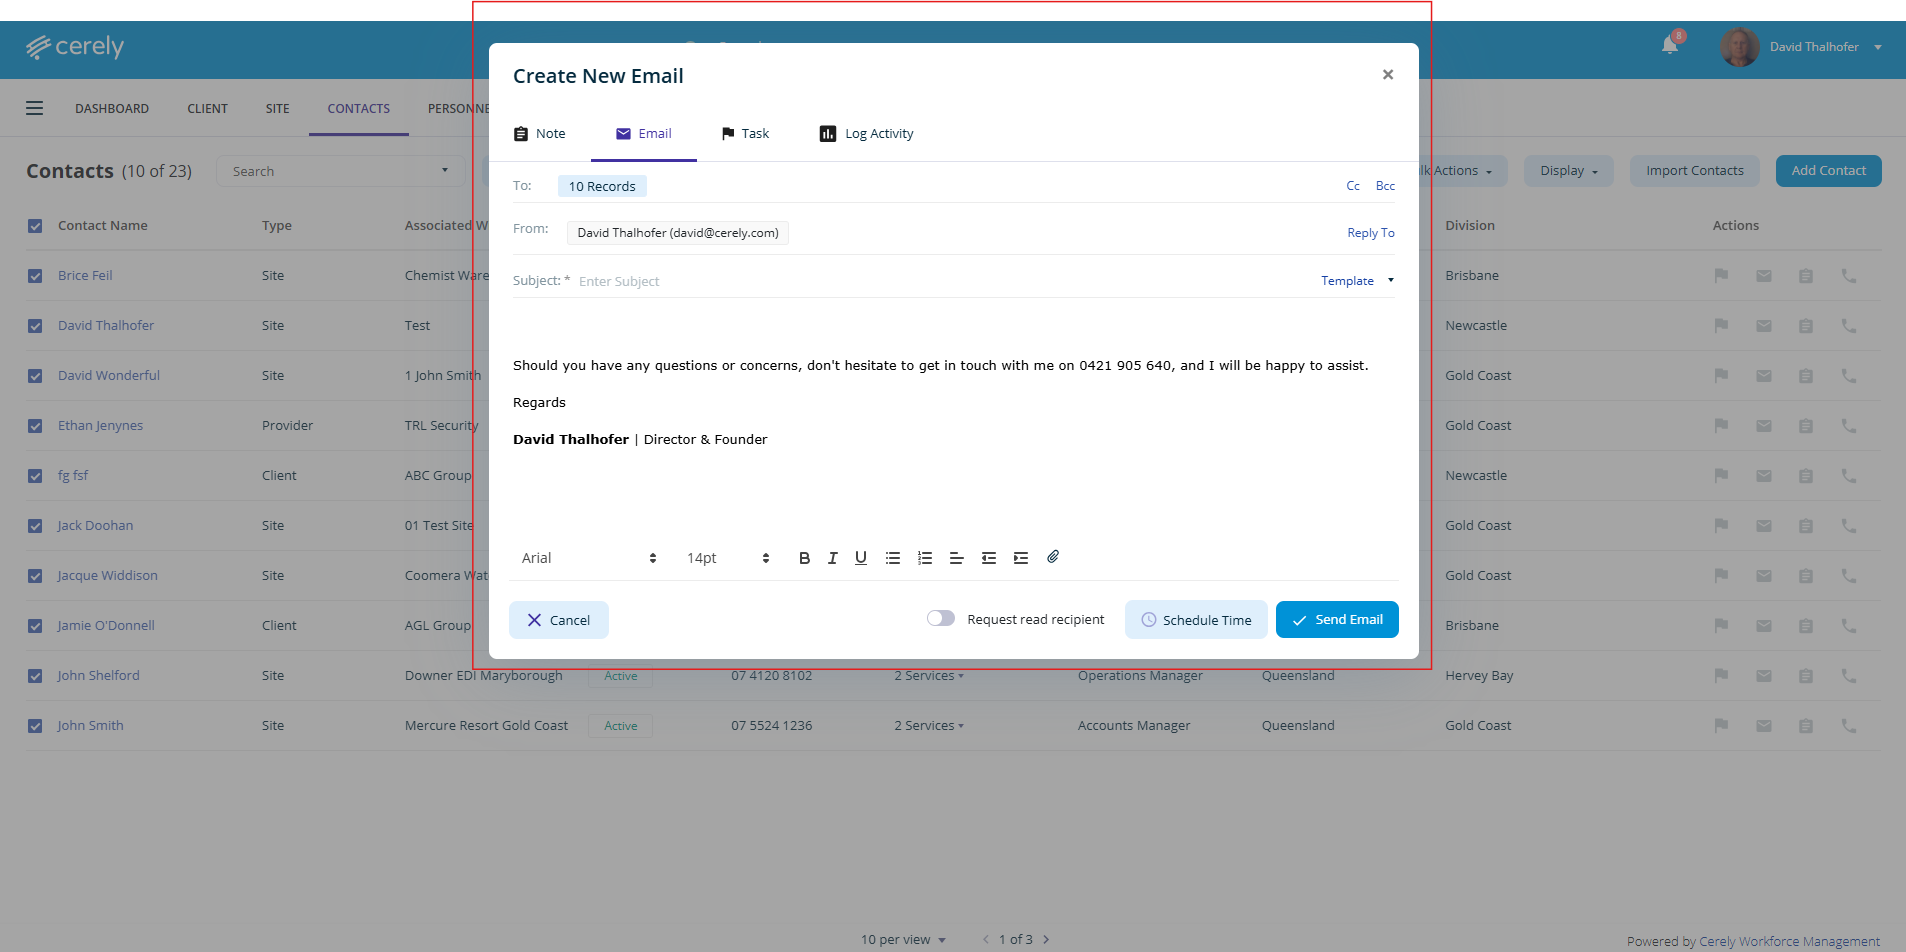
6. Once the email is written, click on Send email
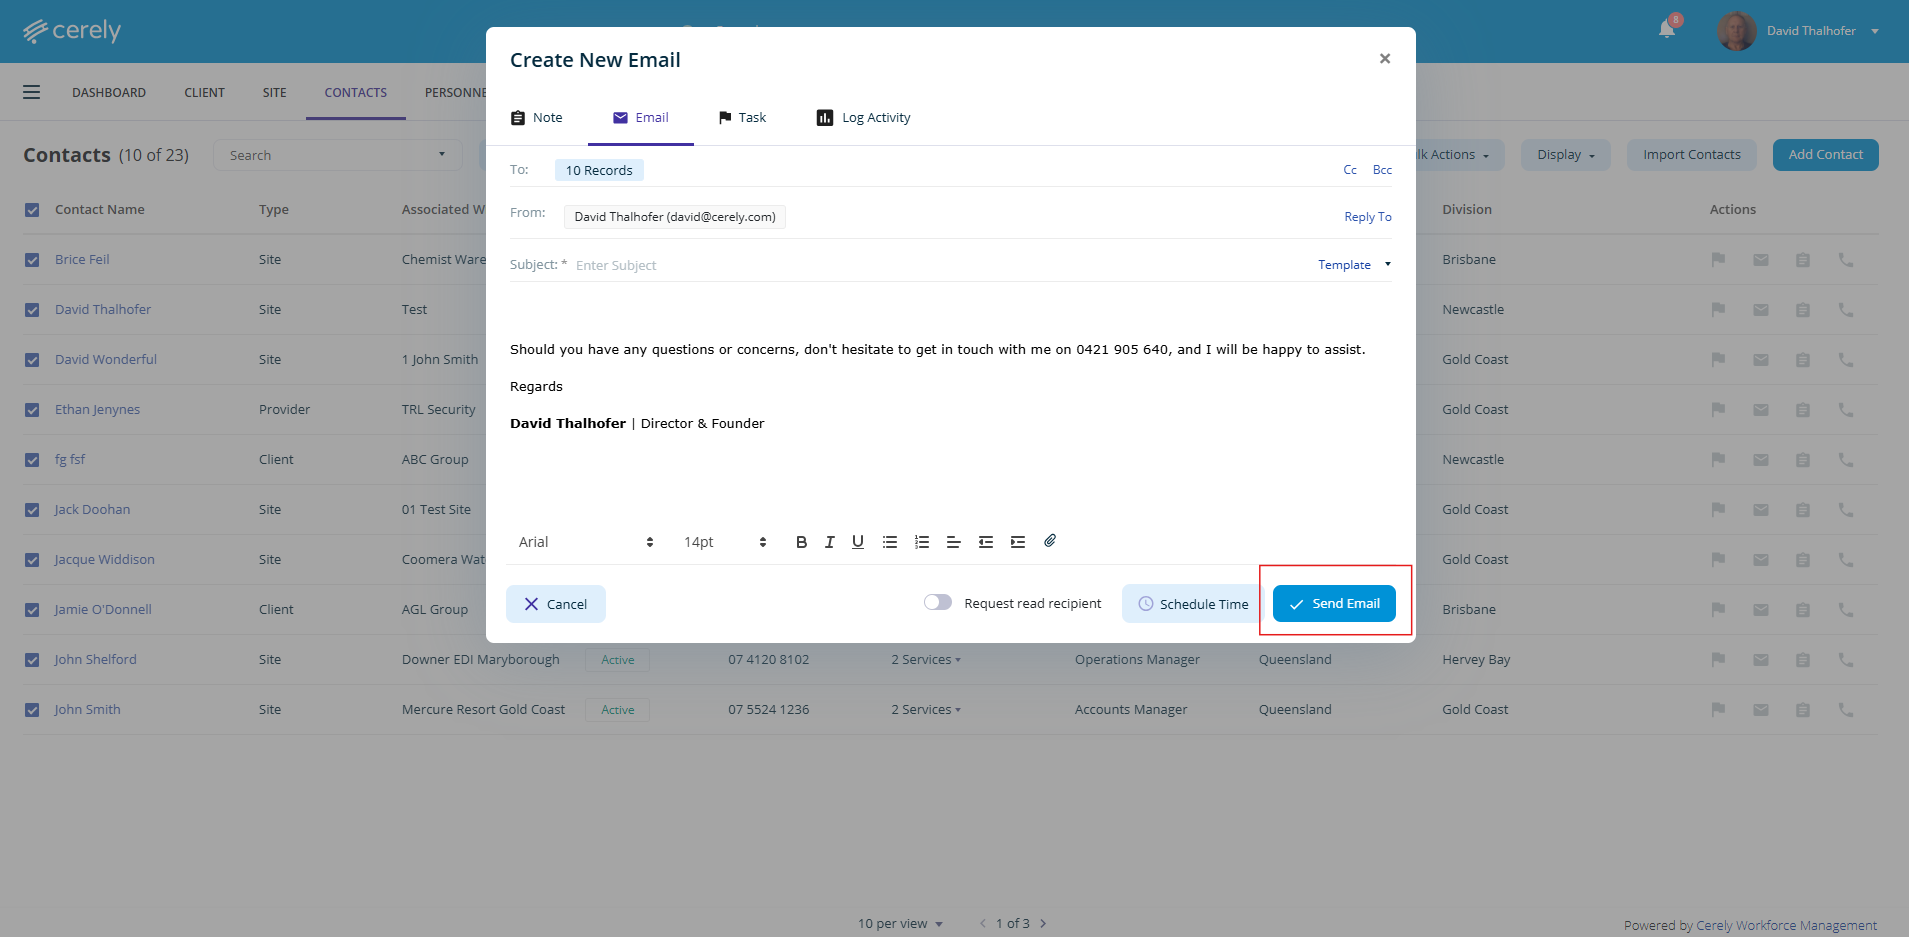
A record of the email will also appear in the activity timeline for each Contact, providing a clear audit trail of communications for your team.