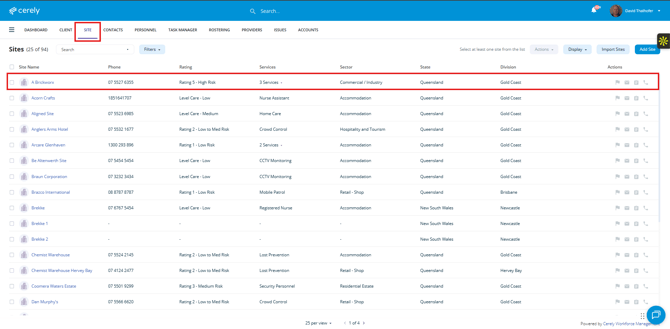
- Navigate to the Sites tab.
- From the Sites home screen, locate the site containing the location you want to make inactive.
- Click on the Site Name.
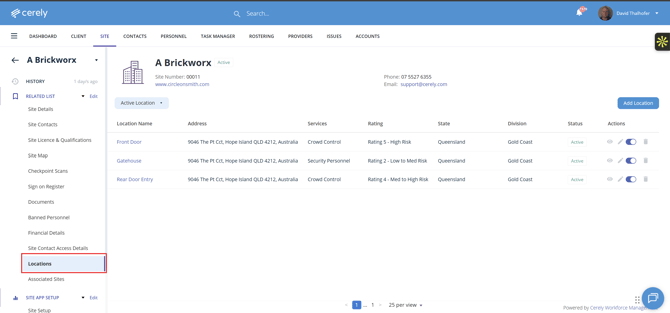
Step 2 – Open the Locations Tab
From the Site Profile:
- Use the left-hand menu.
- Click Locations.
This will display the locations currently configured for the site.
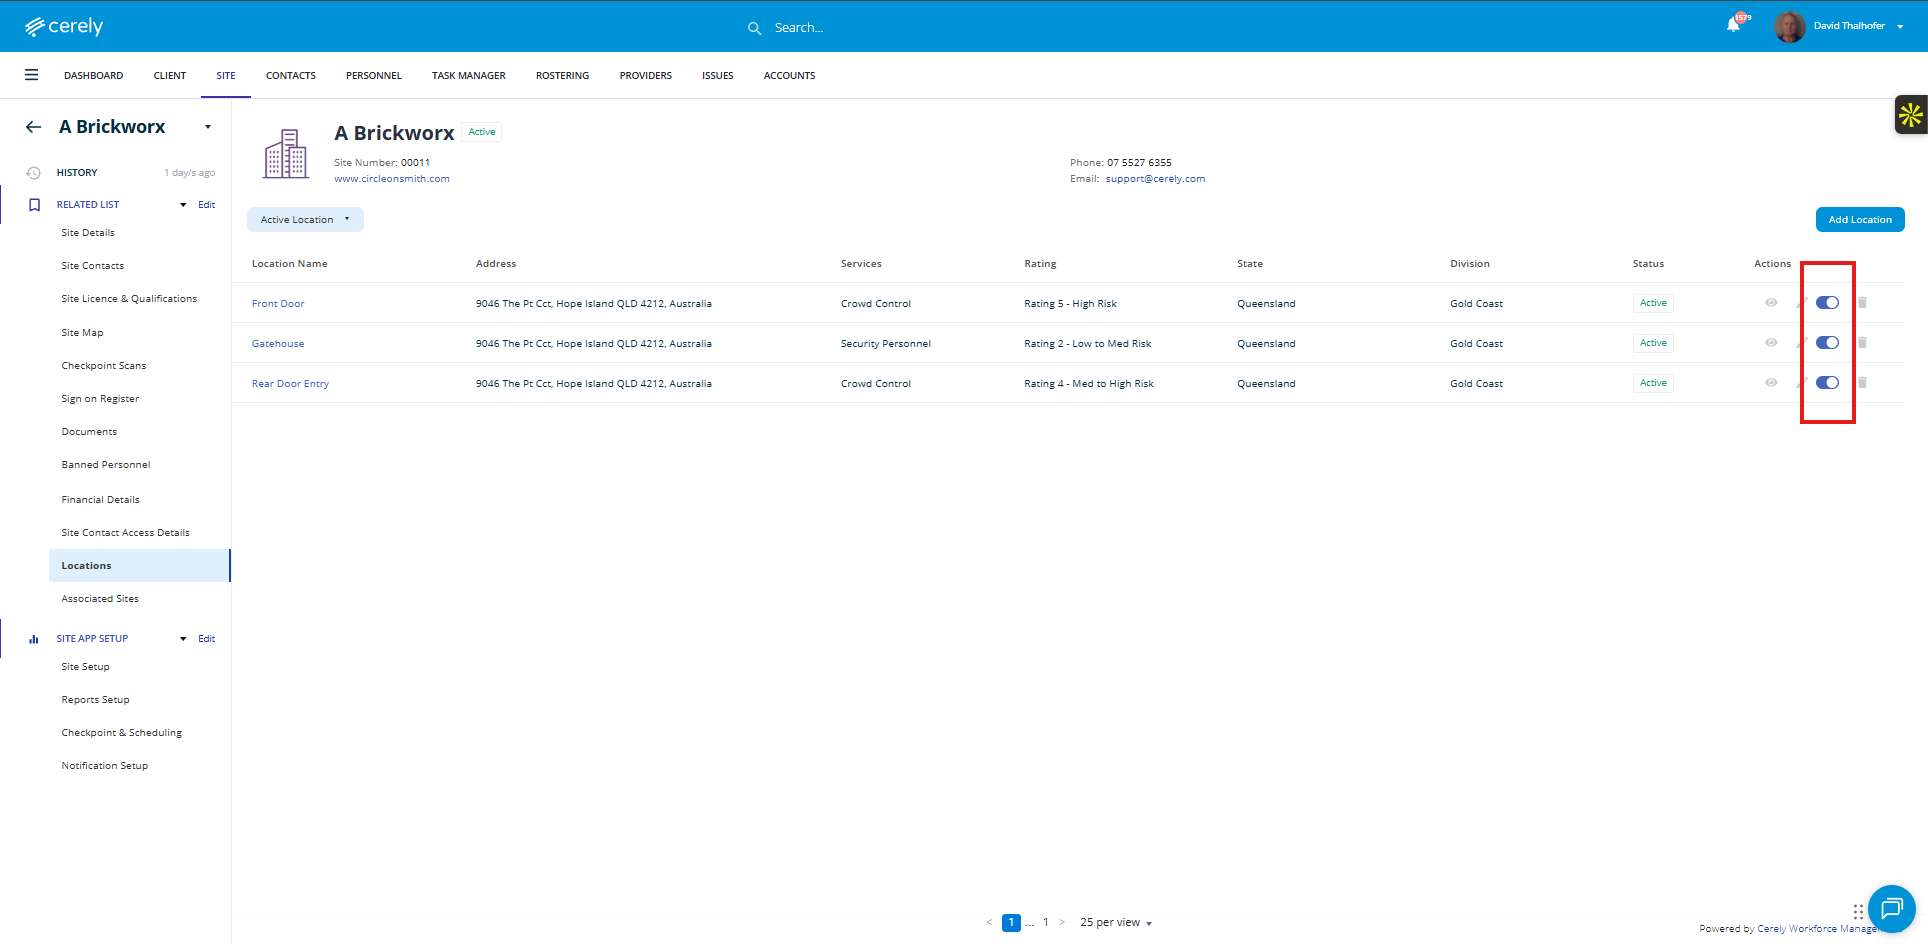
Step 3 – Change the Location to Inactive
- Locate the location you want to make inactive.
- Find the Active / Inactive toggle for the location.
- Click the toggle to change the location from Active to Inactive.
Step 4 – Confirm the Location
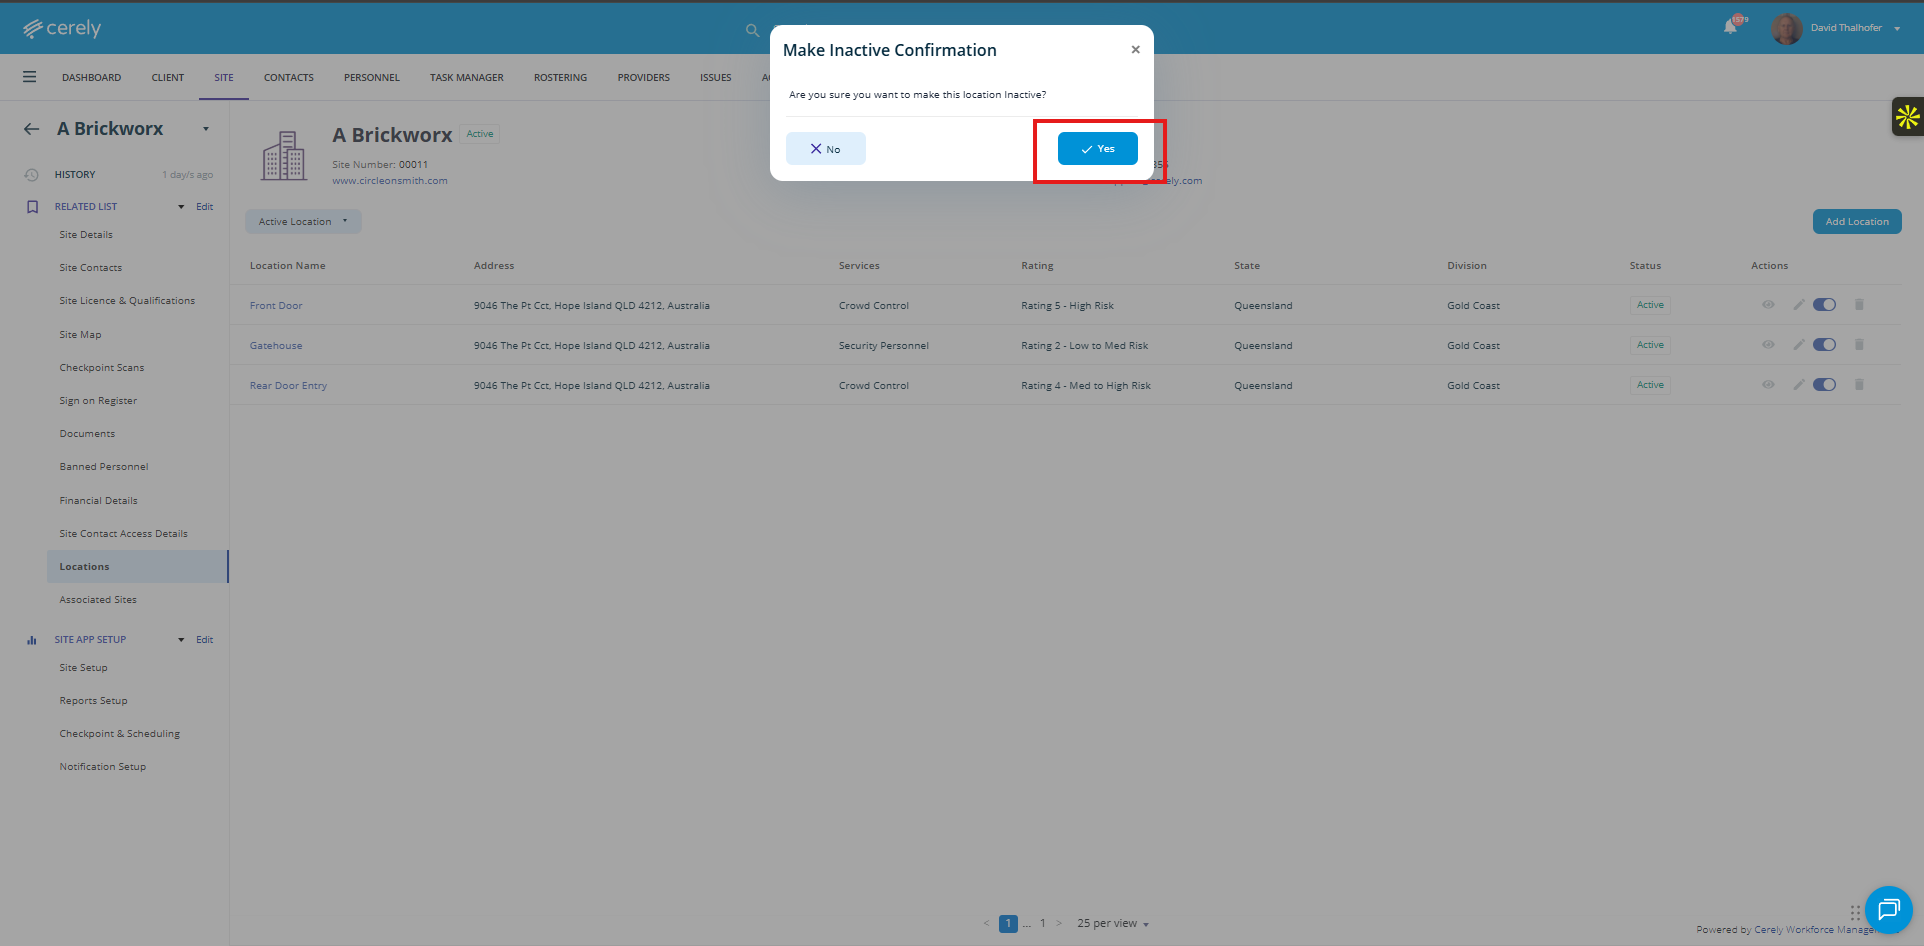
After changing the toggle, the system will display the Make Inactive Confirmation popup.
The popup will ask you to confirm that you want to make the location inactive.
- Review the confirmation message.
- Click Yes to confirm.
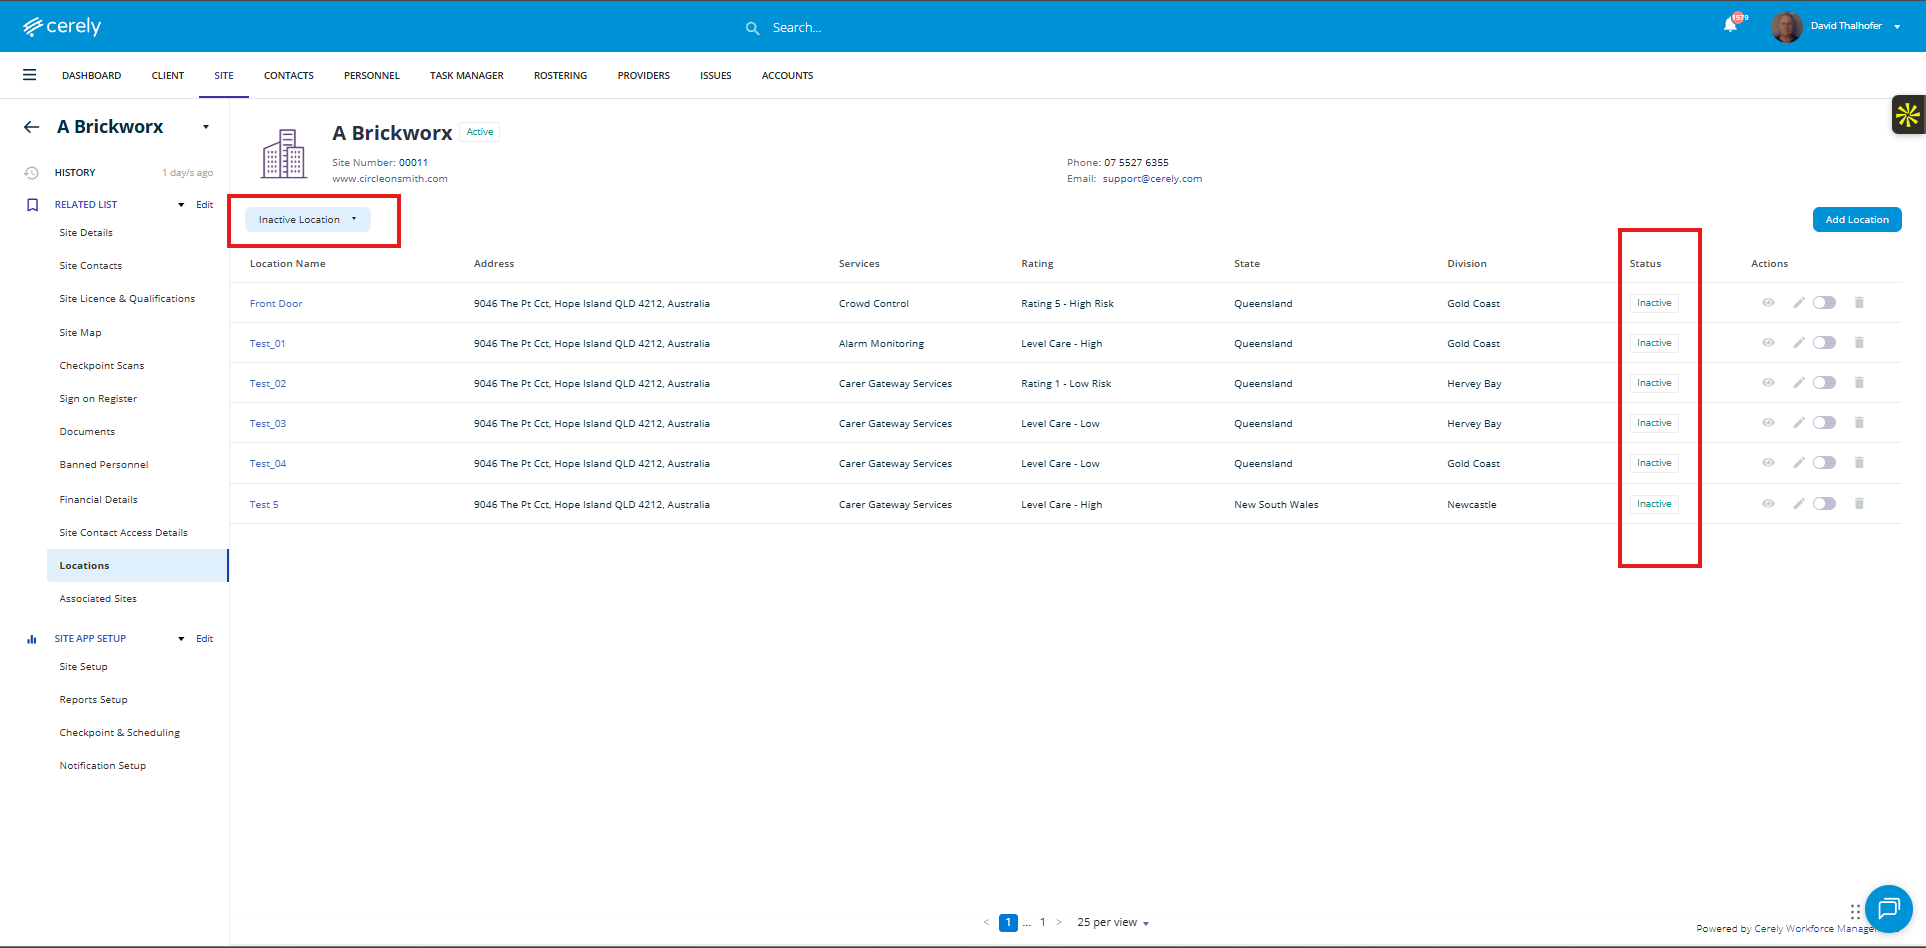
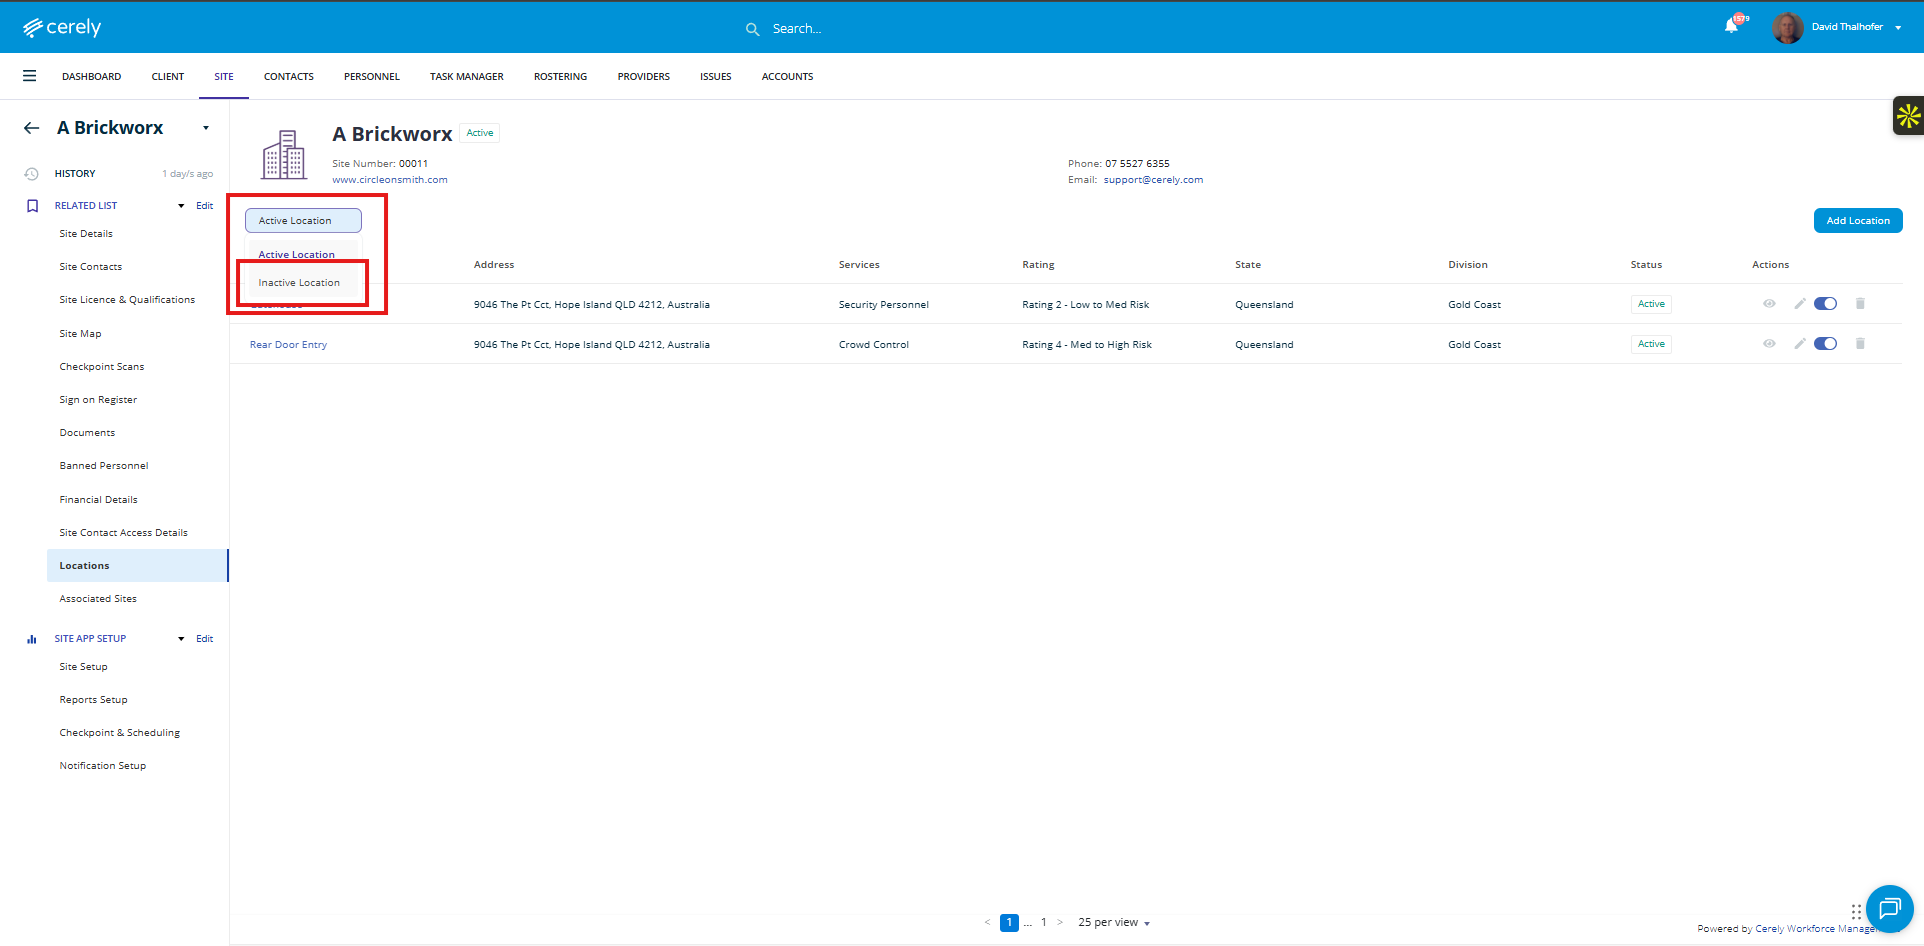
Step 5 – Location Is Moved to the Inactive Tab
Once you confirm:
- The location will be changed from Active to Inactive.
- The location will automatically move to the Inactive tab.
- The location will no longer be available as an active location for new rostering.
Important – Personnel Assigned to the Location
When a location is made inactive, the system will automatically unassign personnel from shifts associated with that location.
This applies to:
- Personnel assigned to the location on the day the location is made inactive.
- Personnel assigned to the location on future shifts.
The system will automatically:
- Unassign the personnel from the location.
- Cancel the affected shift assignments.
- Send the affected personnel a Cancelled Shift Notification.
This ensures personnel are not left rostered to a location that is no longer active.
Historical Data Is Retained
Making a location inactive does not delete the location or its historical data.
The location remains available under the Inactive tab so that previous roster and clock-in information can be retained for reference and reporting.
This is particularly important for locations that have previously been used for clocked-in shifts.
Location Successfully Made Inactive
The location is now inactive and has been moved to the Inactive tab.
Personnel assigned to the location on the day it was made inactive and on future shifts have been automatically unassigned, and affected personnel have received a Cancelled Shift Notification.