To import site data into the system, follow these steps:
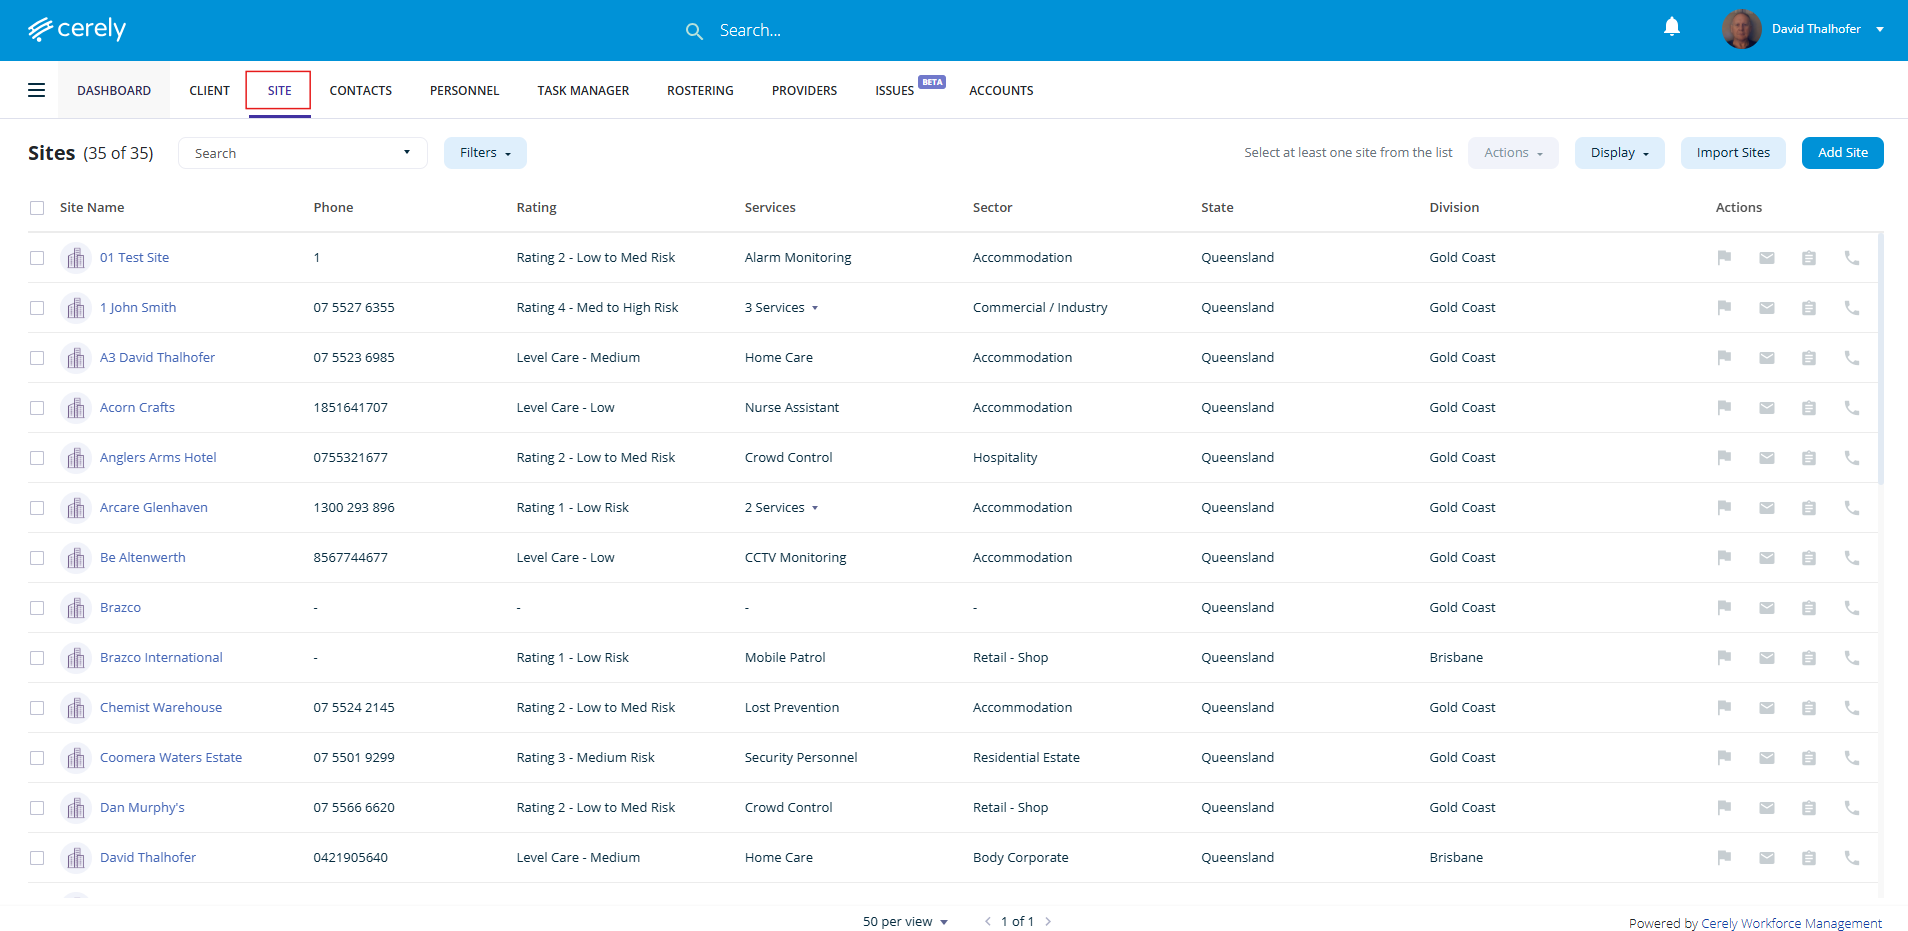
1. From the home screen in Cerely, click on the Site tab from the Cerely top main menu
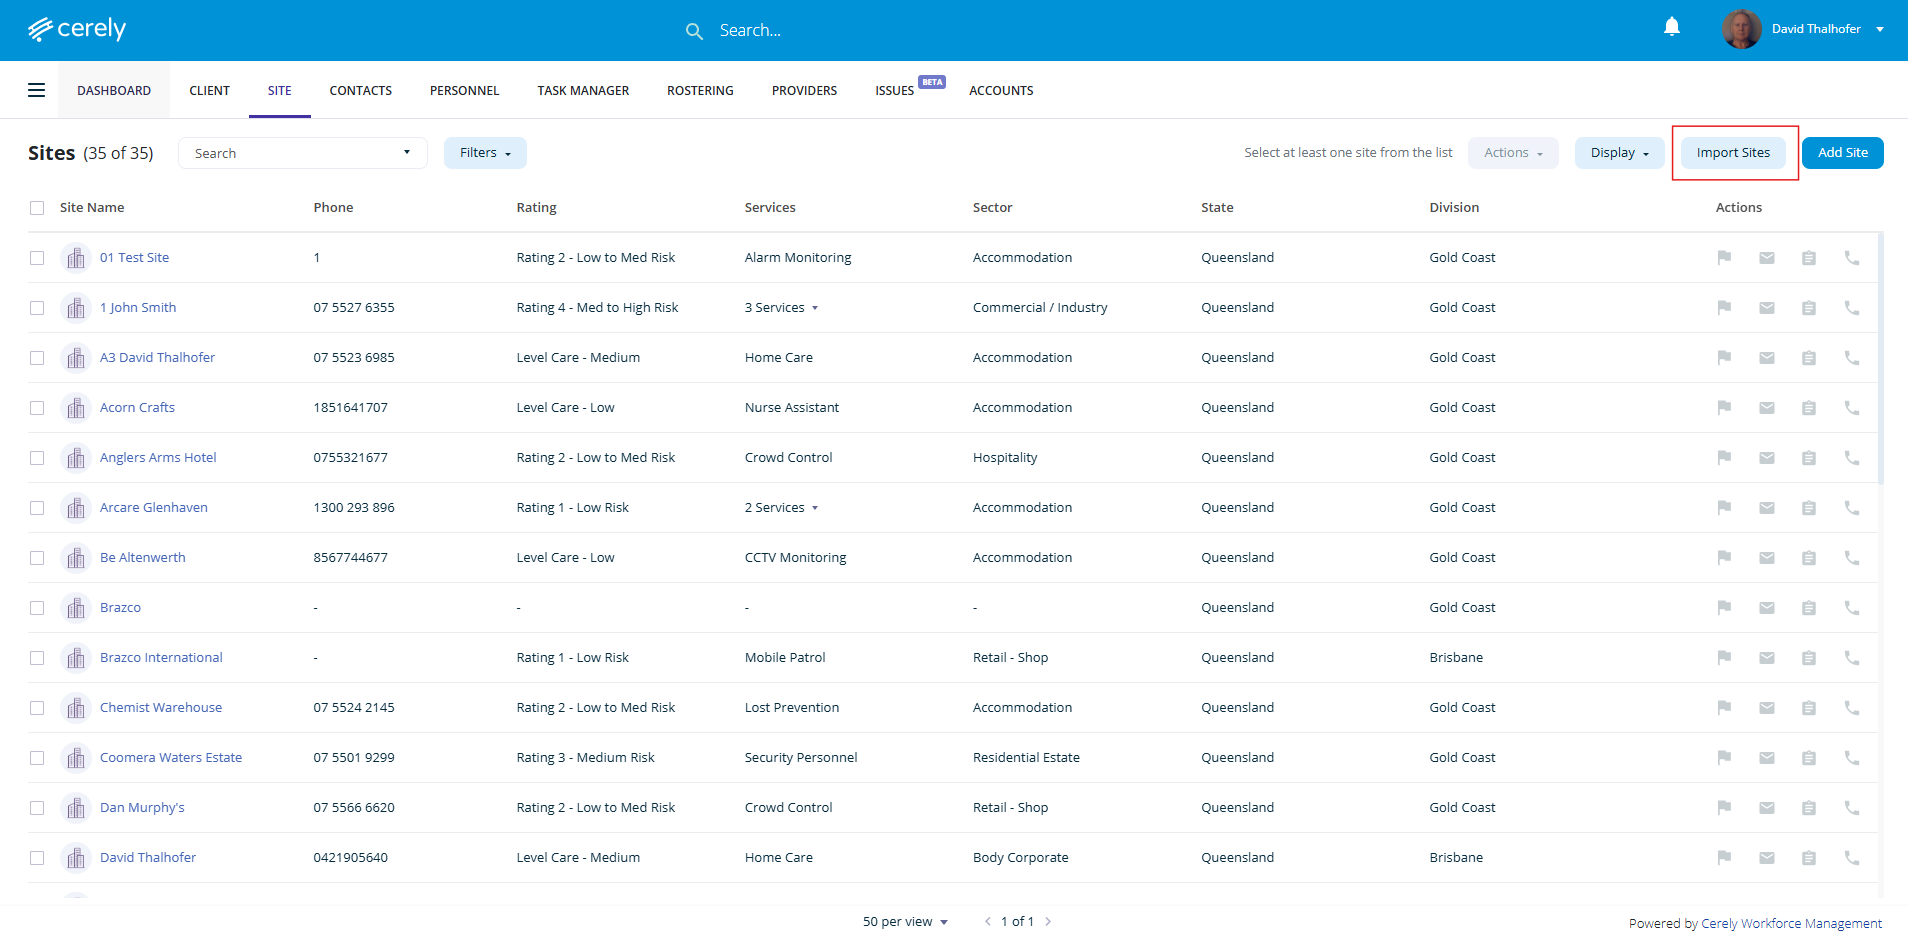
2. Click on the Import Sites button on the right hand side
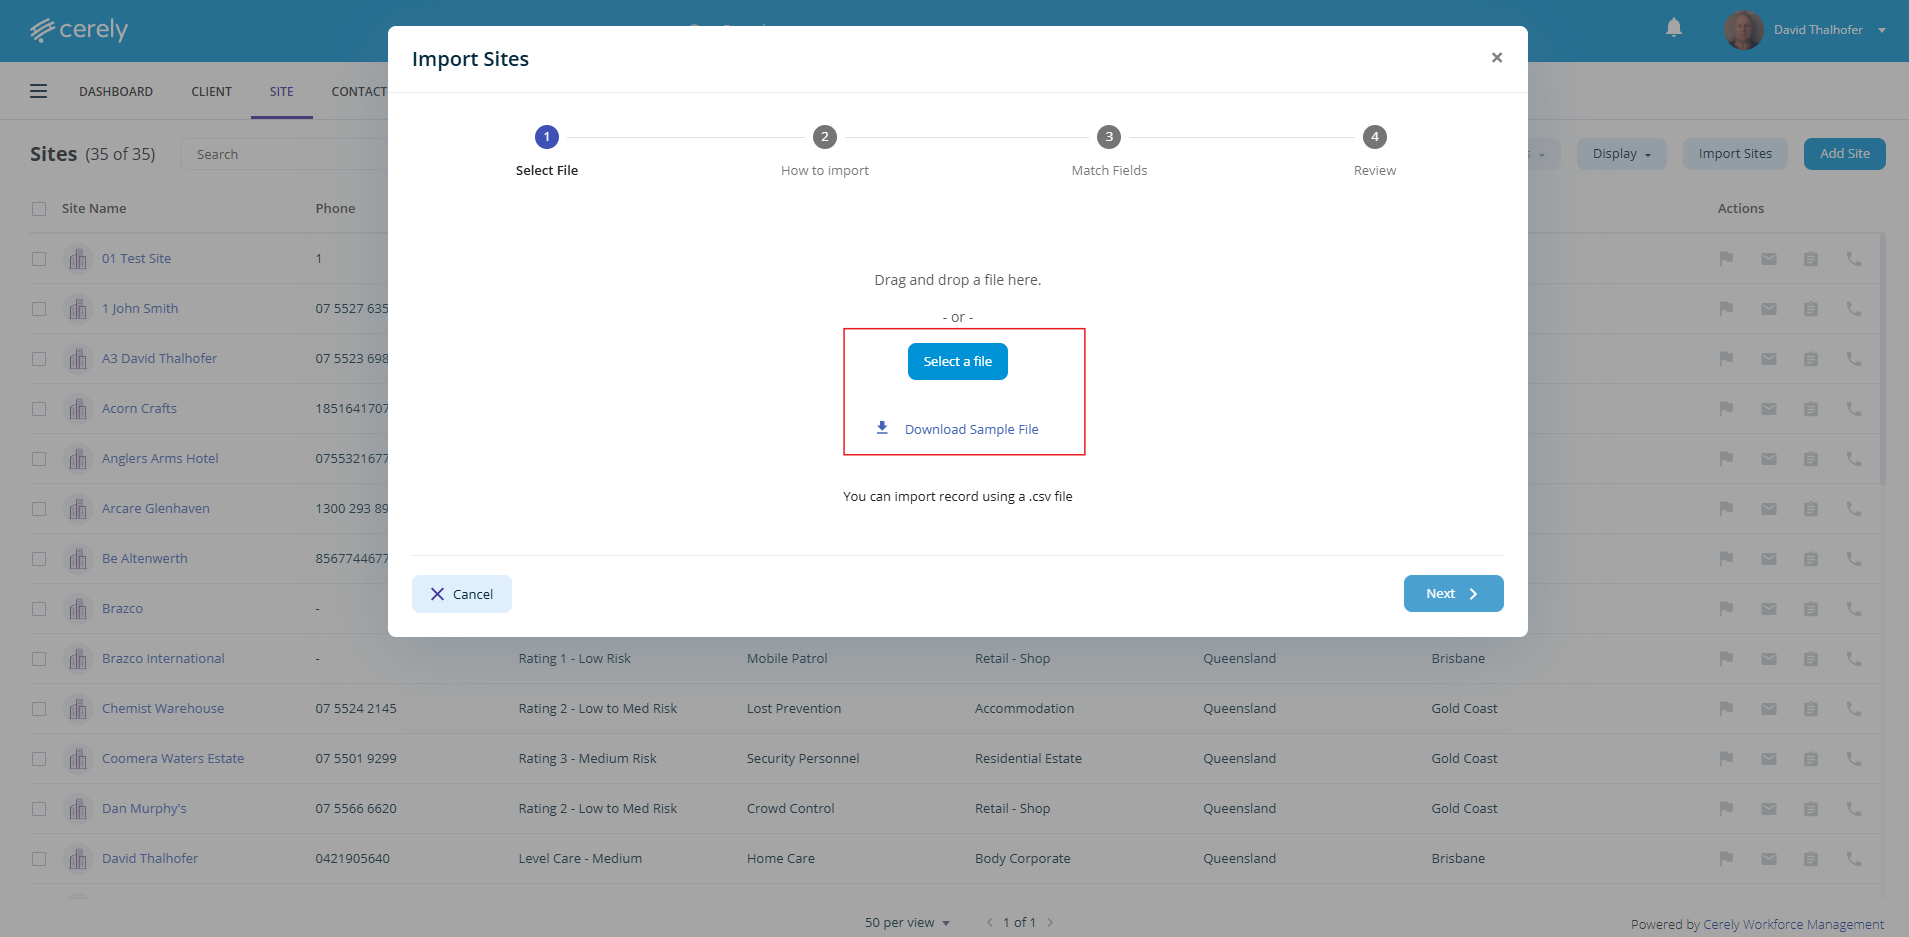
3. Click on the Download Sample File to access the import file template for completion
4. Input your site data into the downloaded template file
Important: The following fields are mandatory for a successful import:
- Site Name
- Client Name
- State
- Division
- Location (Address)
These mandatory fields are essential as they are used as filters and identifiers throughout the system
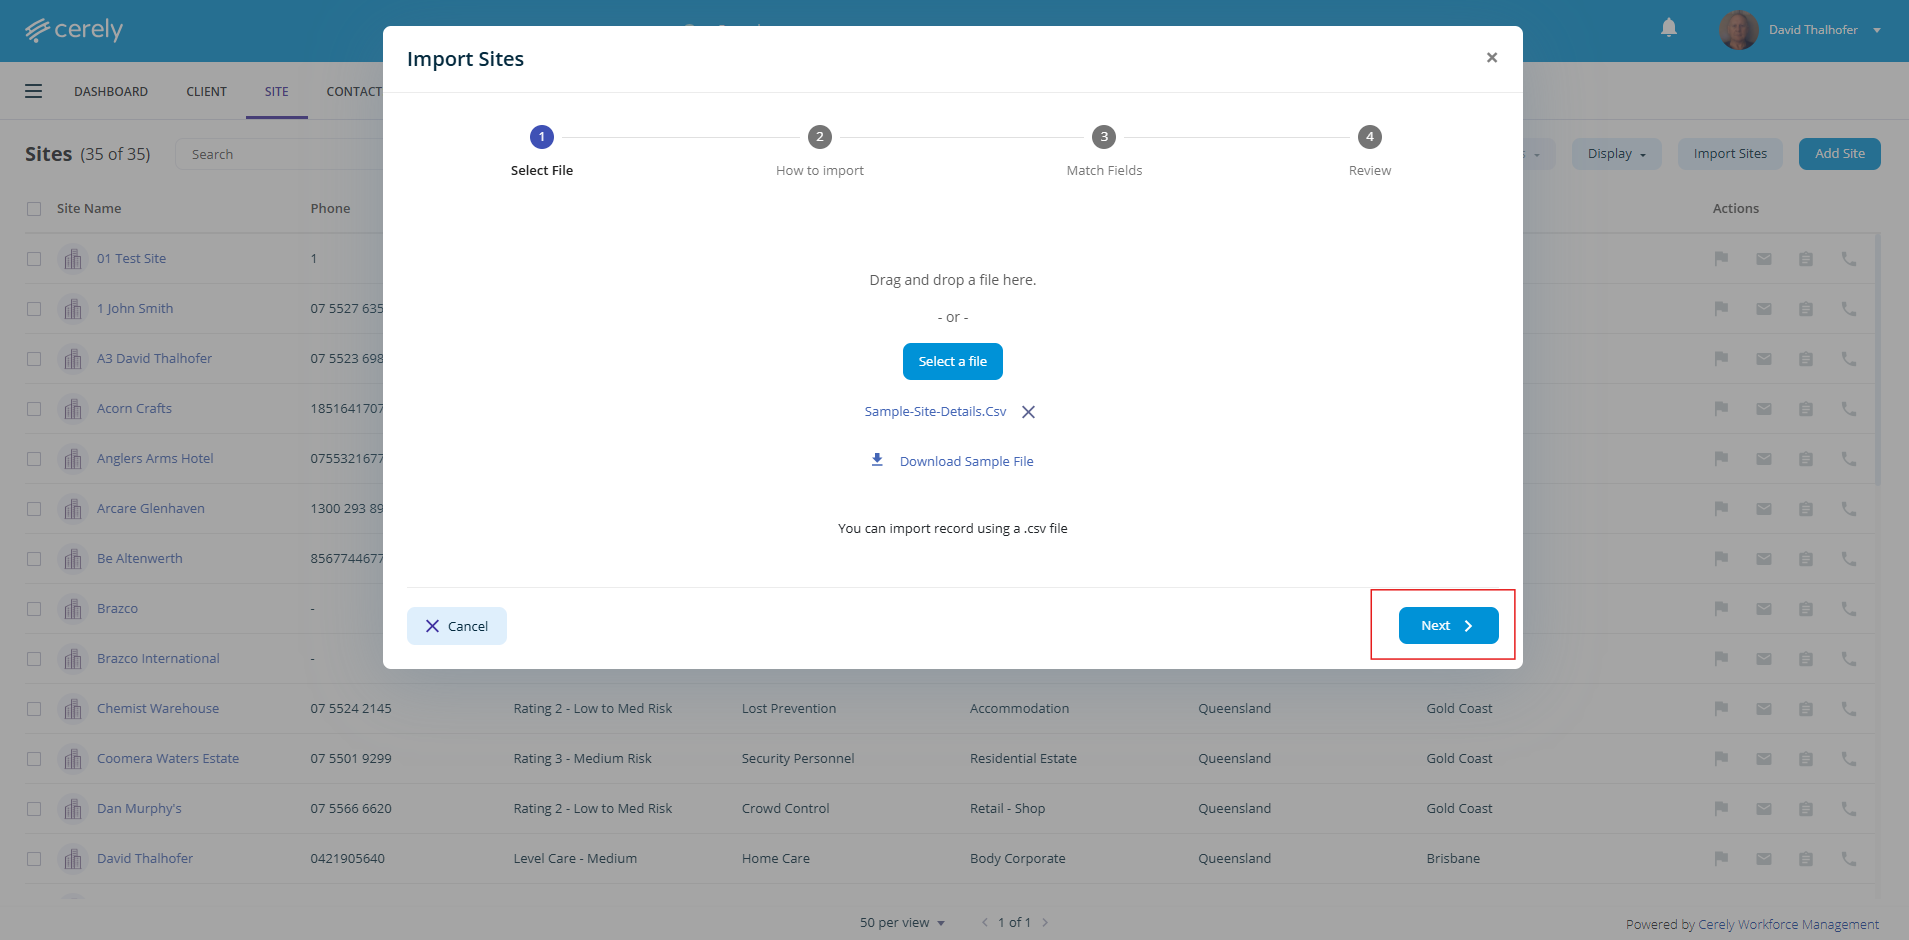
5. Save your completed template file once completed and upload it by clicking on Next
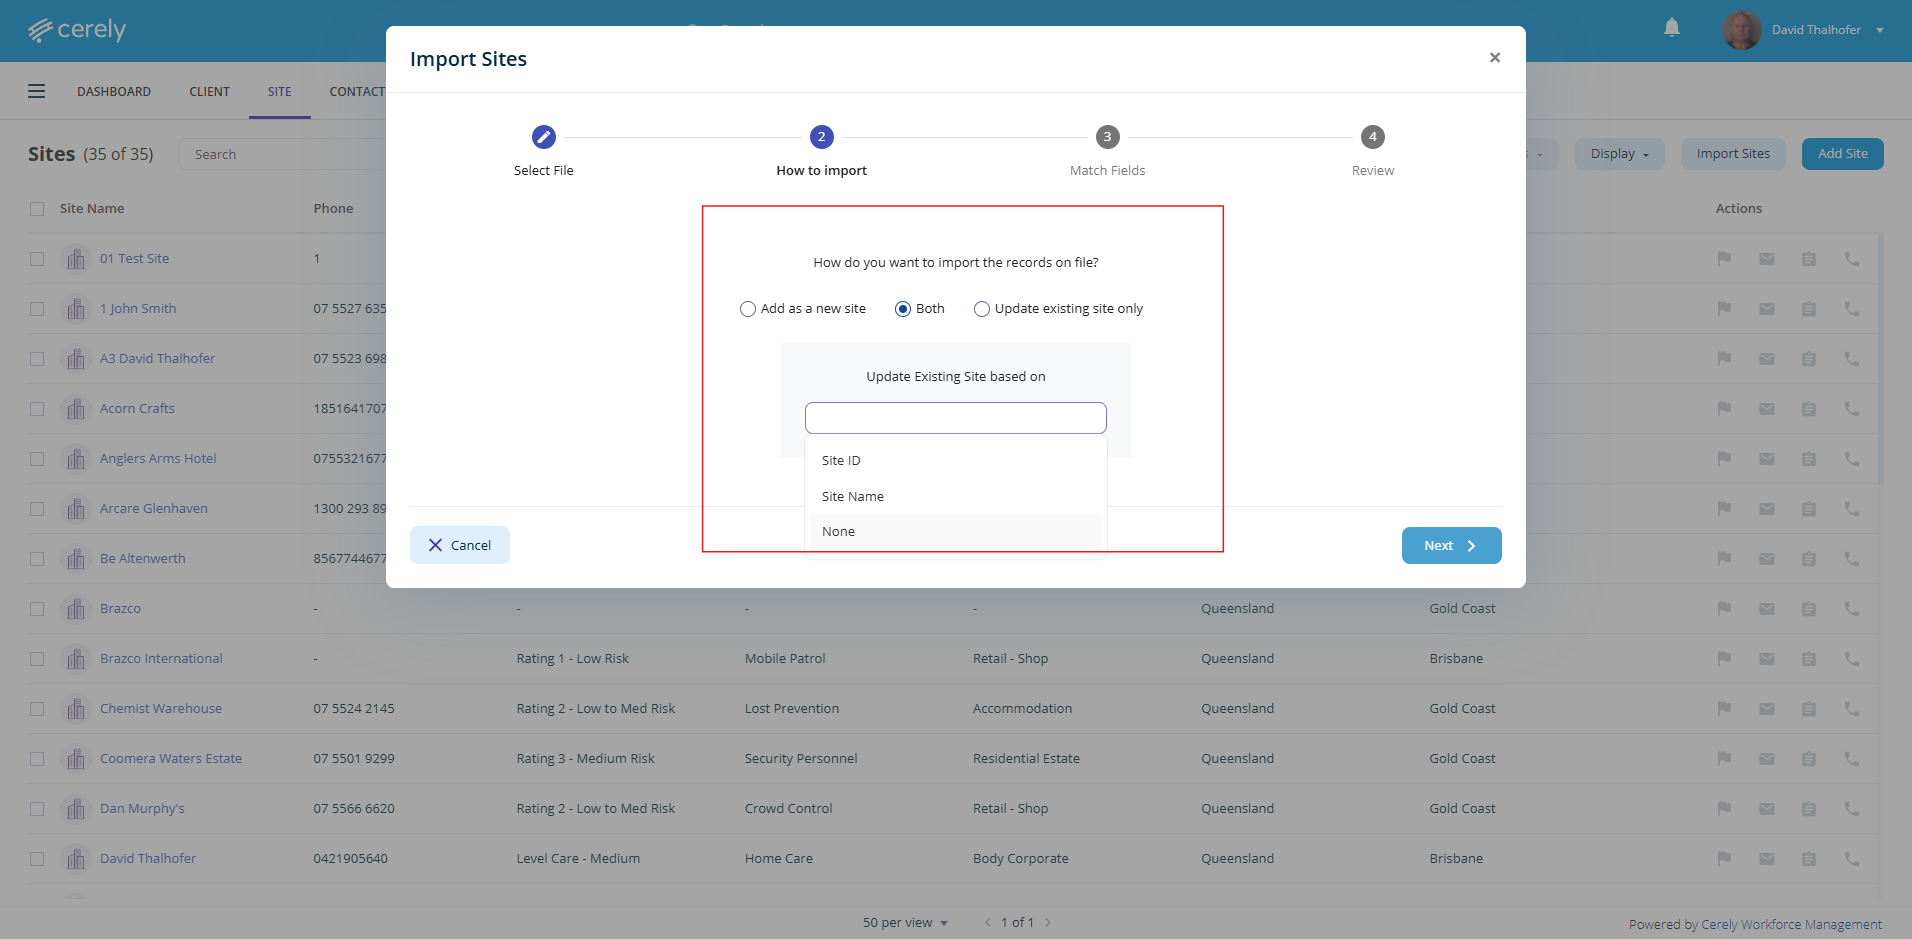
6. Once you have uploaded the file, choose how you want to import the records:
- Add as a New Site - Use this option if the site does not already exist in the system.
- Update Existing Site Only - Use this option if the site already exists in the system and you want to update their details.
- Both - Use this option if your import file contains a mix of new and existing sites
Cerely Will:
- Create new site records where no matching site exists, and
- Update existing site records where a match is found
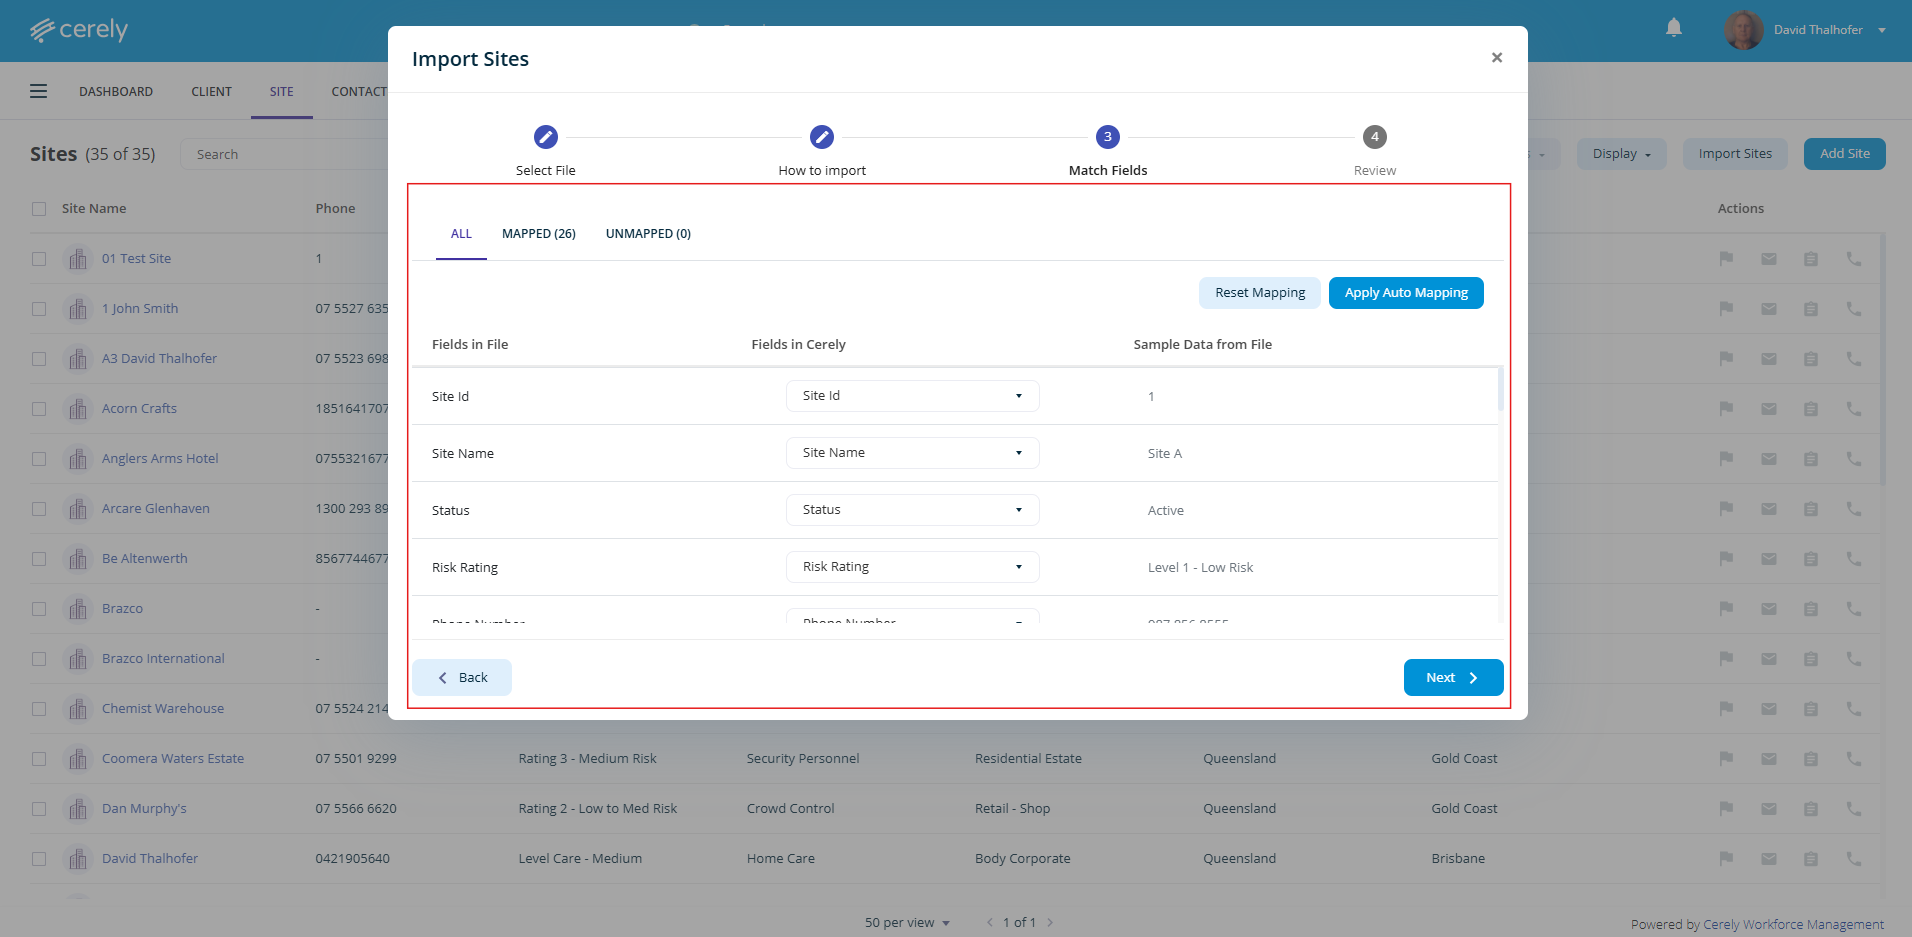
7. Review and configure the mapped records to ensure all fields are correctly matched and pulling through as expected
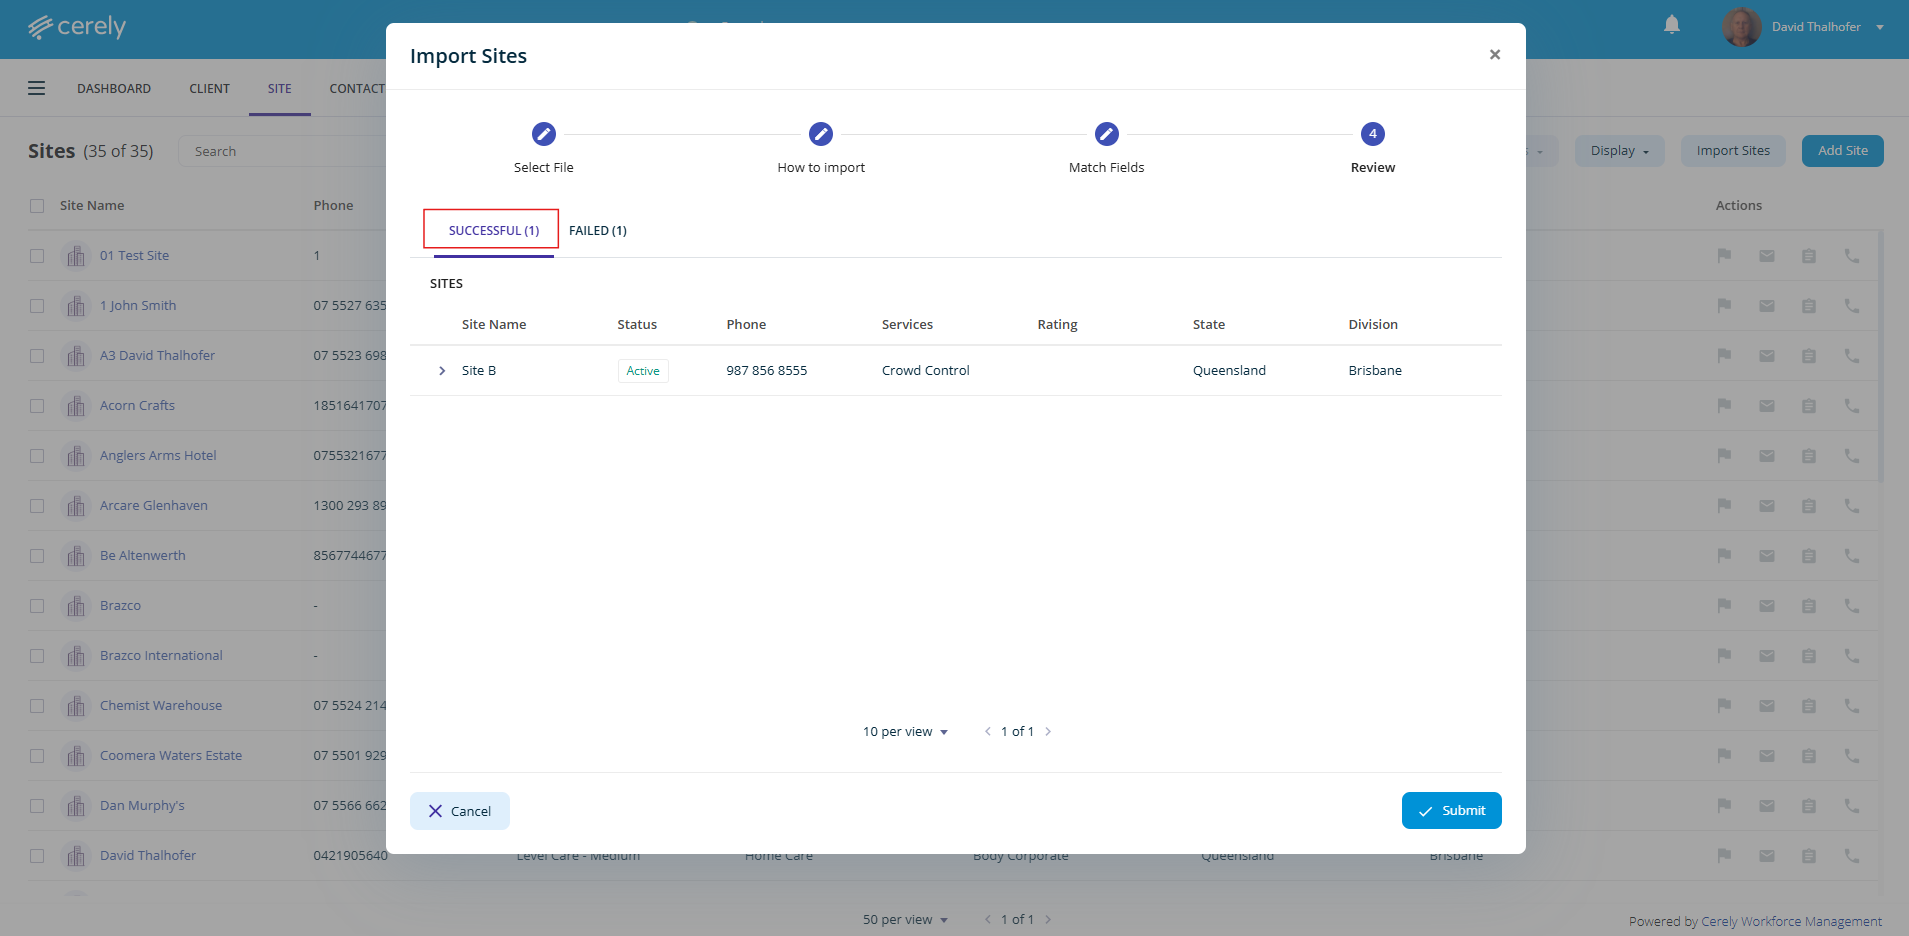
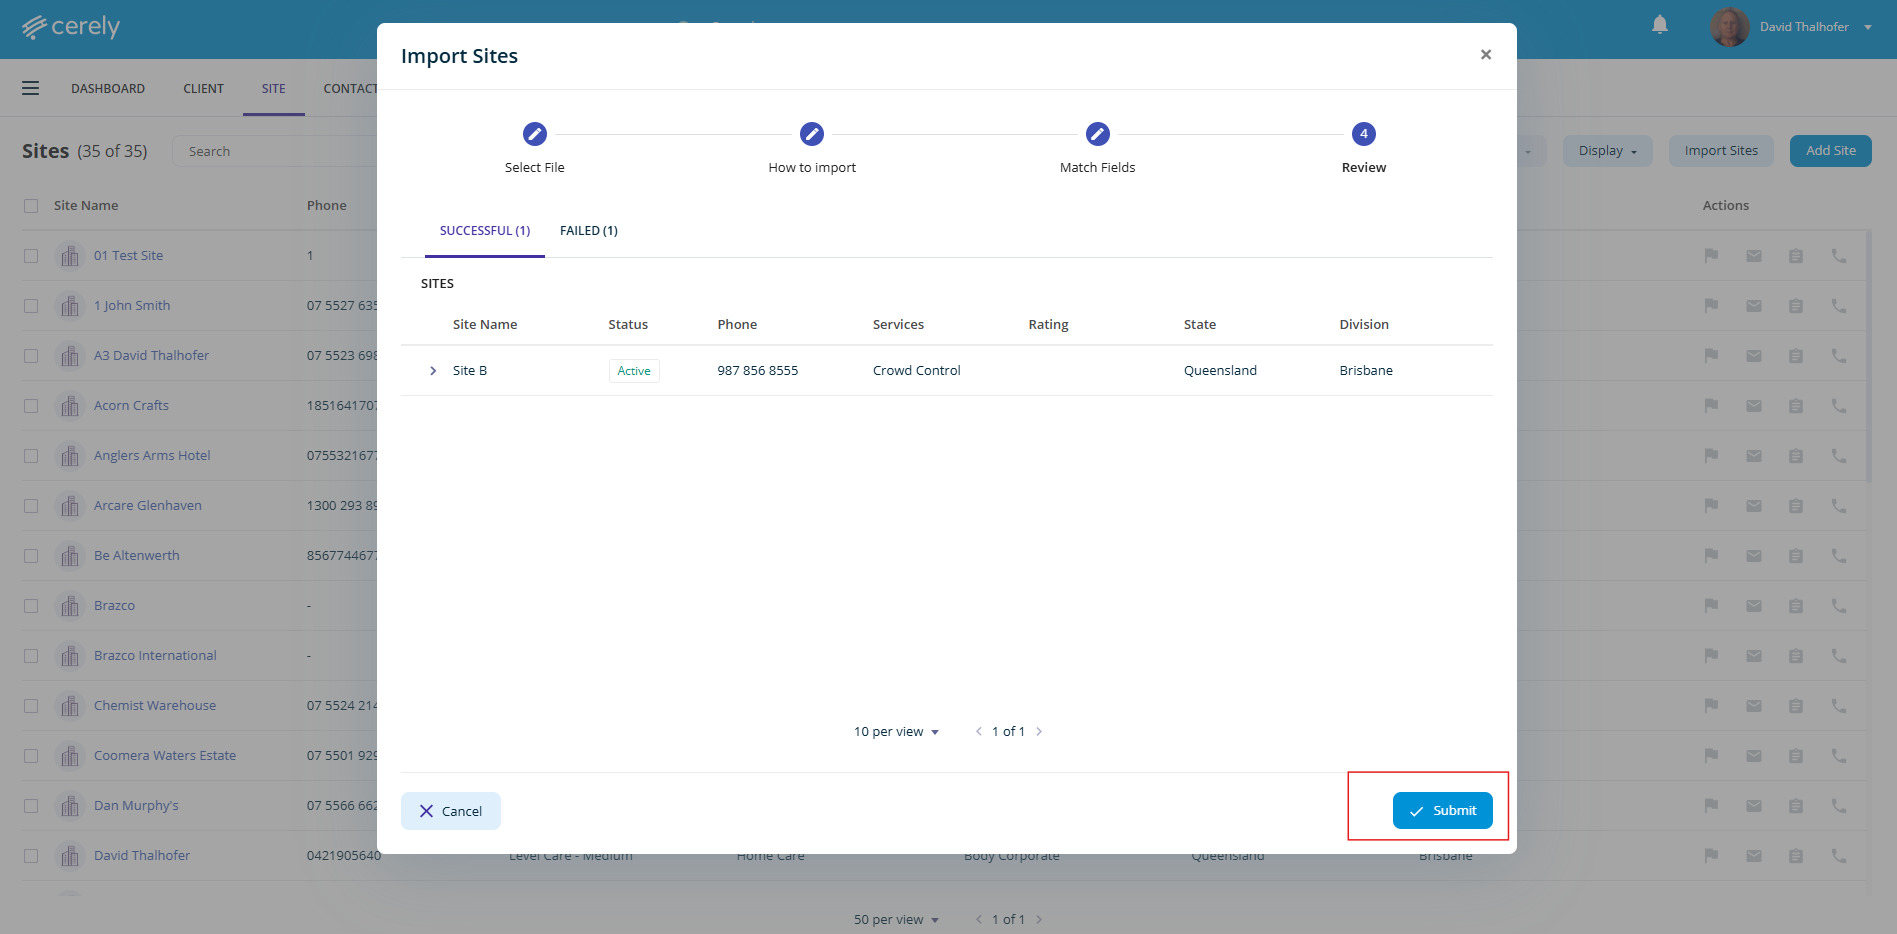
8. Click on Next The system will then display a preview of all the successfully matched data
9. If any records have failed, click on the Failed tab to view and update any incorrect or missing fields
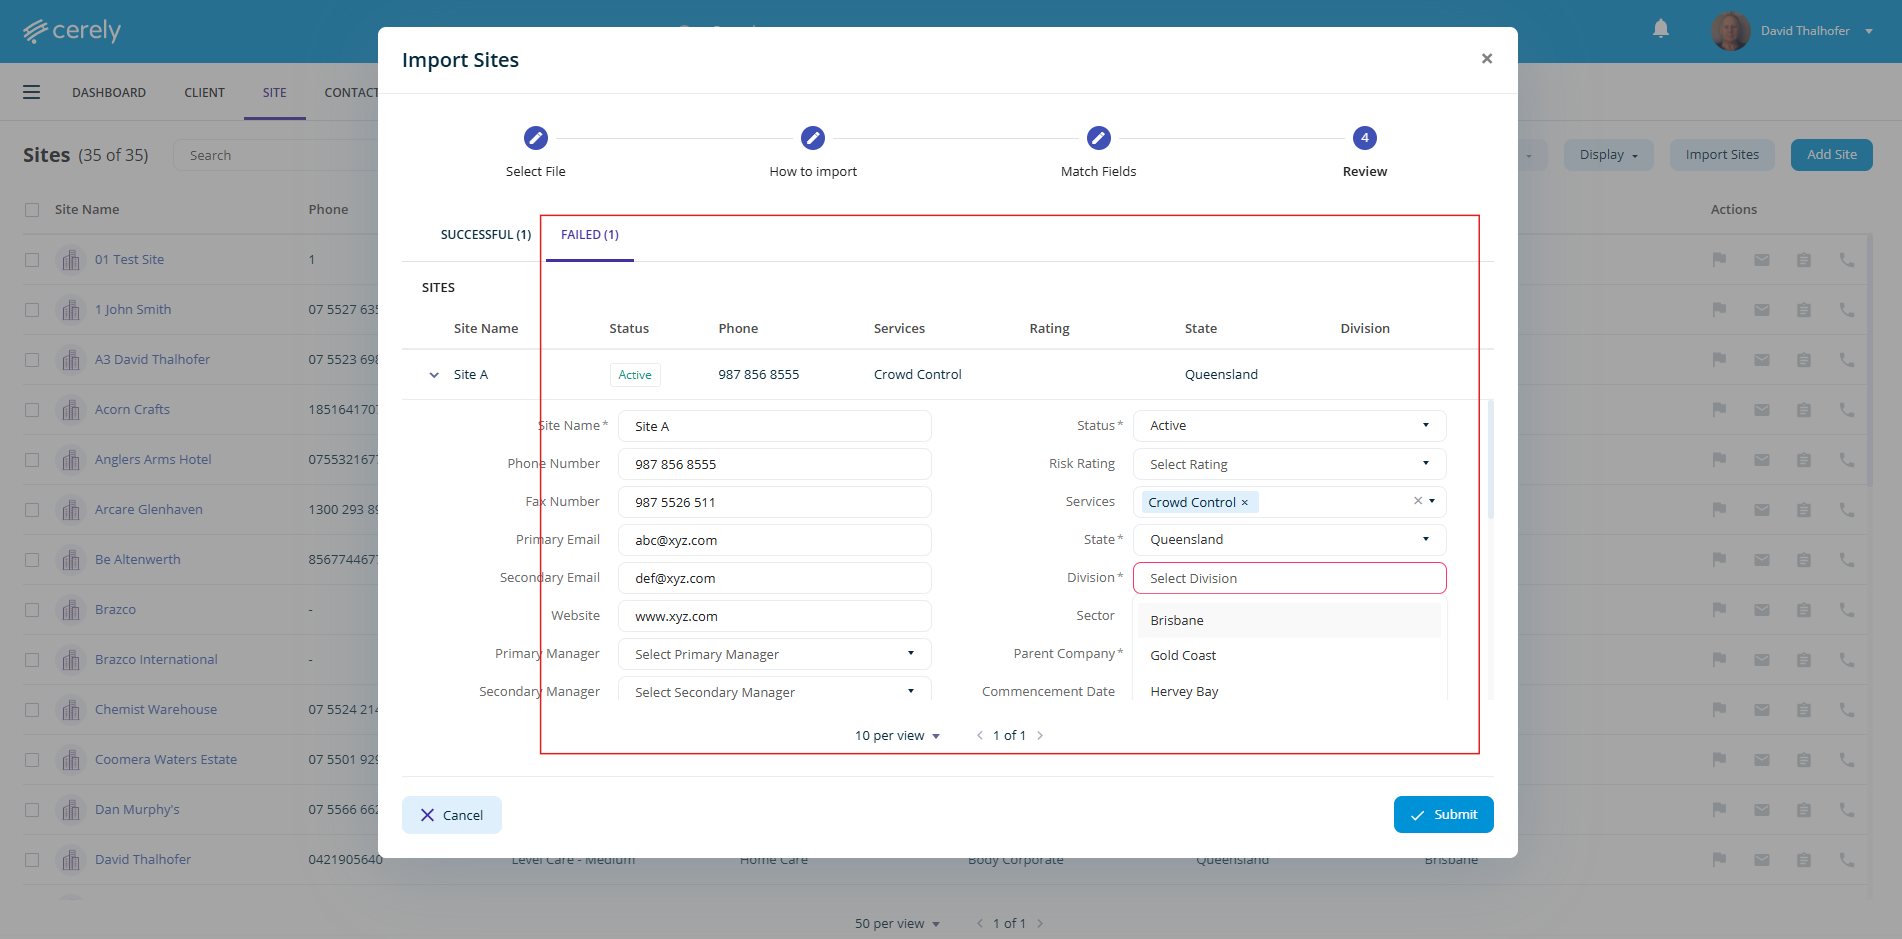
10. Once all data is correct, click on the Submit button
Your site records will now be imported or updated and will appear in the Site list in Cerely.