
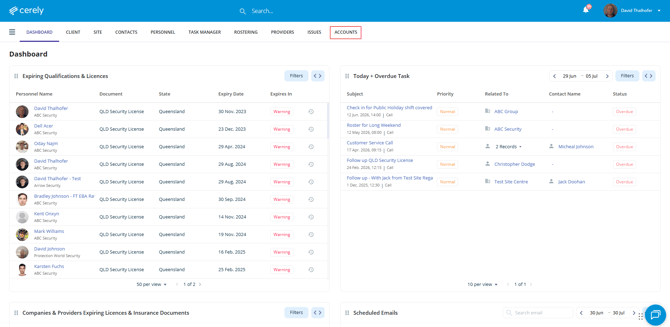
1. From the home screen in Cerely, click on the Accounts tab from the main menu
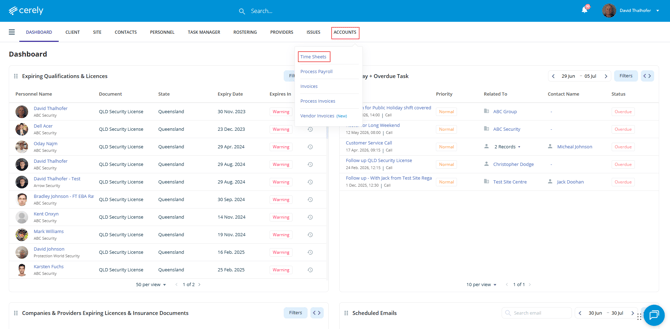
2. Select Timesheets from the drop down menu
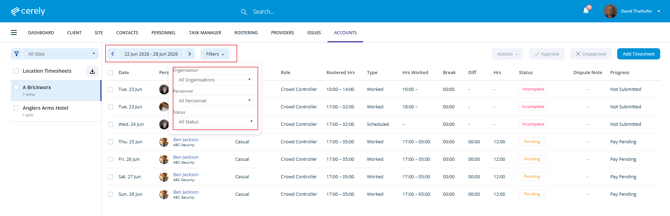
3. Locate the Approved Timesheet
Use the available filters listed below or select a Date Range to locate the approved timesheet you would like to edit.
You can filter by:
- Organisation
- Personnel
- Timesheet Status
Once located, click on the approved timesheet to open it
4. Click on the Edit button, the Edit Timesheet screen will open
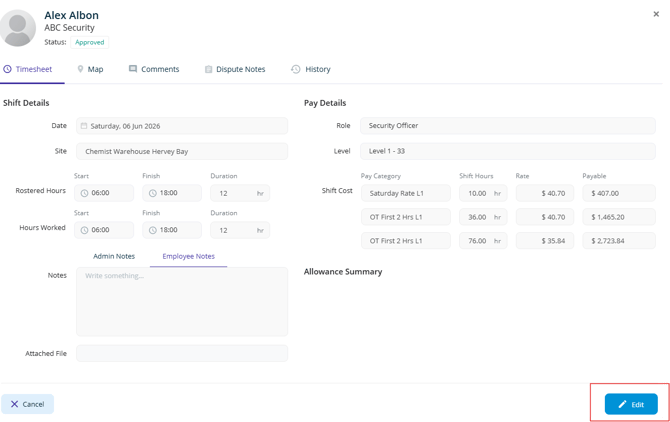
5. Update the Timesheet Details
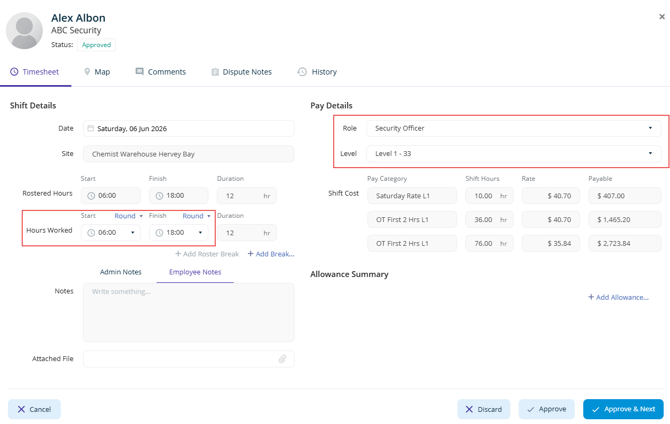
You can edit the following fields:
| Field | Description |
|---|---|
| Start Time | Update the employee's start time. |
| Finish Time | Update the employee's finish time. |
| Role / Pay Level | Select a different Role or Pay Level if the employee performed a different role during the shift. |
6. Once you have completed the required changes, click on the Approve button
Important - If payroll has not been locked and client invoices have not been generated, the changes will be saved and the timesheet will remain in an Approved status.
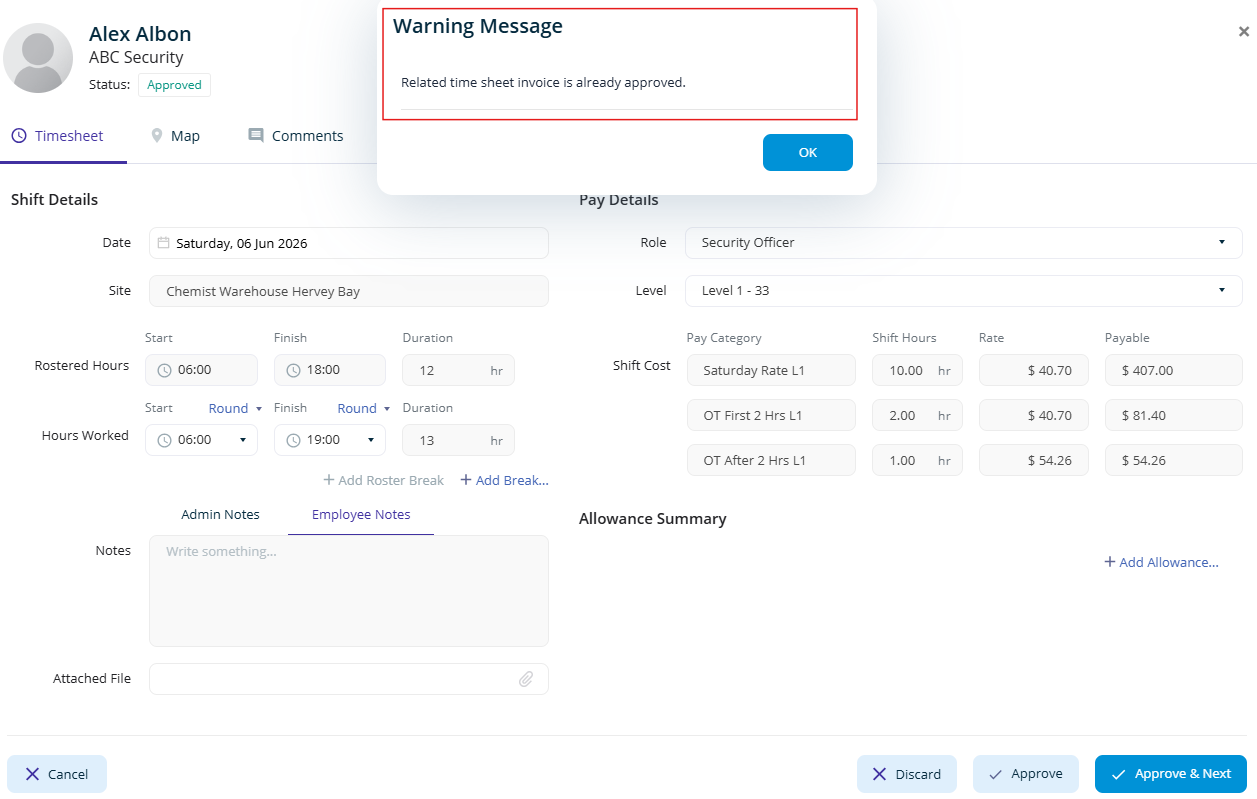
7. System Validation, before saving the changes, Cerely will automatically validate whether the approved timesheet can be updated.
Important - Approved timesheets can only be edited if:
- Payroll has not been locked.
- Client invoices have not been generated.
If either payroll has been locked or client invoices have already been generated, Cerely will display a warning message and the timesheet cannot be updated.
8. Processing Additional Hours, if payroll has already been locked or client invoices have already been generated, the approved timesheet cannot be edited.
Tip - If additional hours need to be processed, create a new timesheet for the outstanding hours. This will ensure the additional hours are included in the next available payroll and invoicing cycle.