
Before You Start: Ensure your site roster has already been created and that employees have been added to the system with their licences, qualifications, availability, and compliance information up to date.
Step 1: Navigate to the Site Roster
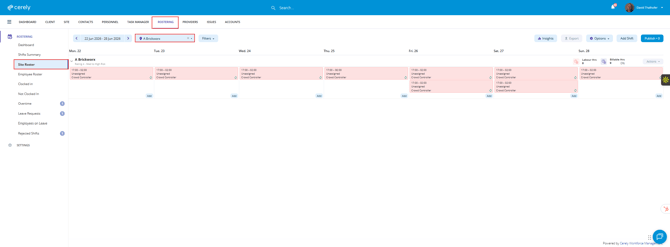
From the main top menu, click the Rostering tab, then select Site Roster.
Select the site roster you wish to assign personnel to.
Step 2: Select the Shifts
Click on each unassigned shifts individually you want to assign personnel to.
You can:
- Select a single shift.
- Select multiple shifts.
- Select all shifts within the roster if required.
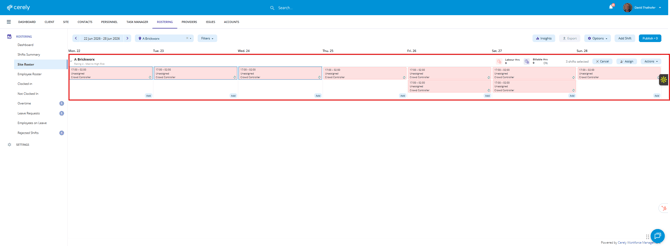
Tip: Selecting multiple shifts allows you to assign personnel in bulk, significantly reducing the time spent rostering recurring shifts.
Step 3: Open the Assign Personnel Window
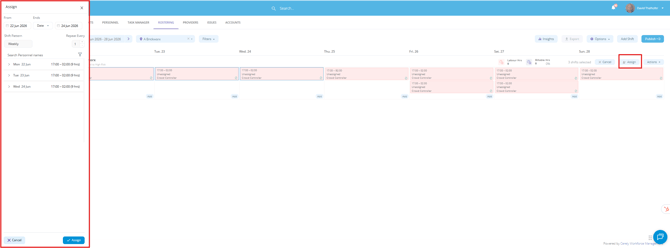
Once the required shifts have been selected, click the Assign button.
The system will display the Assign Personnel drawer on the left side of the screen.
Step 4: Review Matching Personnel
When a shift is selected, Cerely automatically evaluates personnel against the shift requirements and displays matching personnel.
The matching process considers factors such as:
- Site Licences and qualifications Requirements
- Personnel Availability
- If personnel are assign to an shift with overlapping start or finish times
- Visa working hours/Conditions,
- State & Division restrictions
Personnel who fully meet the requirements will appear as matching personnel.
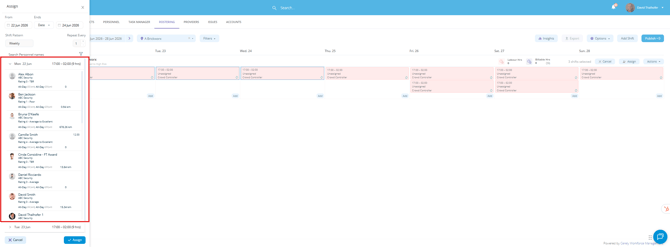
Tip: Cerely automatically checks each shift individually to ensure personnel meet the specific requirements for the selected date and shift.
Step 5: Review Personnel Warnings
Some personnel may display with warning indicators.
Hover over the warning icon to view additional information.
Examples may include:
- Expiring security licences
- Expiring certificates
- Expiring visas
- Other compliance related warnings
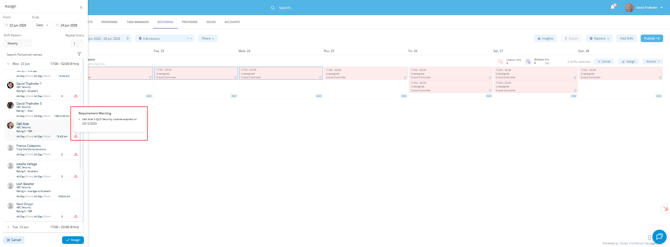
Important: Personnel with warnings can still be rostered if the warning is not configured as an enforced compliance rule.
Step 6: Search for Personnel
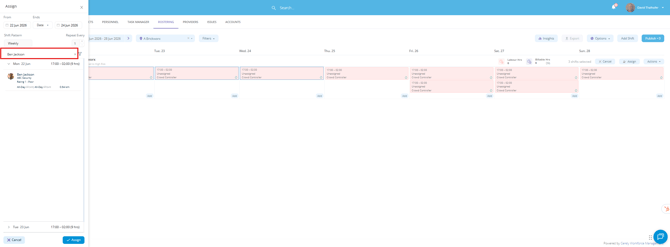
Use the search field to quickly locate a specific employee.
This is particularly useful when managing large workforces.
Step 7: Use Advanced Filters
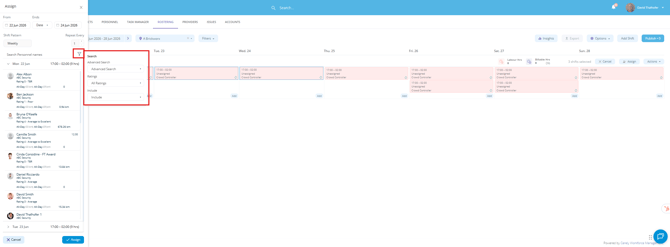
Click the Filter button to refine the personnel list.
Available filtering options may include:
- Personnel who previously worked at the site
- Employee ratings
- Compliance status
- Availability
- Other rostering criteria
The system will automatically update the personnel list based on the selected filters.
Step 8: Review Does Not Match Personnel
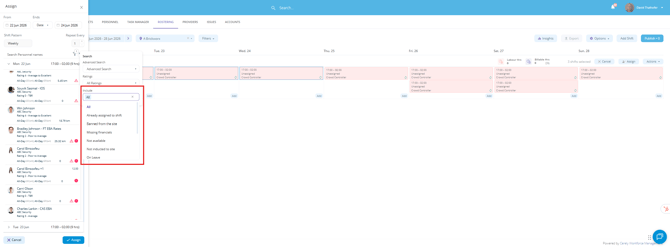
To understand why certain personnel are not displayed as matches, open the Include filter and select additional personnel categories.
This allows you to view personnel who are currently excluded from matching results.
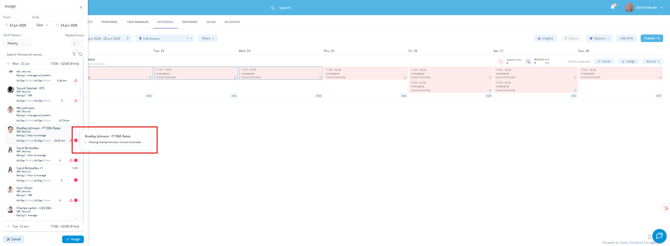
Personnel who do not meet the shift requirements will display a status icon.
Hover over the icon to view the reason.
Examples may include:
- Missing Licence
- Missing licence functions
- Missing uniform or PPE
- Expired qualifications
- Expired visas
- Availability conflicts
- Outside of division
- and other options
Important: Personnel who fail enforced compliance requirements will not appear as matching personnel until the compliance issue has been resolved.
Step 9: Assign Personnel to Shifts
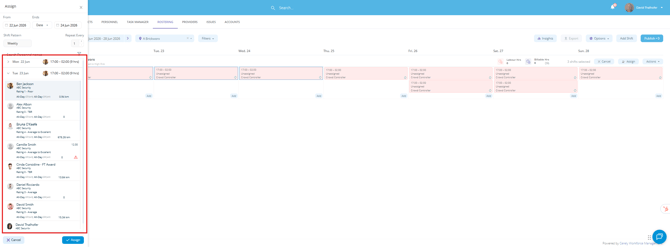
Click on a personnel name from the list under each date to assign them to that shift.
Once you have selected a personnel for one date, click on the next date to view the personnel list for that shift and select the same or a different personnel as required.
Repeat this process for each date or shift until all selected shifts have a personnel assigned.
Step 10: Configure the Assignment Duration
At the top of the Assign Personnel drawer, configure how long the assignment should continue.
You can choose from the following options:
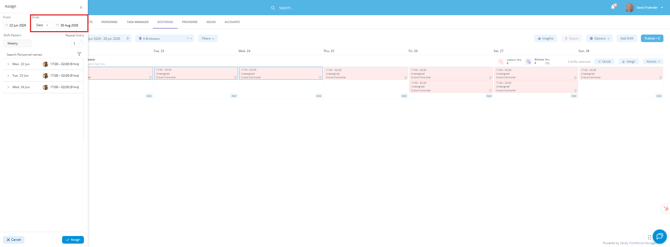
Date
Select a specific end date for the assignment.
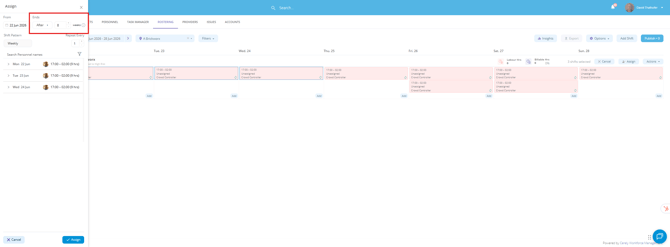
or After
Enter the number of weeks the assignment should continue.
Examples:
- 1 week
- 2 weeks
- 3 weeks
- 4 weeks
- 8 weeks
- 12 weeks max
or, Never
Create an ongoing assignment.
The system will continue generating assignments up to 3 months (12 weeks) max in one roster period.
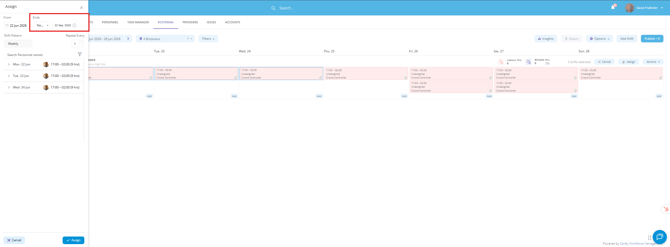
Tip: Using the After option is one of the fastest ways to roster recurring personnel for multiple weeks without needing to manually assign staff each week.
Step 11: Assign Personnel Across Multiple Weeks
Once the personnel and assignment duration have been selected, click Assign.
The system will automatically assign the selected personnel to all matching shifts for the specified period.
Review the roster to confirm the personnel have been assigned successfully.
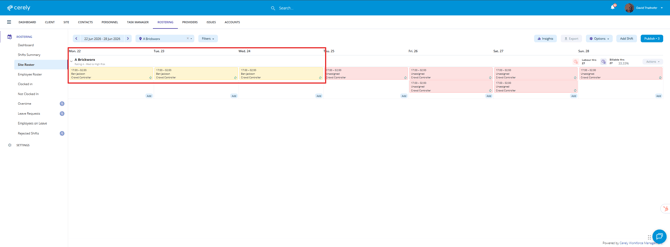
Assigned shifts will now display the employee names within the roster.
By default - 1 week view show same personnel assign to current week shifts
Step 12: Review Future Rosters
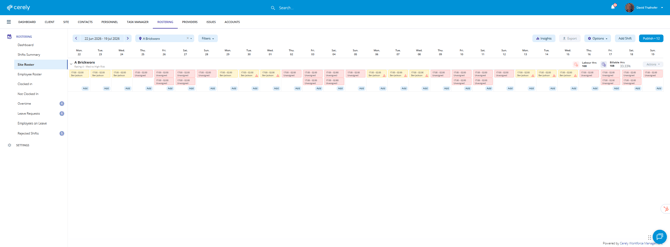
To verify future roster views, change the roster view using the Date Range options.
When the roster is displayed in Kanban View, you can select from the following date range options:
- 1 Week View
- 2 Week View
- 4 Week View
This allows you to quickly confirm assignments across future roster periods.
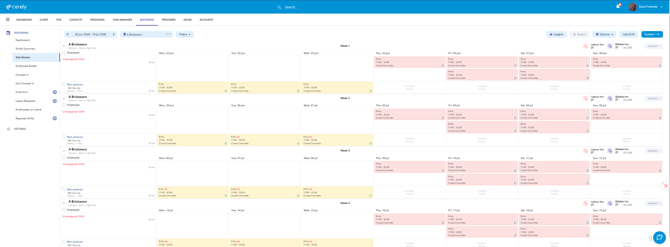
If Kanban View is turned off, the roster will display in the Standard View. In this view, personnel are displayed on the left-hand side of the screen, providing an alternative layout for reviewing a site roster view and coverage.
Best Practice for Faster Rostering
Rather than assigning personnel one week at a time, create roster assignments for multiple weeks or months in advance.
A common approach is to:
- Assign recurring personnel for 4, 8, or 12 weeks.
- Review the roster weekly.
- Fill any remaining unassigned shifts.
- Make adjustments only when required.
This significantly reduces rostering administration and improves consistency across your workforce by more then 75%.