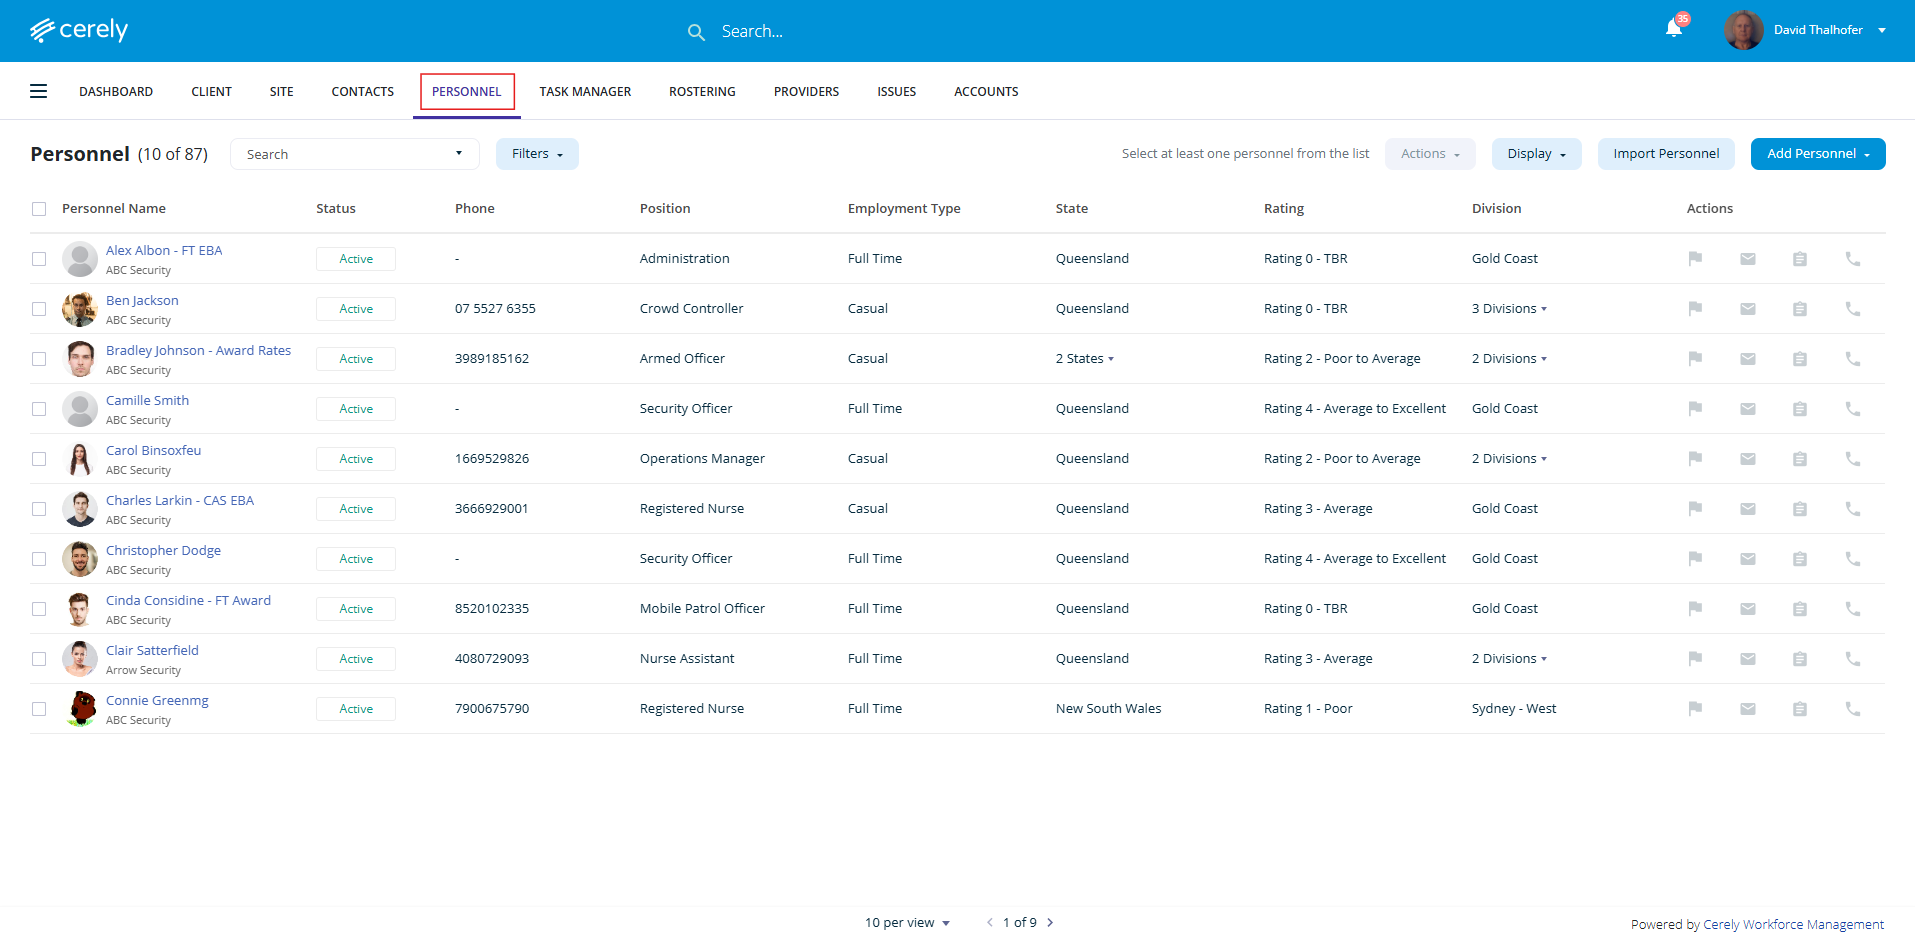
1. From the home screen in Cerely, click on the Personnel tab from the Cerely top main menu
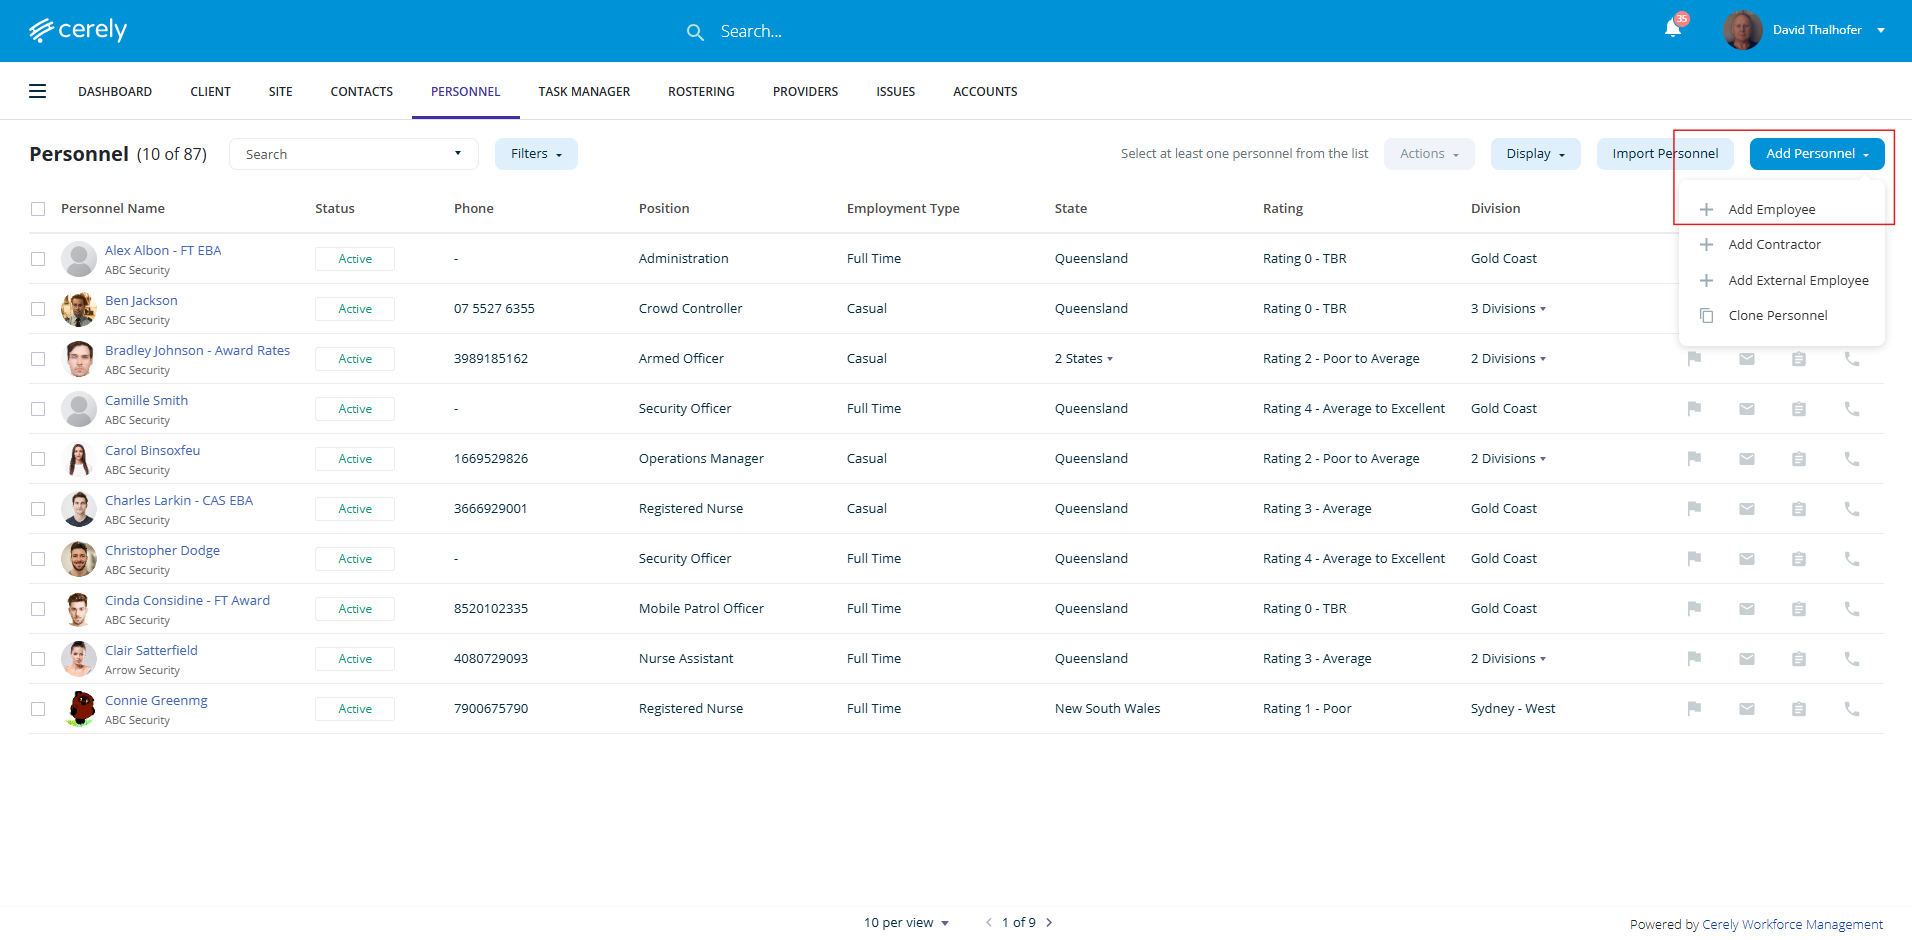
2. Click on the Add Personnel button from the right hand side menu and click on + Add Employee from the dropdown menu
3. Enter all of the employee’s details in the fields provided
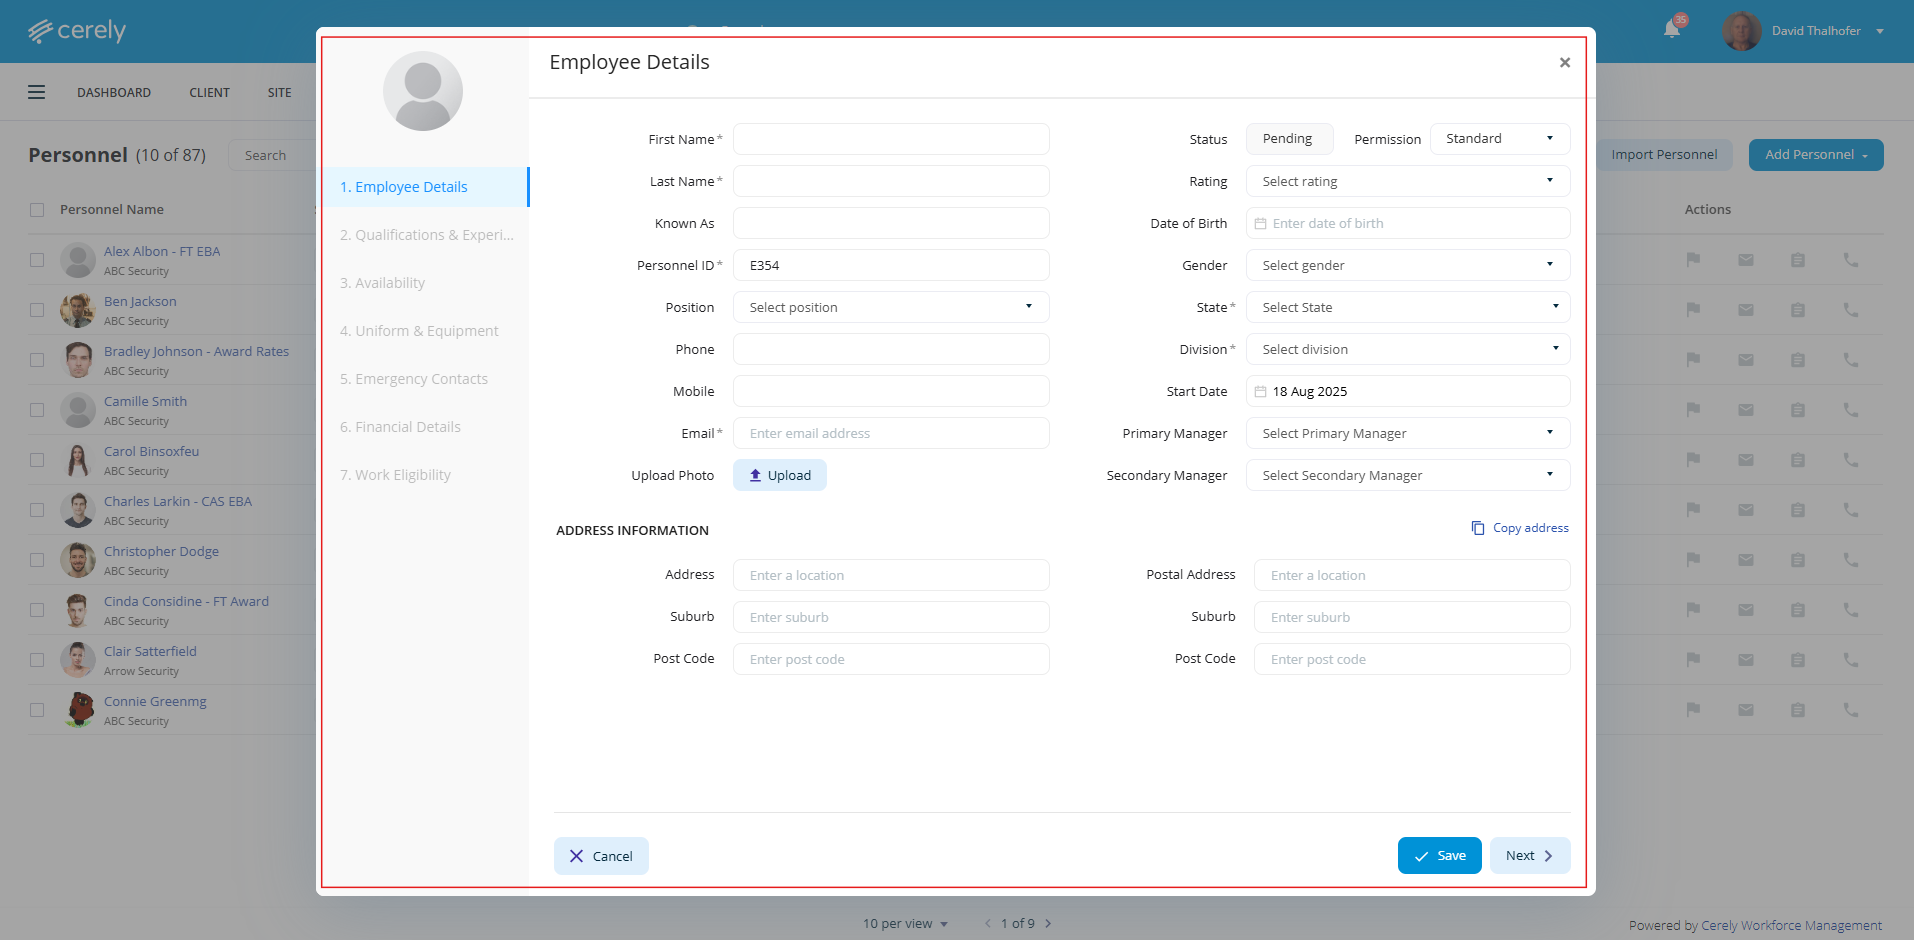
Employee Details to Complete
| Field | Description |
|---|---|
| First Name & Last Name | Enter the employee's legal name |
| Known As | Enter a preferred name or nickname (if applicable) |
| Personnel ID | Automatically generated by default. You may manually change this to match an employee’s badge or licence number |
| Position | Select the employee’s position from the dropdown |
| Phone / Mobile | Enter the employee’s contact number |
| Email Address | Enter the employee’s personal email address (used for login and notifications) |
| Upload Photo | Upload a headshot of the employee |
| Status | Remains as Pending until the employee accepts the Cerely invitation issued to them |
| Permission | Select either Standard or Supervisor access level |
| Rating | Optional – Add a performance rating for internal use |
| Date of Birth | Enter the employee’s birth date |
| State | Select the state(s) where the employee is authorised to work |
| Division | Select the division(s) where the employee may be rostered |
| Start Date | Enter the employee’s commencement date |
| Primary Manager | Select the employee’s main supervisor or direct manager |
| Secondary Manager | Optional – Select a backup manager |
| Address Information | Enter the employee’s residential address |
6. Add Financial Details (Mandatory)
To ensure the employee can be paid and rostered correctly, and send them an invitation you must complete their financial details:
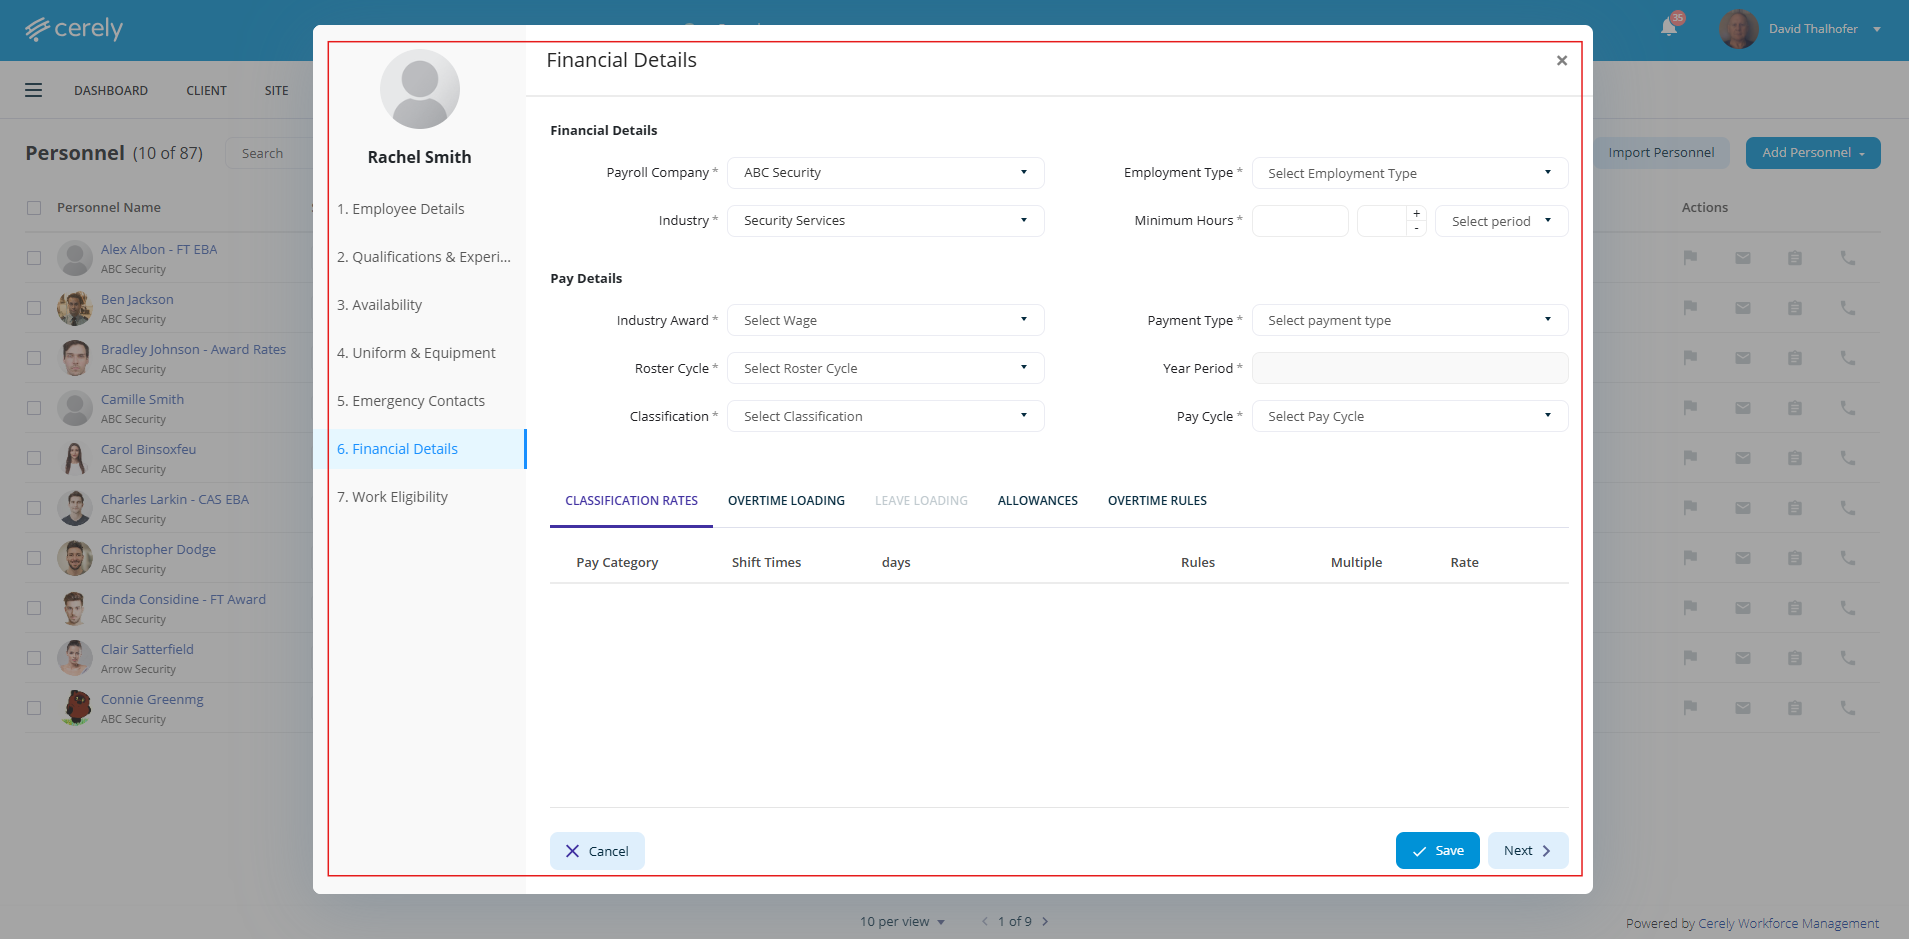
Financial Details to Complete
| Field | Description |
|---|---|
| Payroll Company | Select the entity the employee will be paid by |
| Industry | Choose the relevant industry for award or agreement application |
| Roster Cycle | Select the employee’s roster frequency (e.g., Weekly, Fortnightly) |
| Classification | Choose the appropriate level under the award or agreement |
| Employment Type | Select the employment category (e.g., Full-Time, Part-Time, Casual) |
| Minimum Hours | Enter the minimum hours guaranteed per cycle |
| Payment Type | Select the preferred method of payment (e.g. EFT) |
| Pay Cycle | Choose the payroll processing cycle (e.g. Weekly, Fortnightly) |
Note: All classification rates, overtime loadings, and allowances will populate automatically based on the selected Industry Award, Classification, and Employment Type.
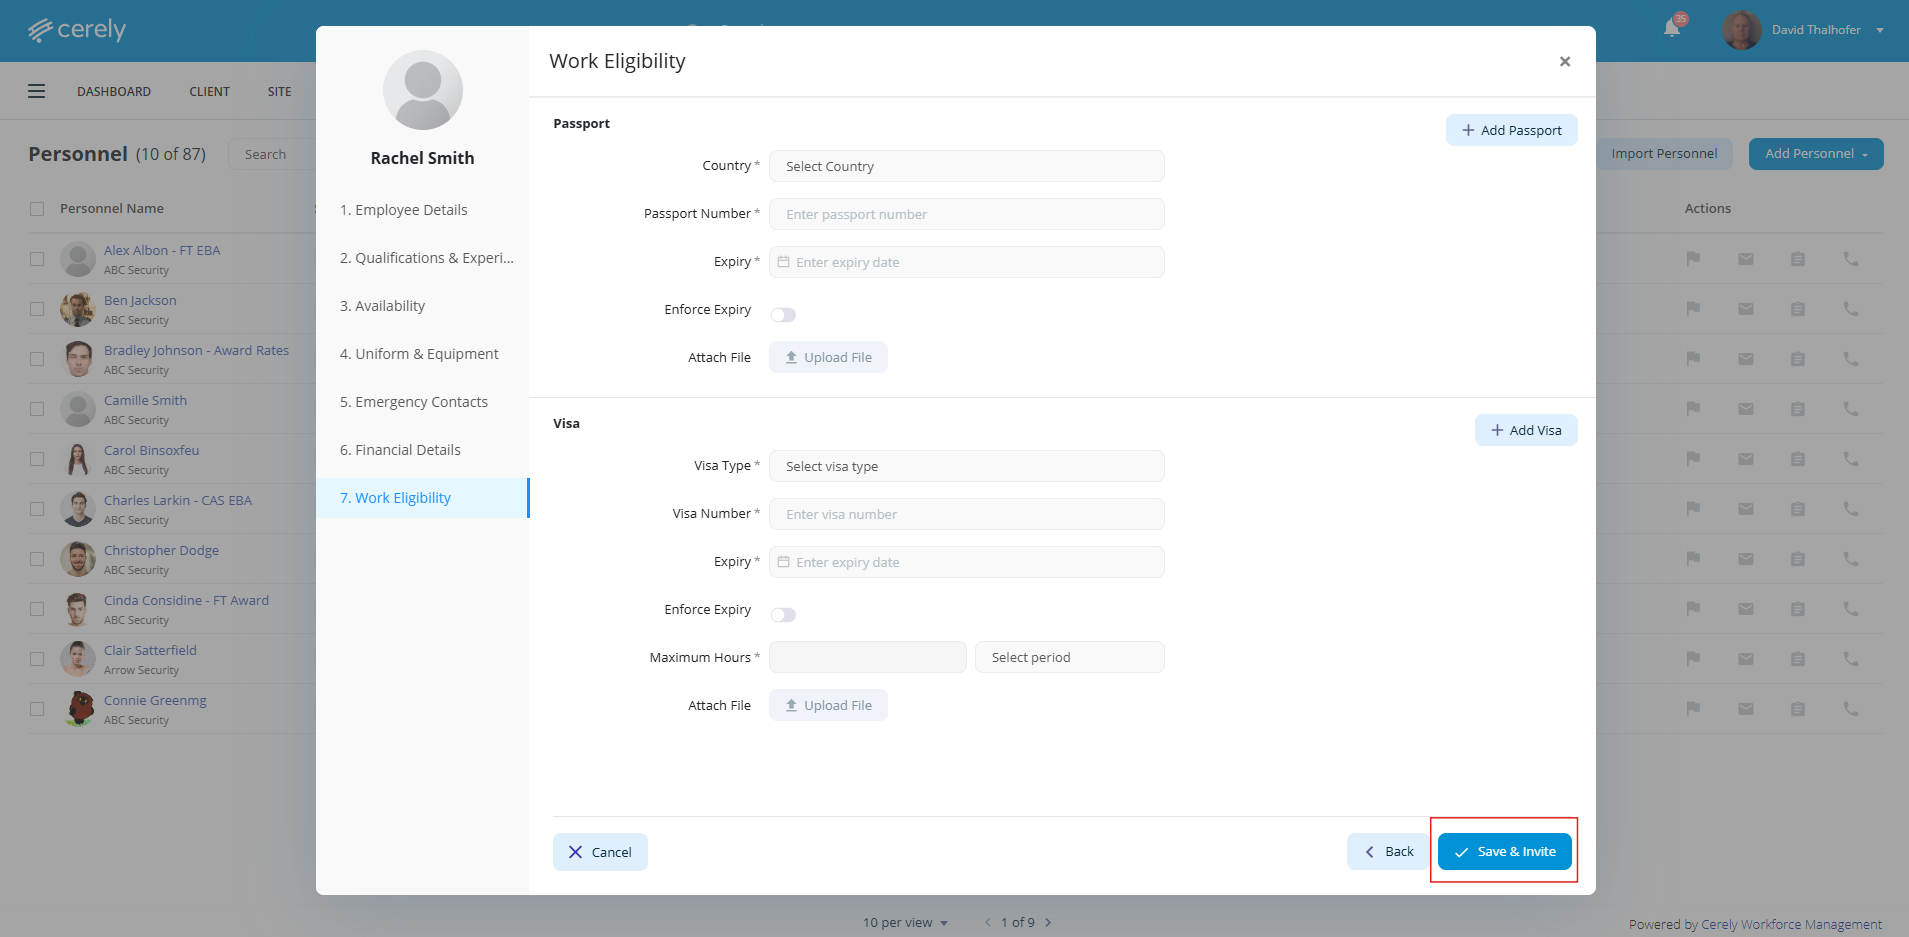
Final Step: Send Invitation
Once all of the details are completed:
- Click Submit to save the employee profile
- Click Invite to send an activation email to the employee, enabling them to access the Cerely app
You now need to go and complete the employee’s Qualifications and Experience in order to roster effectively using skill matching and to ensure compliance warnings are triggered where appropriate.