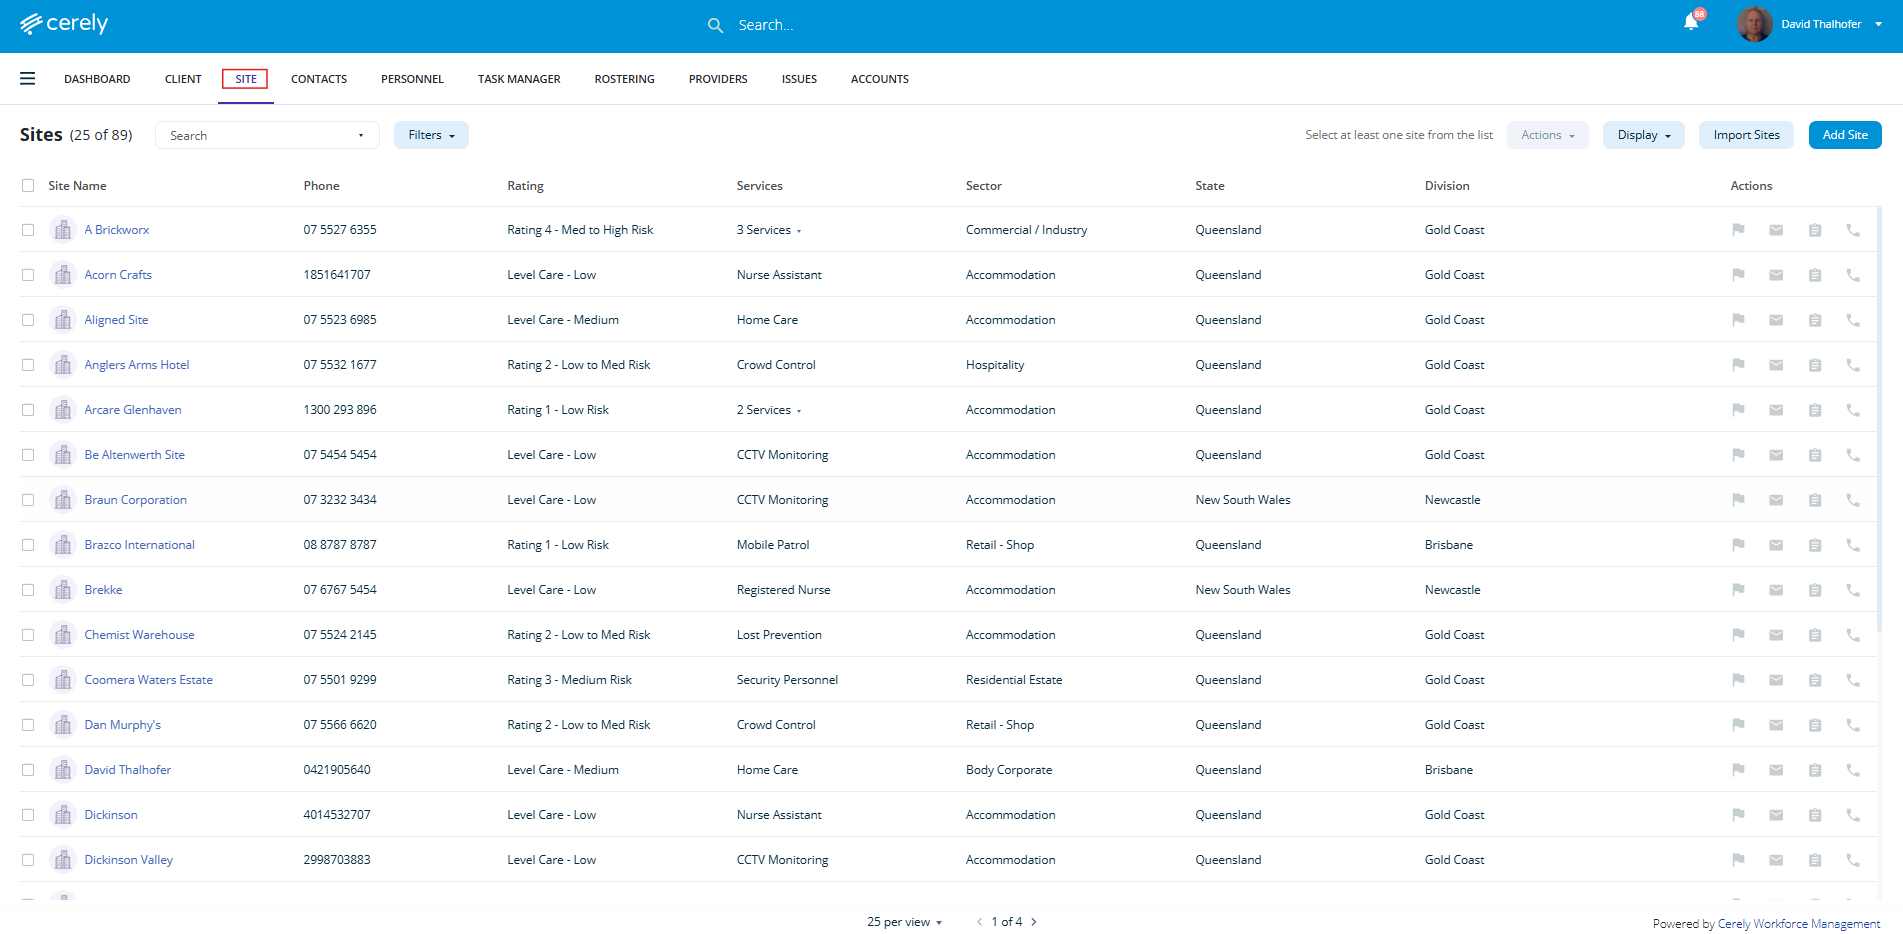
1. From the main menu on the Cerely dashboard, click on the Site tab
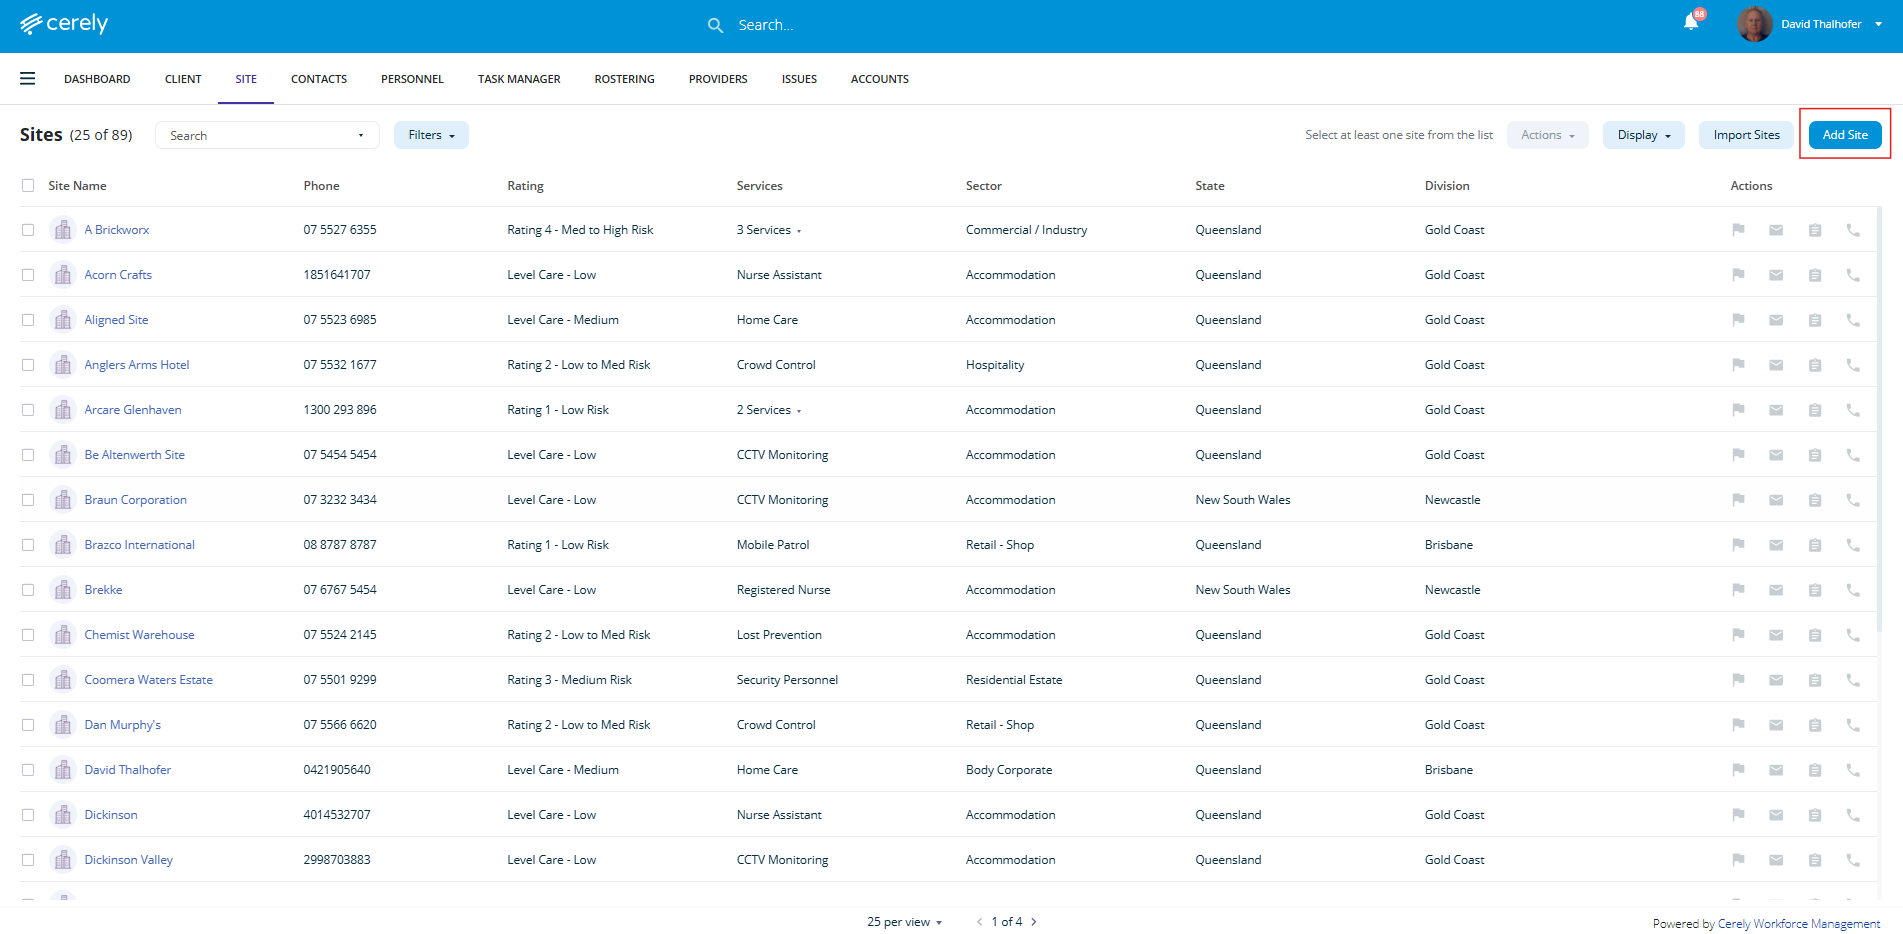
2. Click on the Add Site button located in the top right-hand corner
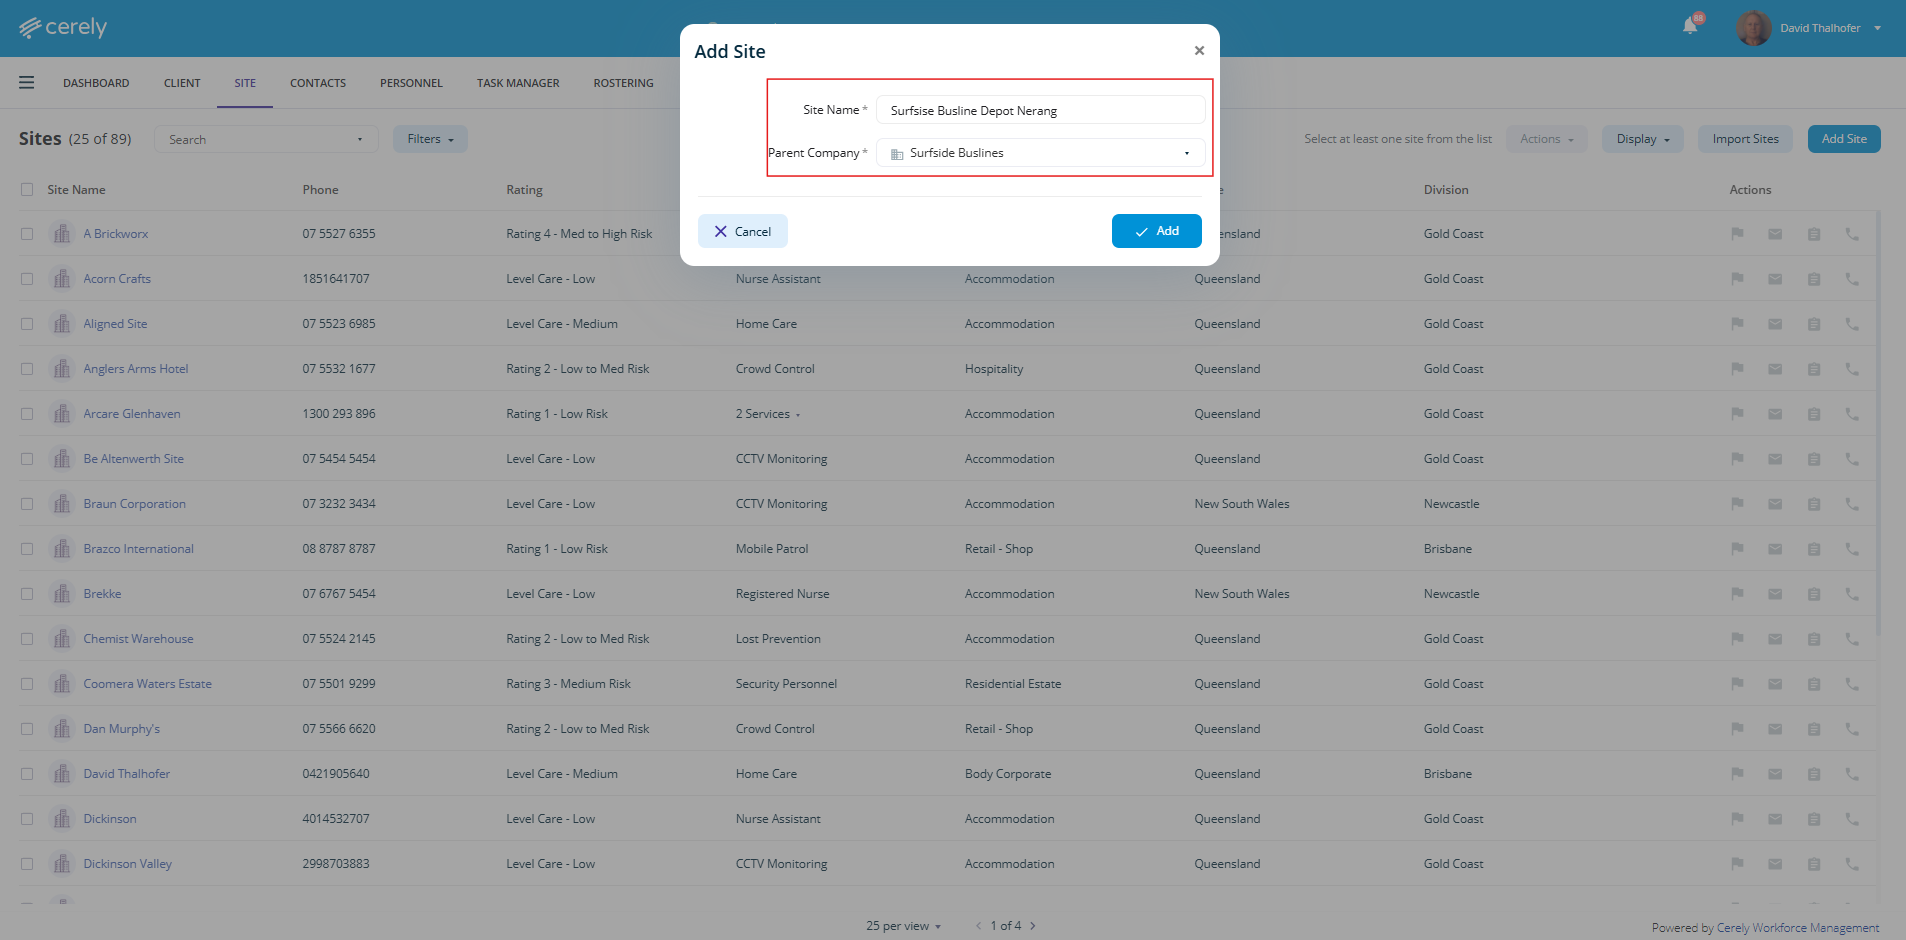
3. Enter the Site Name, this should be the name used internally or operationally to identify the site (e.g. Westfield Parramatta, Coomera Waters Estate).
Tip: Avoid abbreviating site names, the site name will appear on client invoices, internal reporting, and mobile app views. Using the full site name ensures consistency and easy reference for your team and clients.
Select the Parent Company or Independent Site, in the Parent Company dropdown menu, select the associated parent company the site belongs to. If the site is not linked to a parent company, select Independent Site.
What’s the difference?
A Parent Company is a legal or operational entity that oversees multiple sites. Linking sites to a parent company allows for centralised client management, invoicing, and reporting. (e.g. Scentre Group, ALH Group)
An Independent Site is a standalone location not associated with a broader parent company structure. Use this option for one-off clients or locations that operate independently.
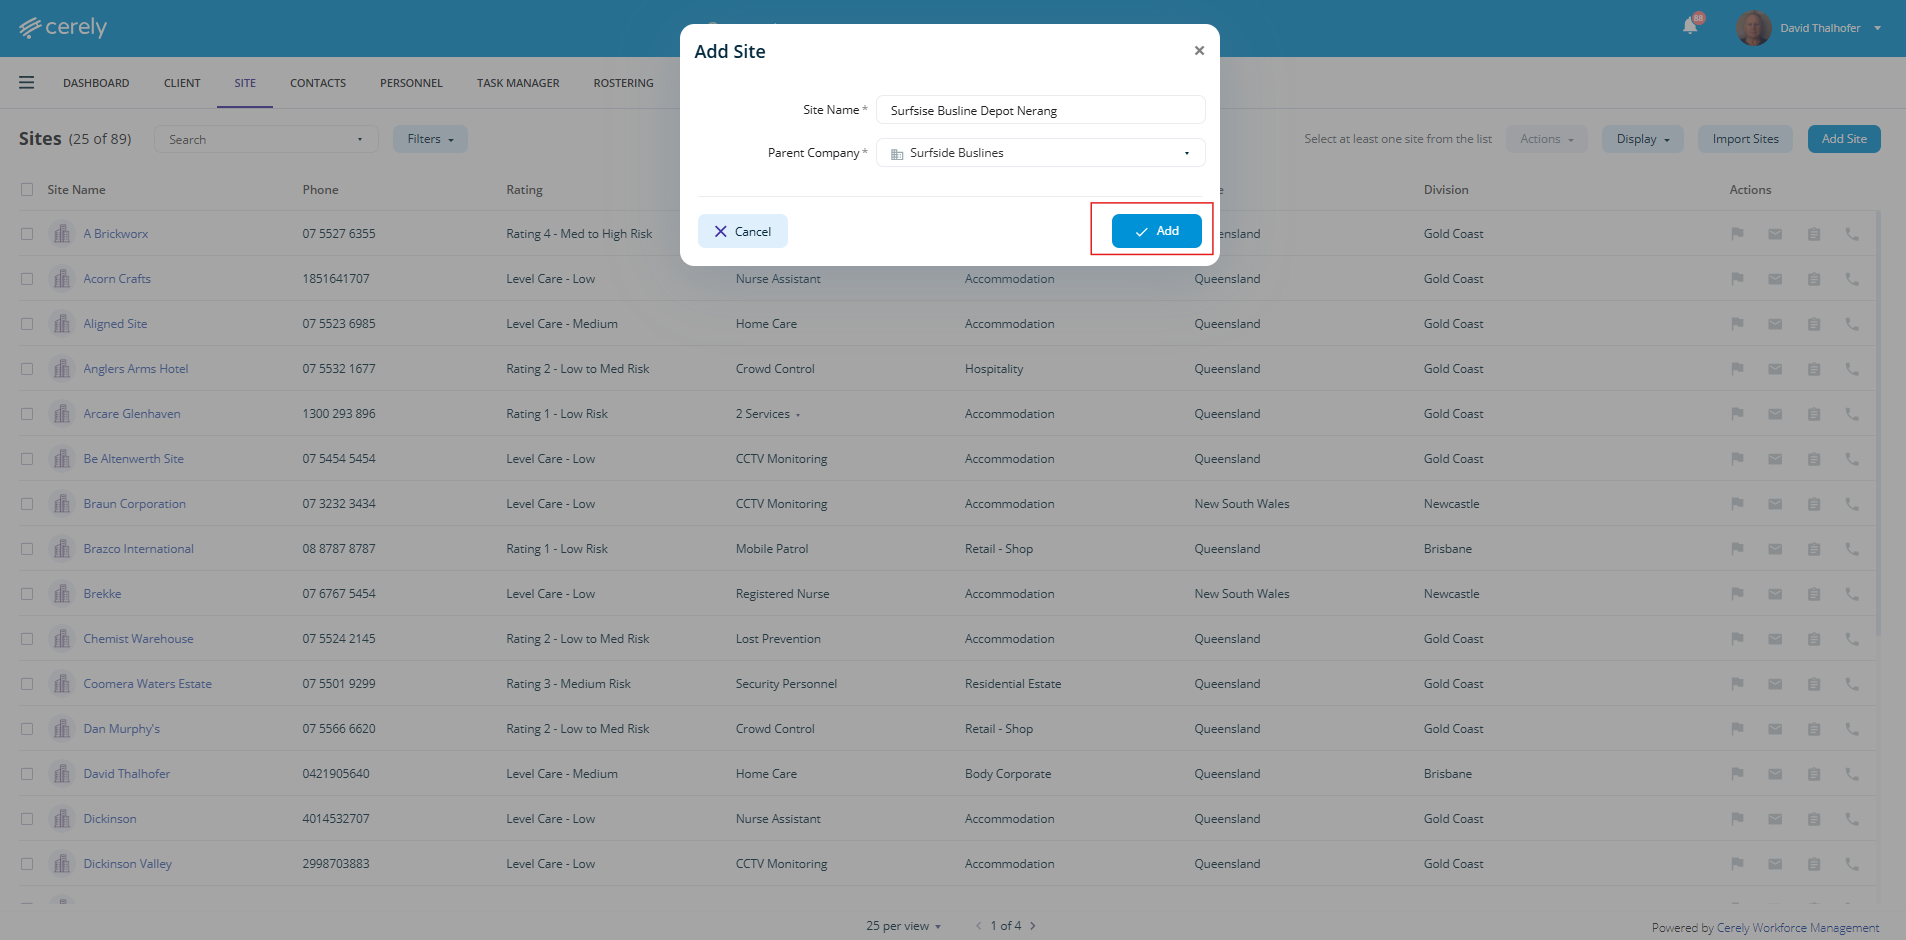
4. Click on the Add button
5. In the pop-up screen enter all *mandatory fields with the site information
| Field | Description |
|---|---|
| Status | Set to Active to make the site available in the platform |
| Risk Rating | Select a risk rating to identify the site service complexity or risk level |
| Phone Number | Enter the contact number |
| Services | Choose one or more services you provide to the client from the dropdown |
| Fax Number | Enter fax number if applicable |
| State | State where the site is located |
| Division | Select relevant division(s) the site belongs to |
| Email Address | Enter the primary contact email |
| Sector | Select the business sector the site operates in |
| Website | Client’s website address, if applicable |
| Primary Manager | Select the primary account manager from your internal team |
| Commencement Date | Date you commenced services at the site |
| Secondary Manager | Optional – assign a secondary contact for backup support |
| Contract Term | Specify the contract length from commencement (e.g. 6 months, 12 months) |
| Address Information | Include street address, suburb, and postcode for the site location |
| Description | Optional – add internal notes or context for reference regarding the site |

6. Click on the Save Changes button in the top left hand side to save the site records
The new site will now appear in your site list, allowing you to manage their details effectively within the system.